LED Name Plate
December 2023
My sister’s birthday is coming up soon so I wanted to make her a cool gift.
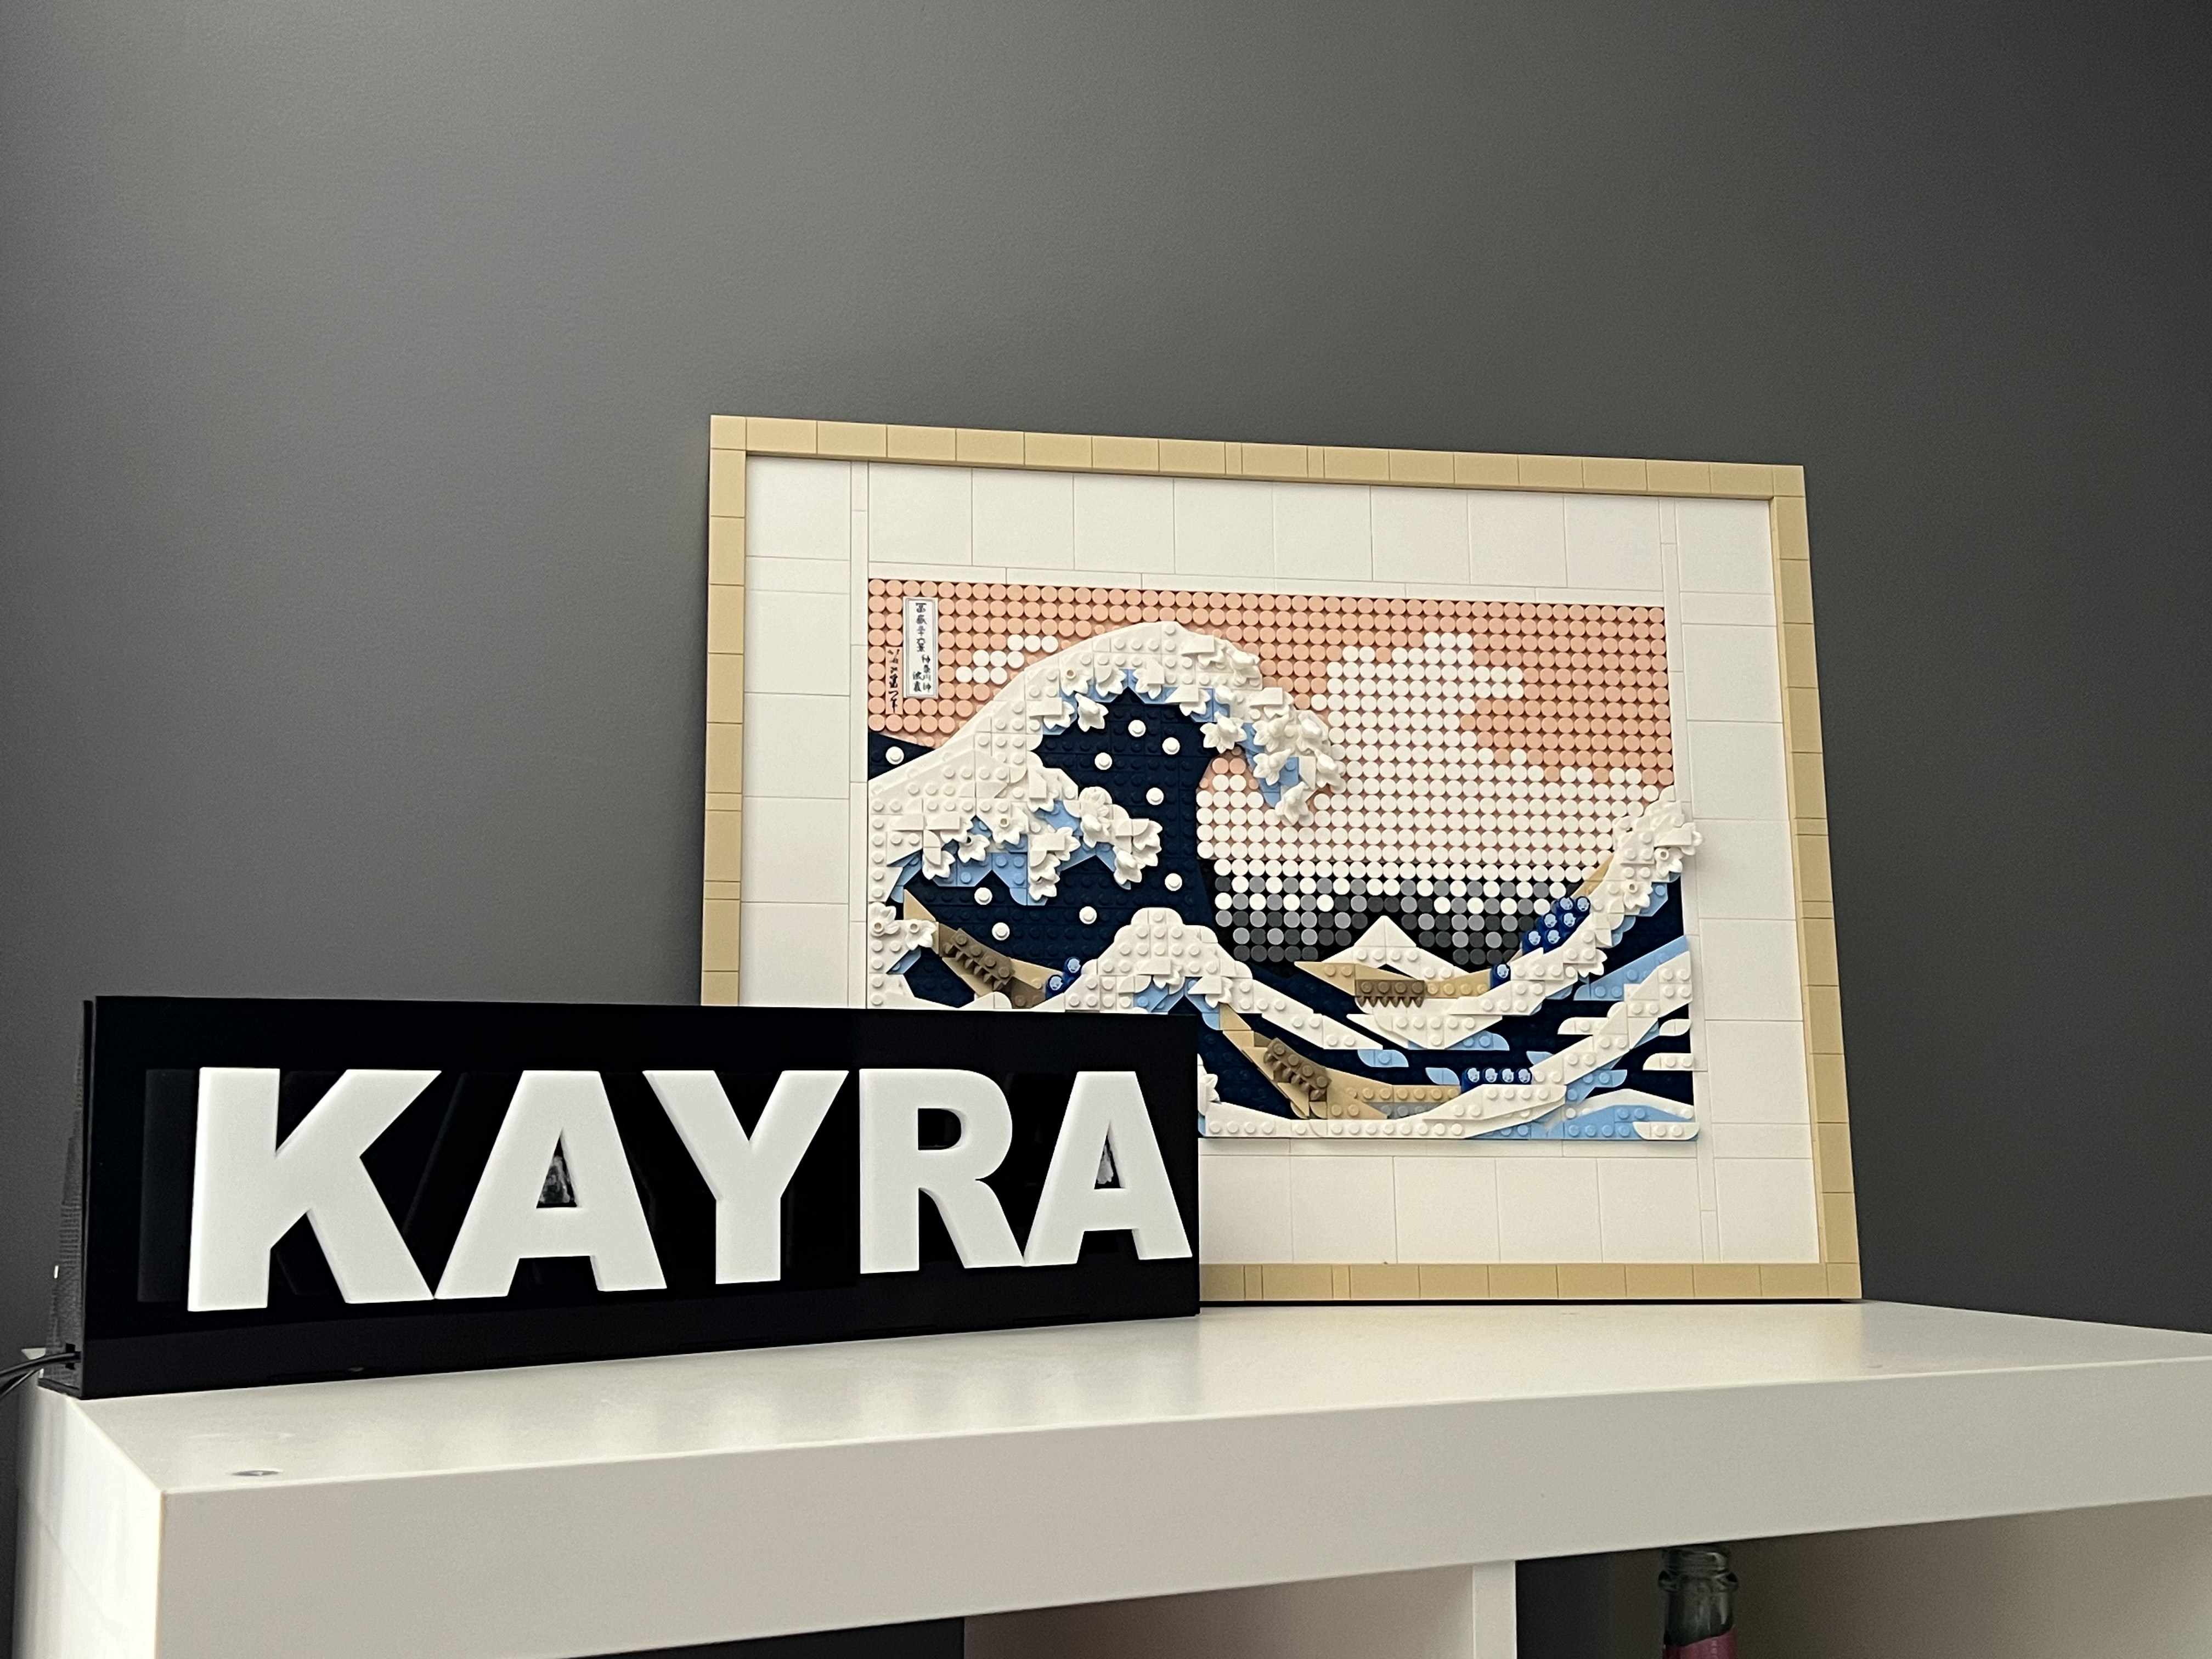
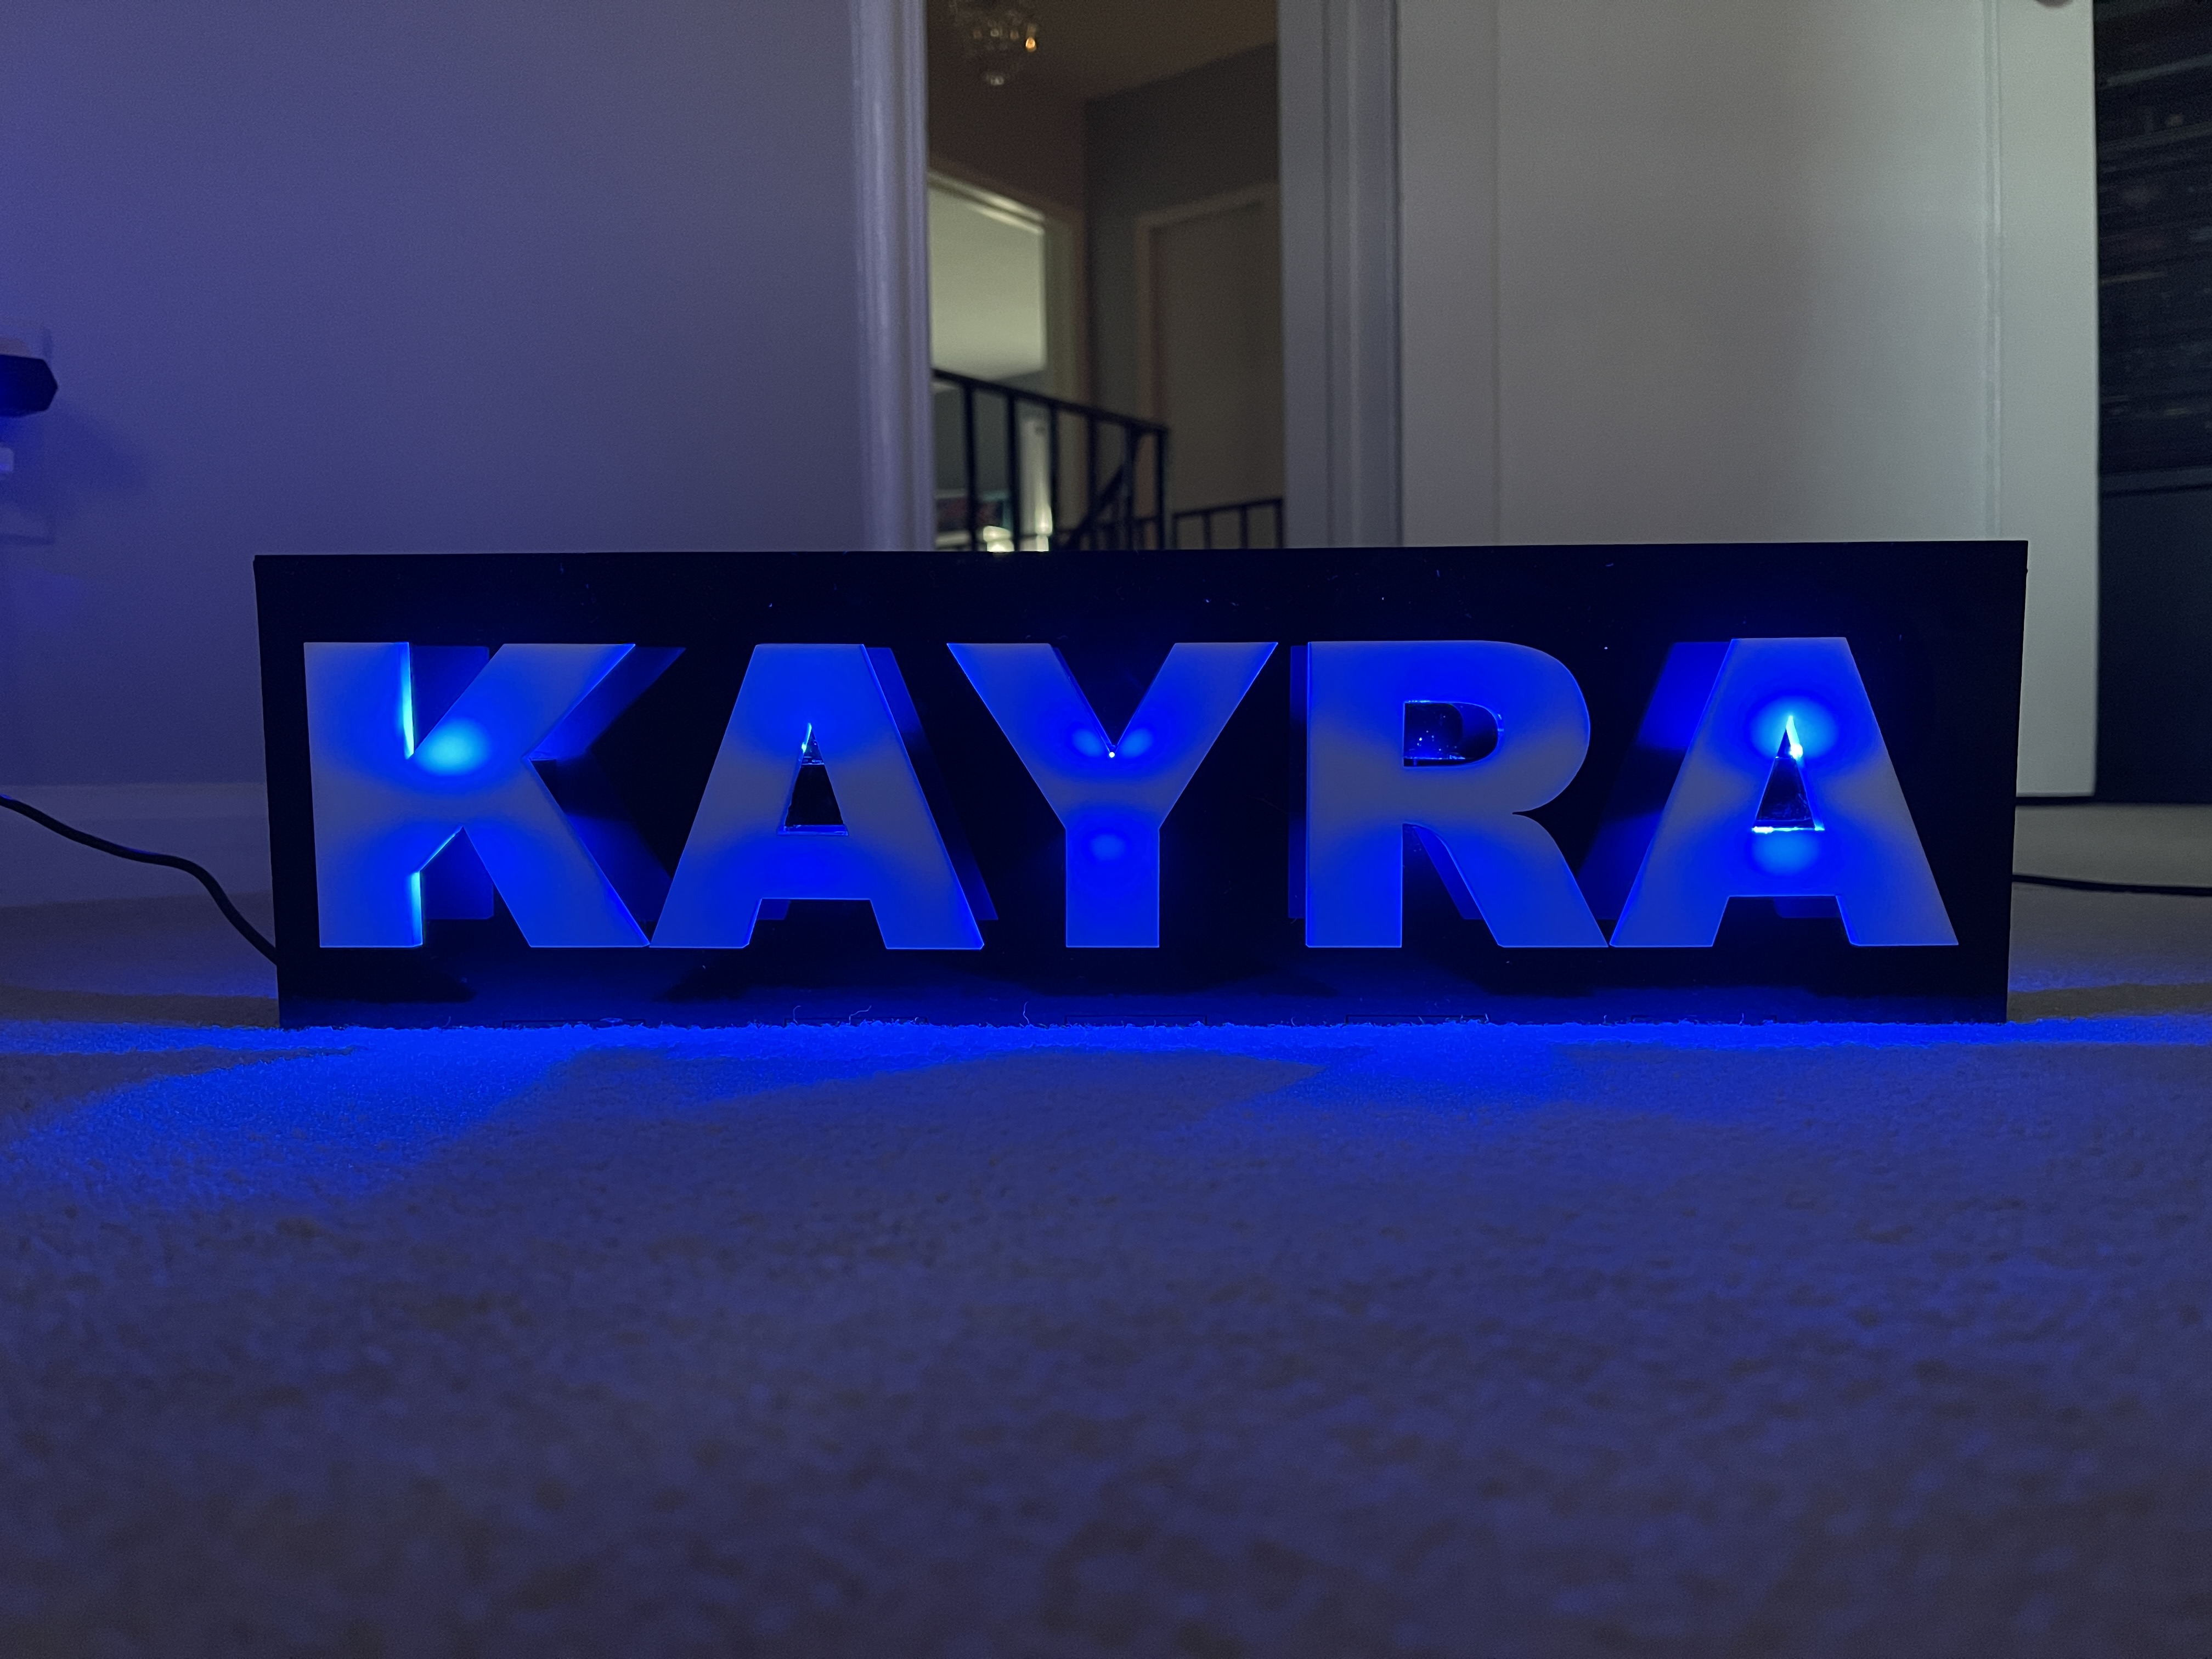
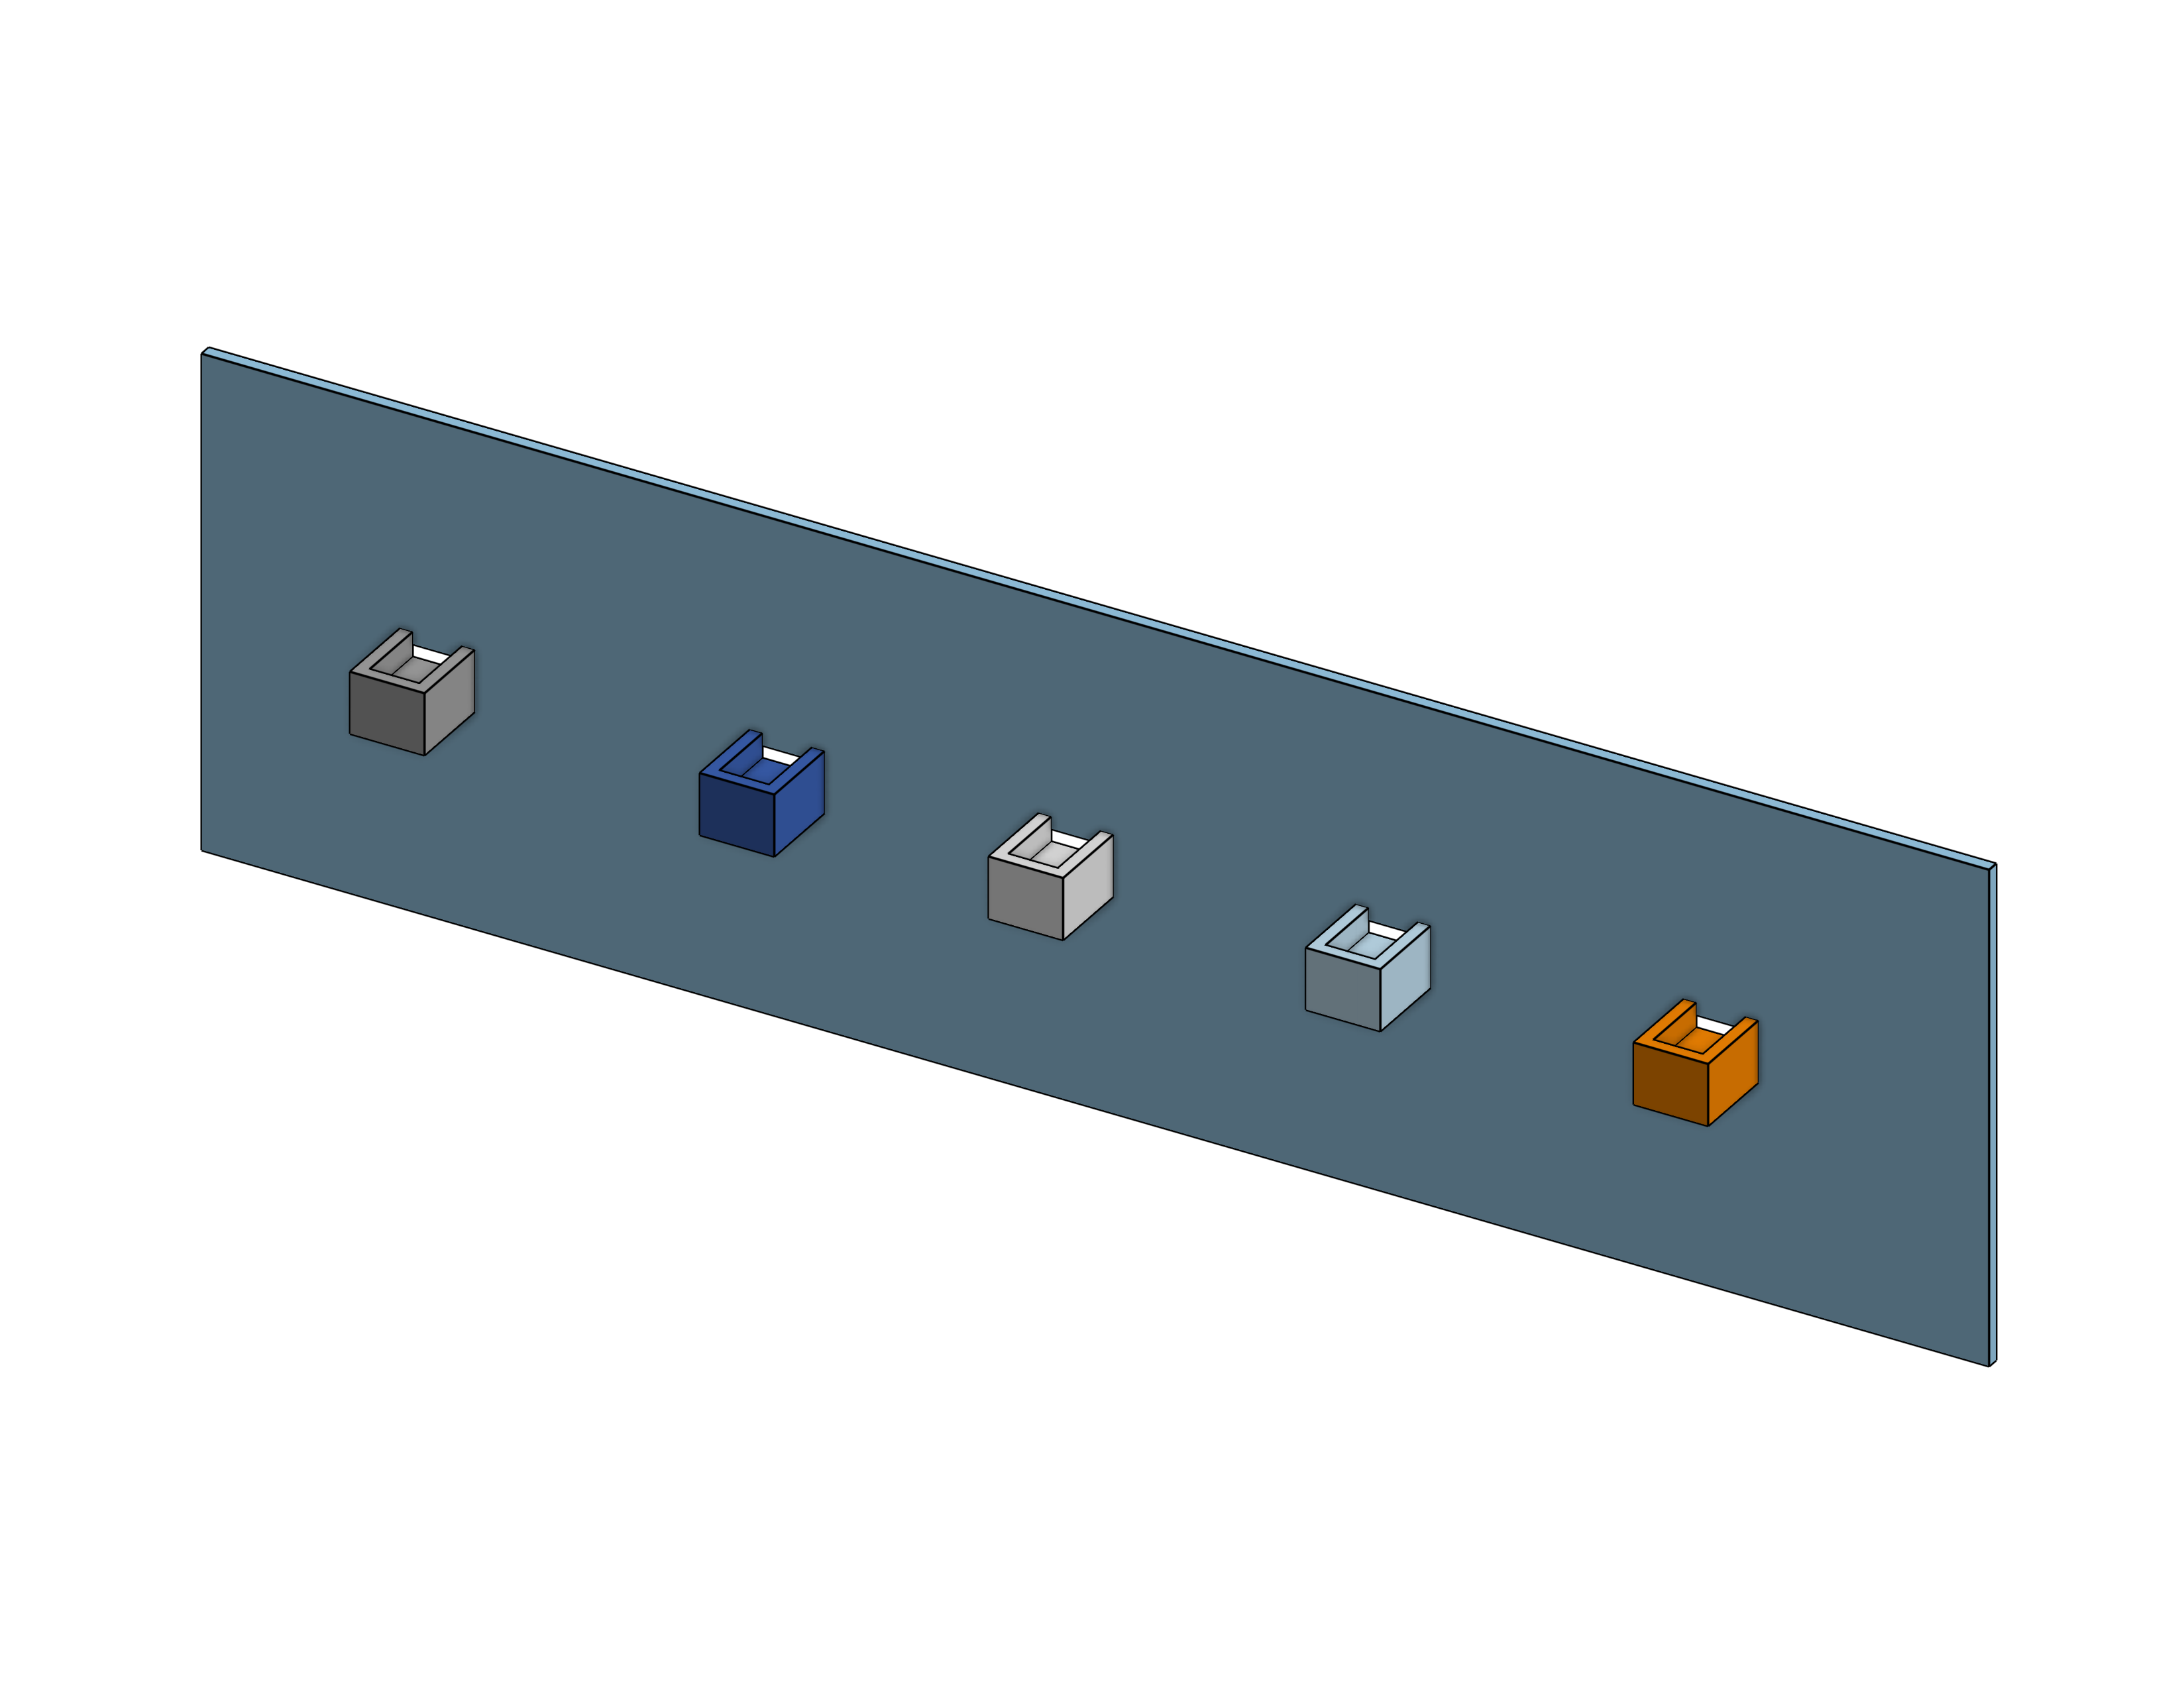
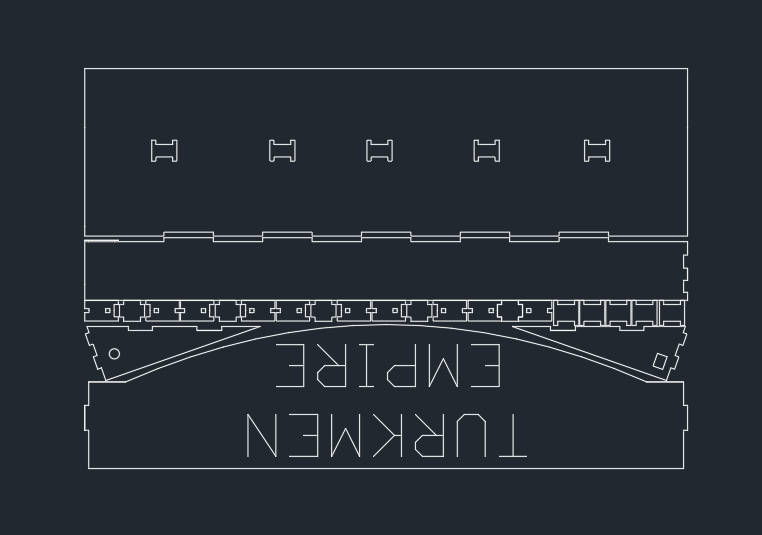
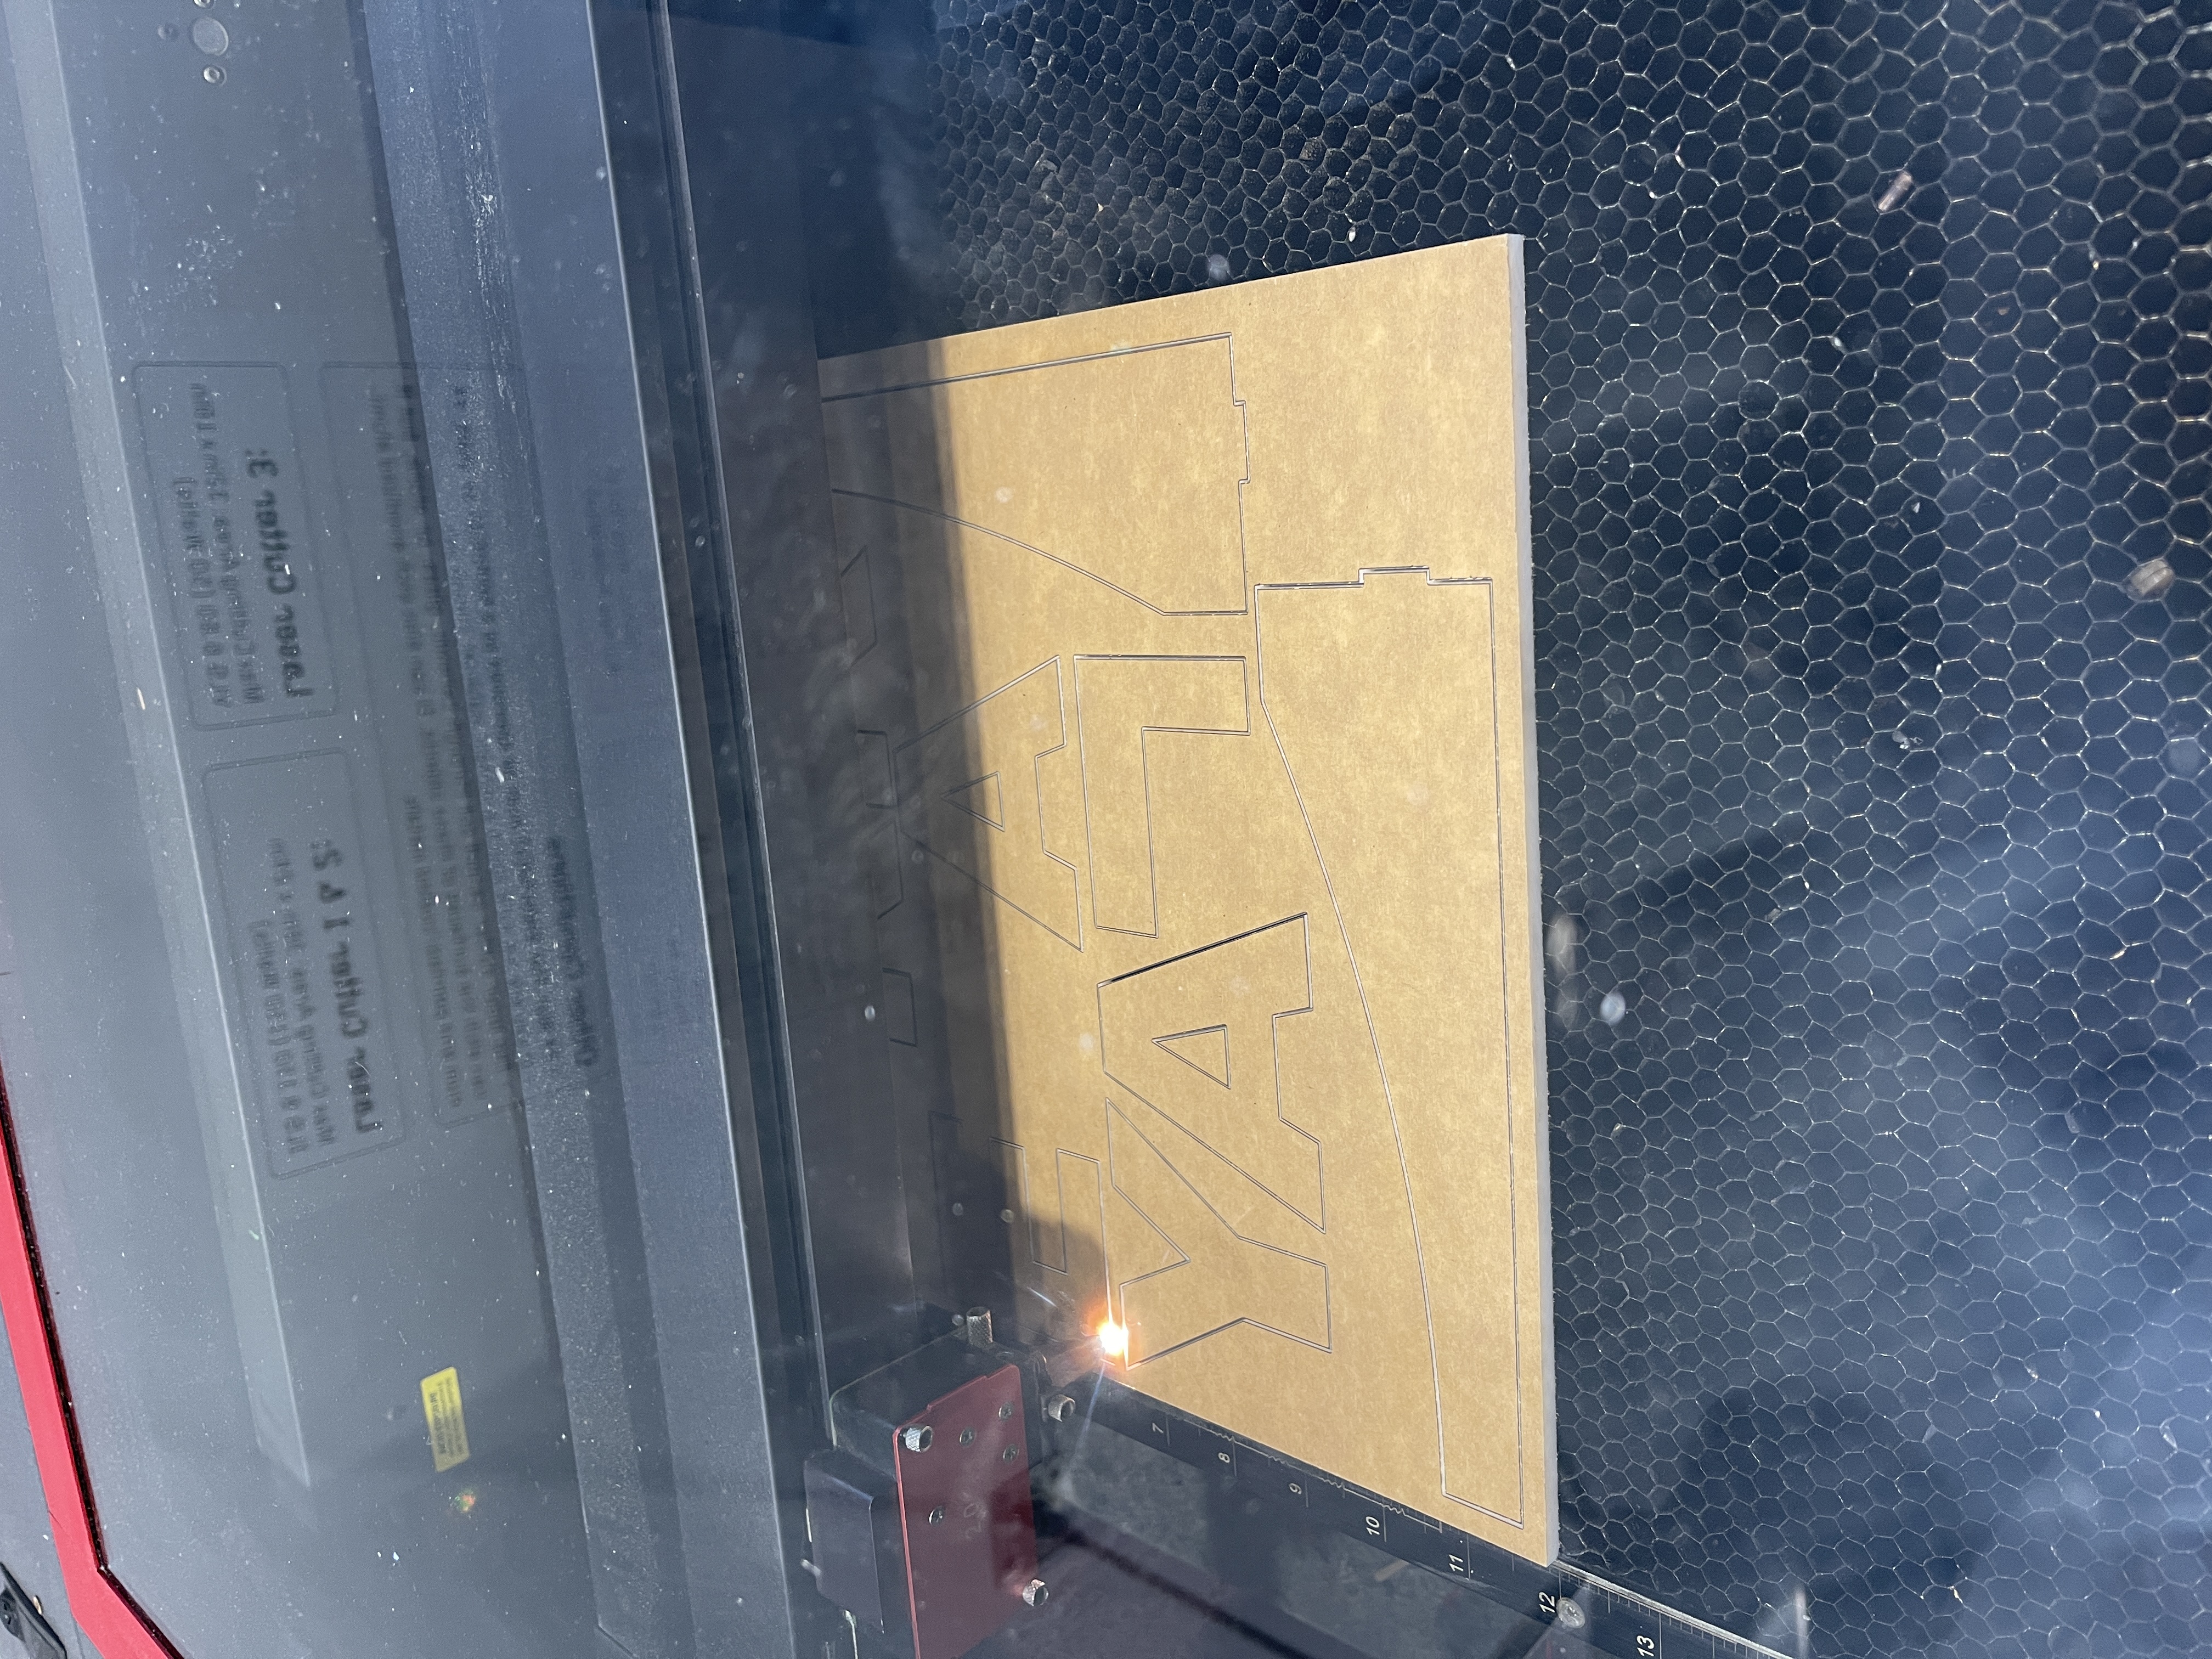
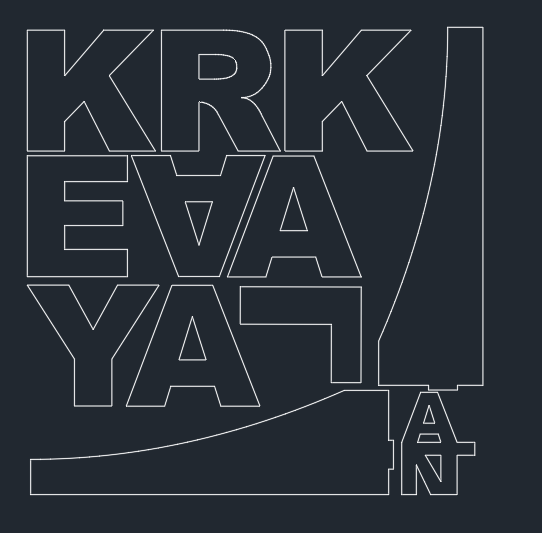
I have some previous experience with building LED based gifts, but for this one I wanted the main focus to be centered around the lighting and just an absolutely in your face bright name plate. I made a quick OnShape rendering of what I was envisioning, then translated that to an AutoCAD 2D laser cut instruction set.
My first instinct as an engineer is to create a prototype. So I did. Out of cardboard and a hot glue gun.
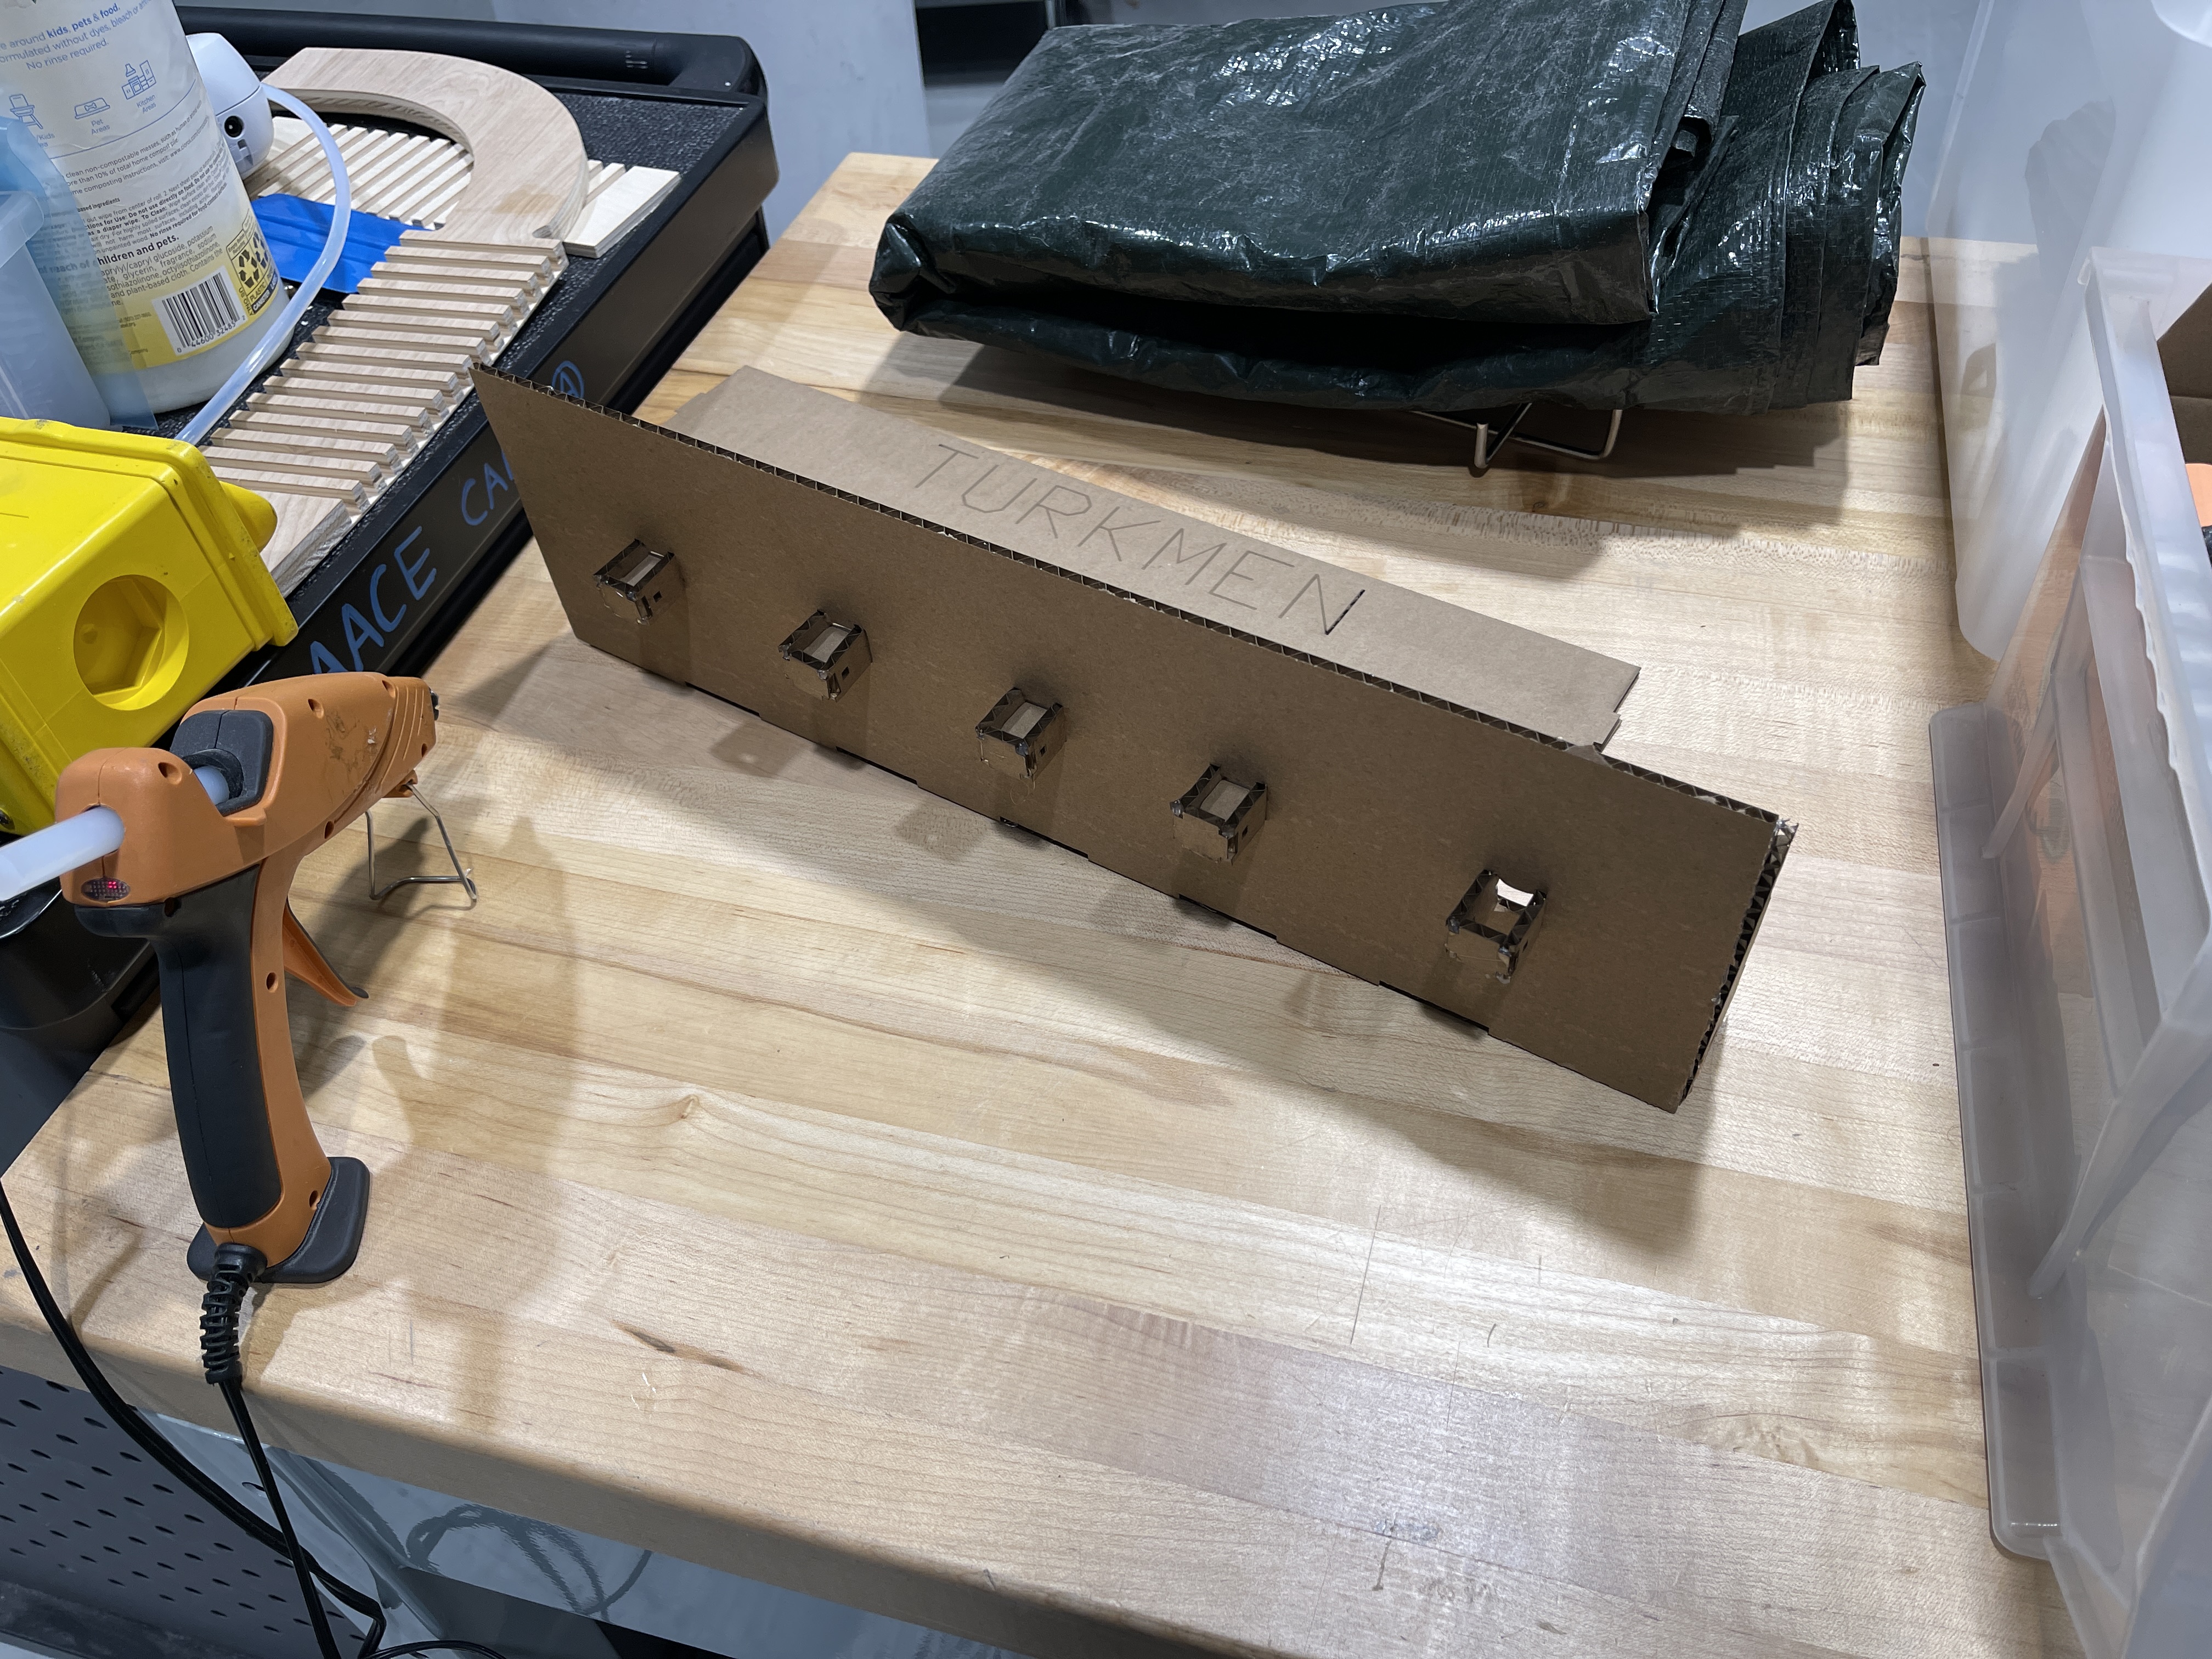
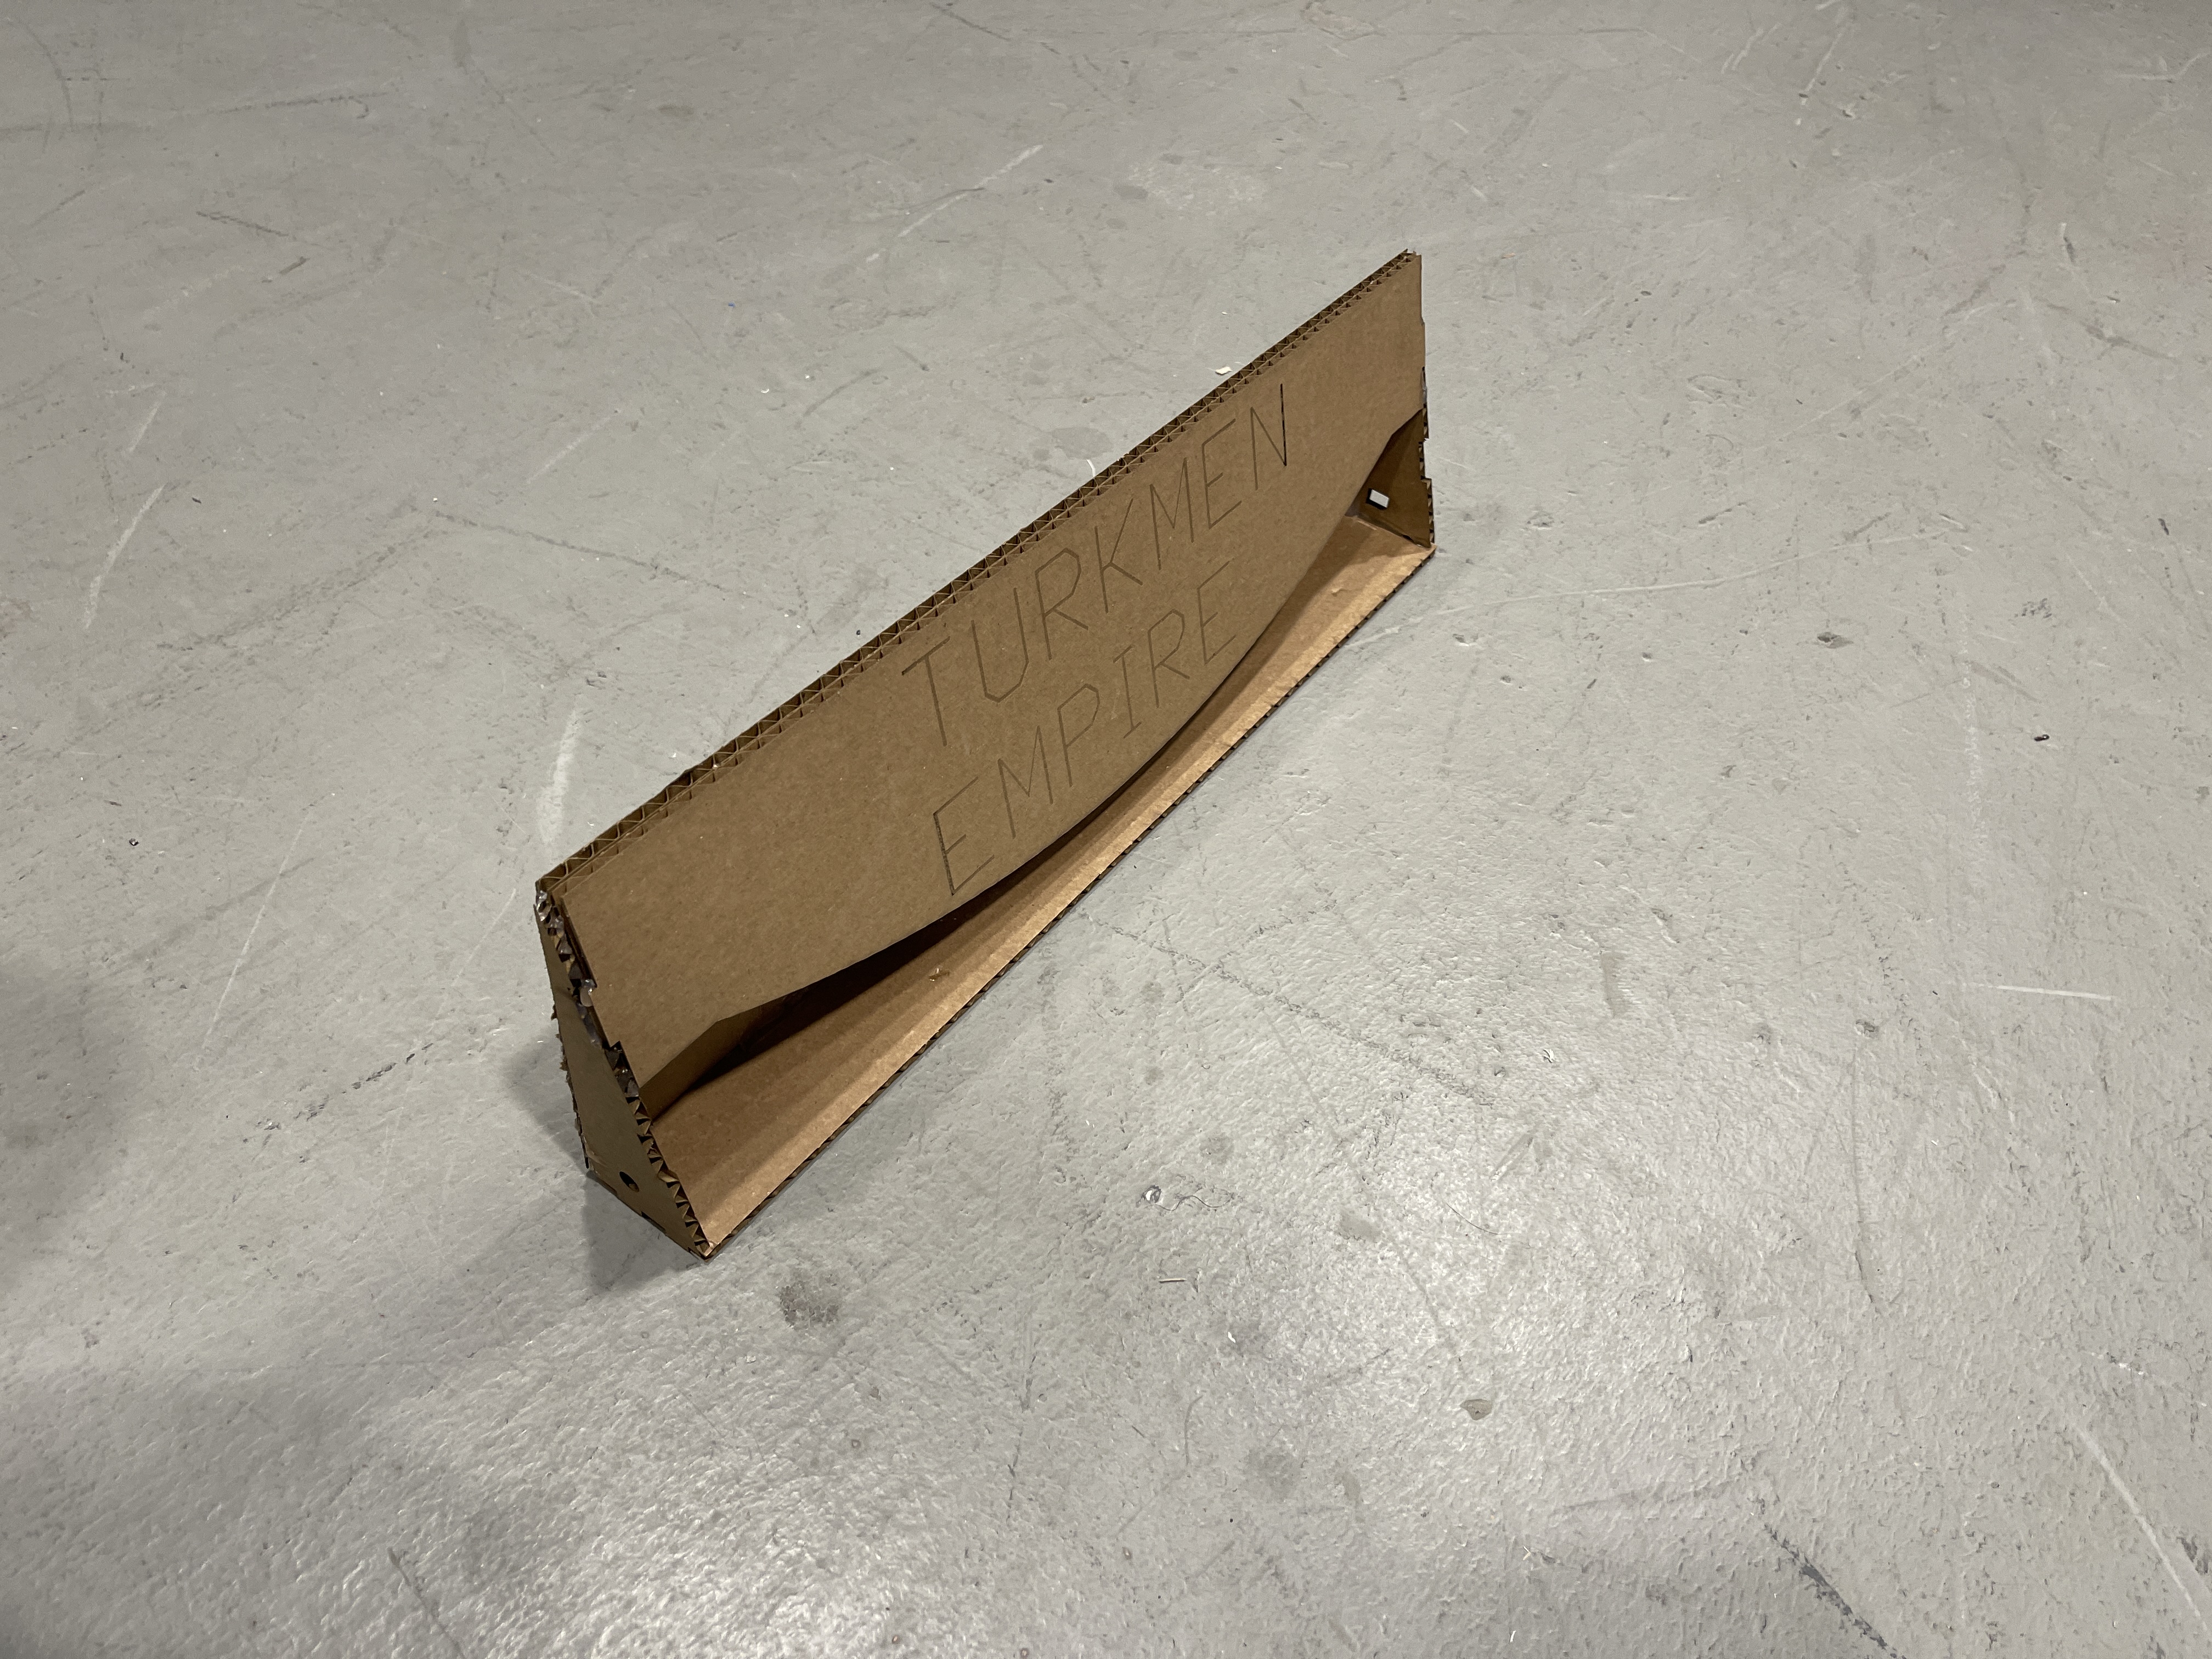
The prototyping went pretty well and I’m glad I make a prototype since the objects center of gravity was a little off center. The protruding letters would make it really easy for the object to tip forward. Easy fix, just added more weight to the other side.
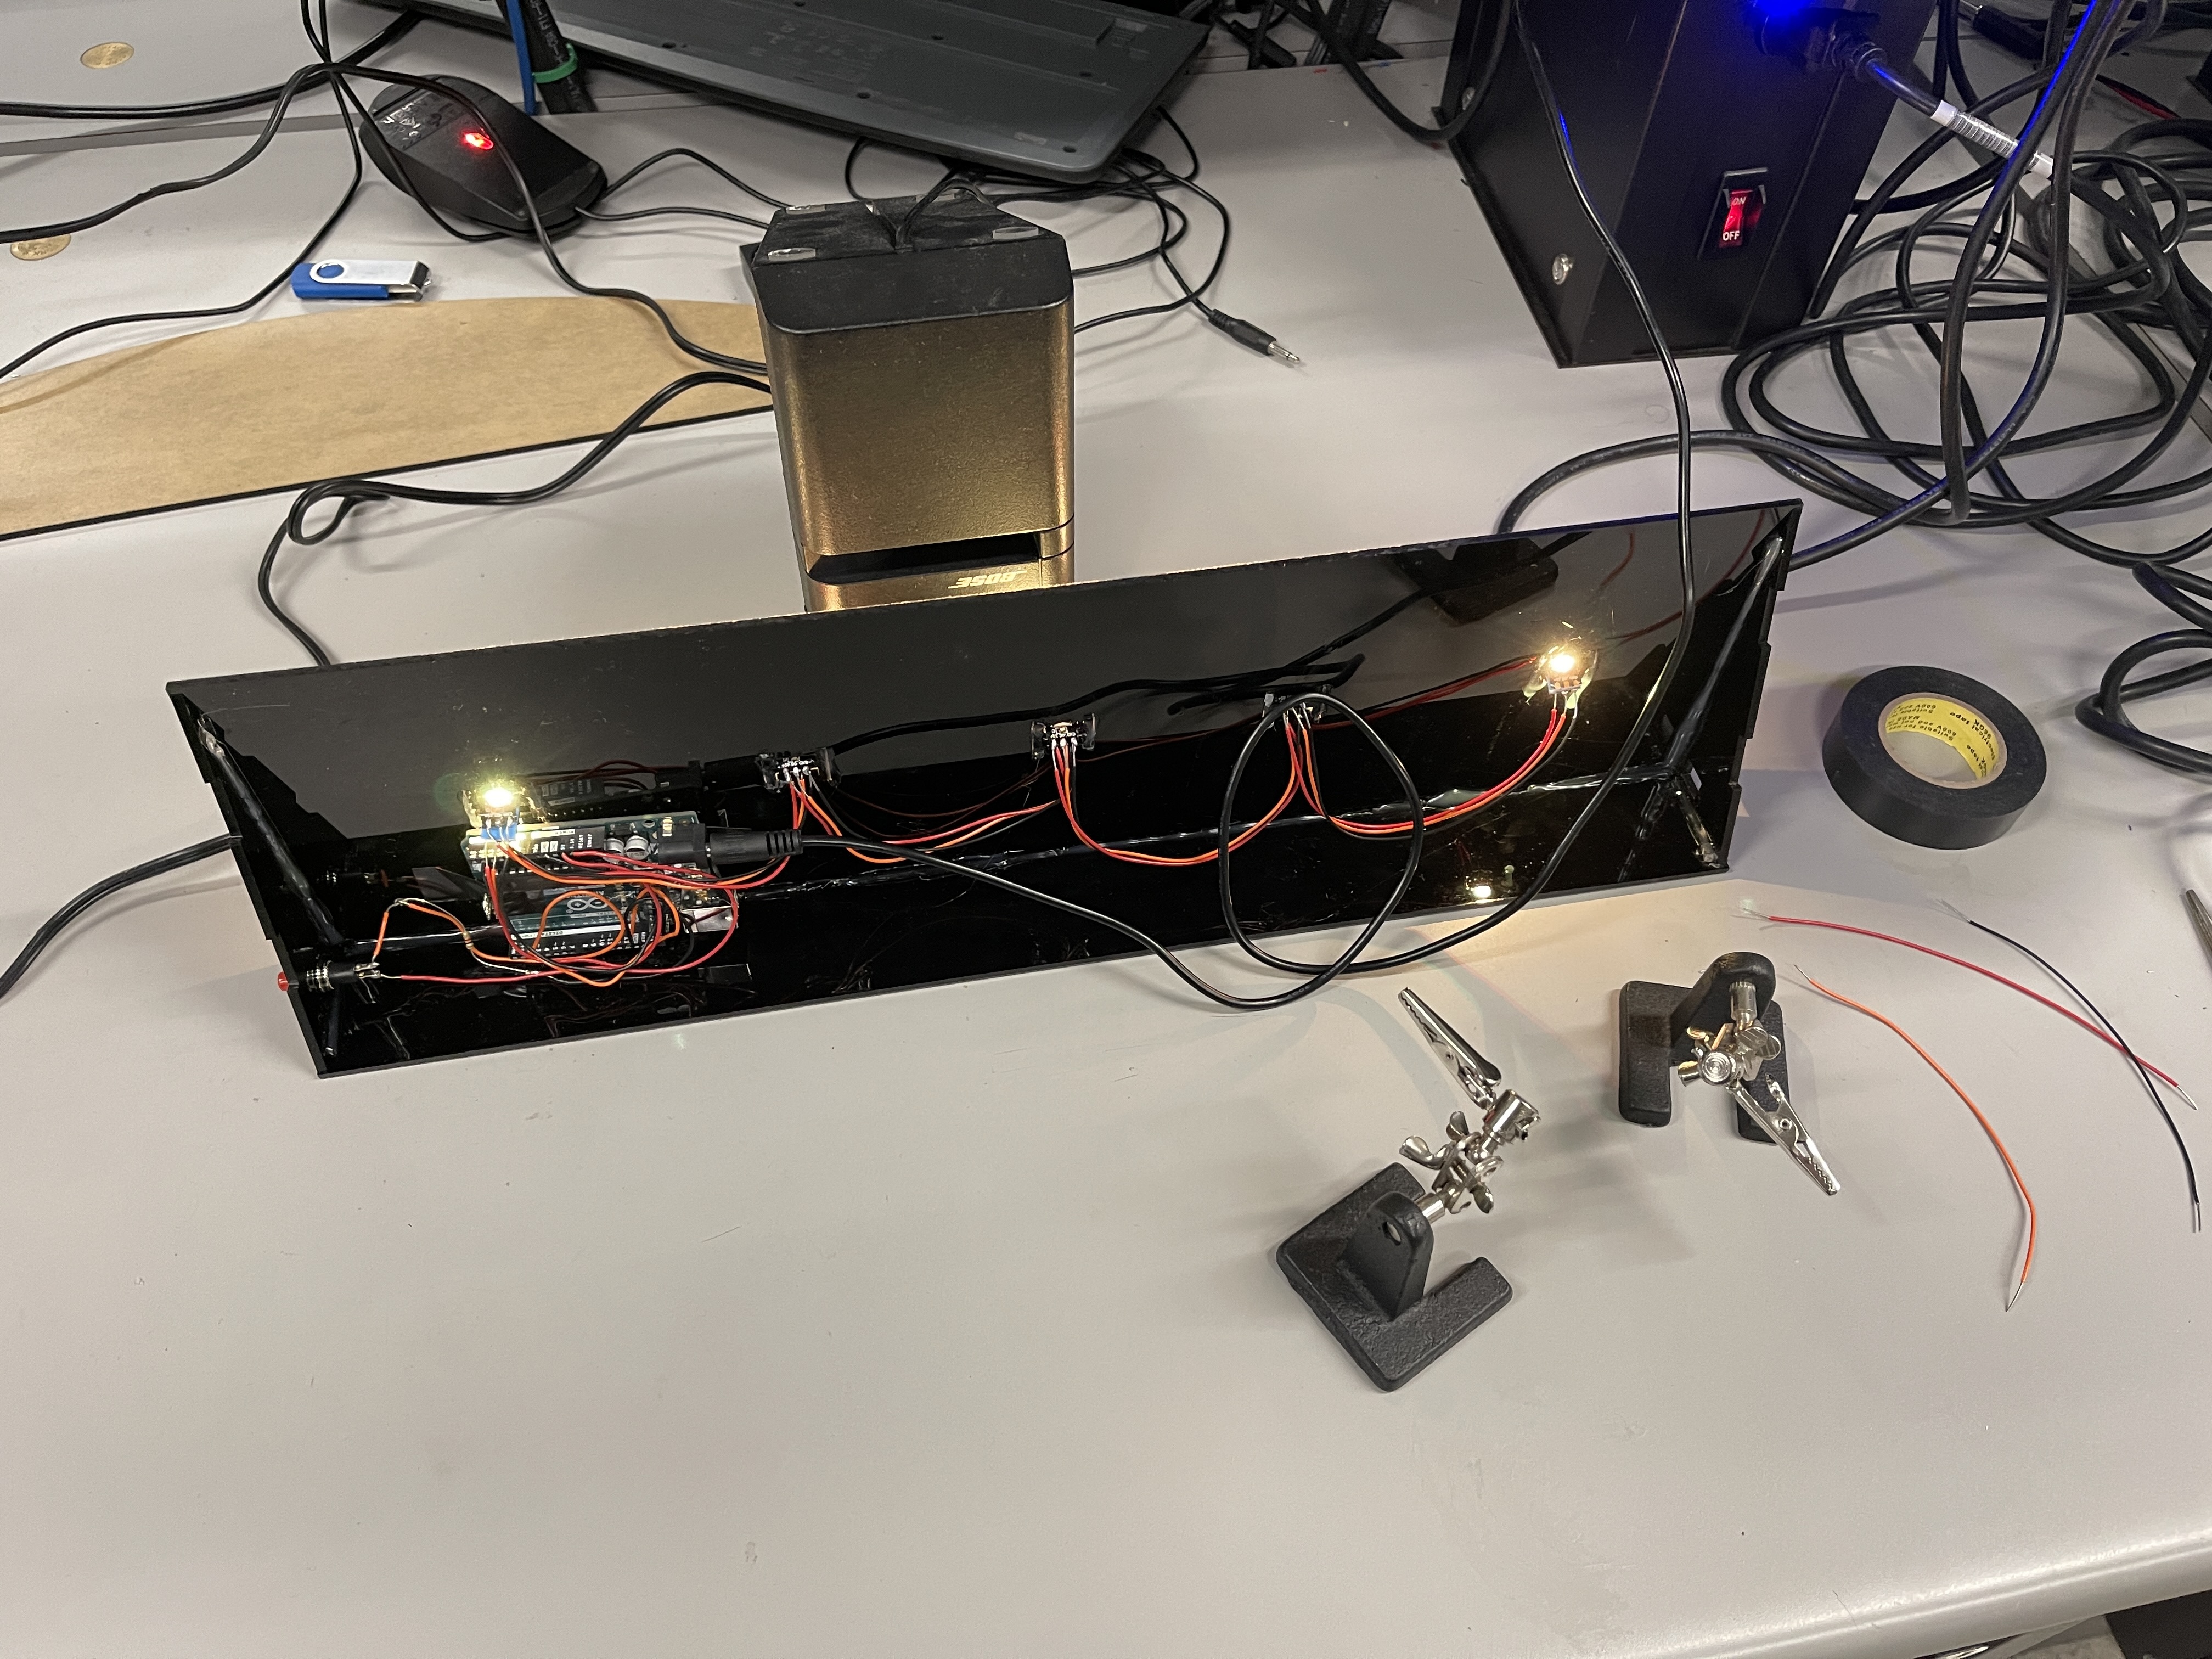
The internal component is a simple arduino connected with a button and an LED strip. The button controls which colors the LEDs should display (essentially clicking through the rainbow). For material, the entire thing is made from either black or white acrylic and the pieces are connected via glue or geometry tolerancing.
I used a 6”x12” white acrylic board and a 18”x12” black acrylic board, and I absolutely packed these boards to the brim with cutouts. For the white acrylic board I used 72% material and the black acrylic board I came in at 94.6% material usage.
After a little bit of LED soldering (6 hours straight) and glueing the pieces together (2 hours) the build was finally complete and ready for gifting.