
Fashion Designer's Toolbox
May 2023
Below you will find a more comprehensive and indepth design process.
My friend, who is a fashion designer, is moving to study abroad in Florence and I wanted to give her a gift before she left. Organization is a big thing in my life and so naturally I wondered how I could optimize and upgrade her design set up, specifically for her fashion design workflow. So, I came up with two major concepts to follow: 1) A toolbox to store tools and streamline workflow and 2) a showcase to show off designs and be visually appealing with custom lighting.
Firstly, I made a prototype design on OnShape that featured a showcase area and an underneath pull-out drawer to house tools and resources. My first prototype, named ‘closed’, had a closed look to it with an overhead ceiling that spanned the entire showcase floor and had 8 hidden ceiling lights. Upon reconsideration, I made the roof smaller giving the toolbox a more ‘open’ feel, this reduced the LEDs to only 4.
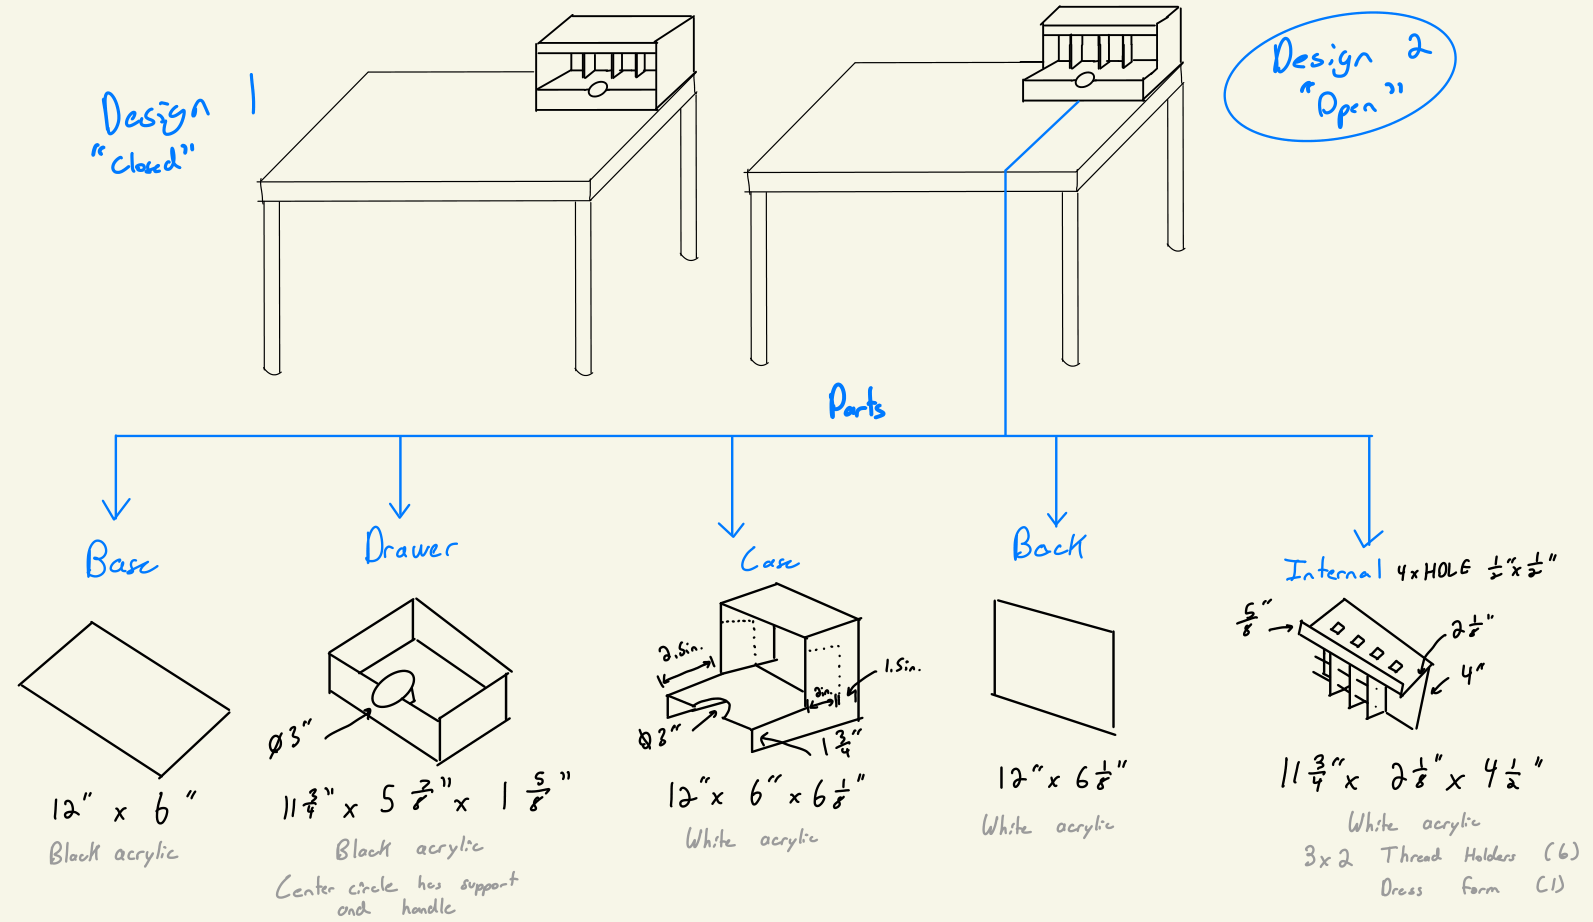
Finalizing the prototypes design, I added hangers for 6 threads to go, and a showcase for a small 3D printed dress form. I removed the basic grid pattern dividers in the drawer, making the drawer dividers have a more purposeful space for tools. Lastly, I made the hidden arduino compartment a little smaller.

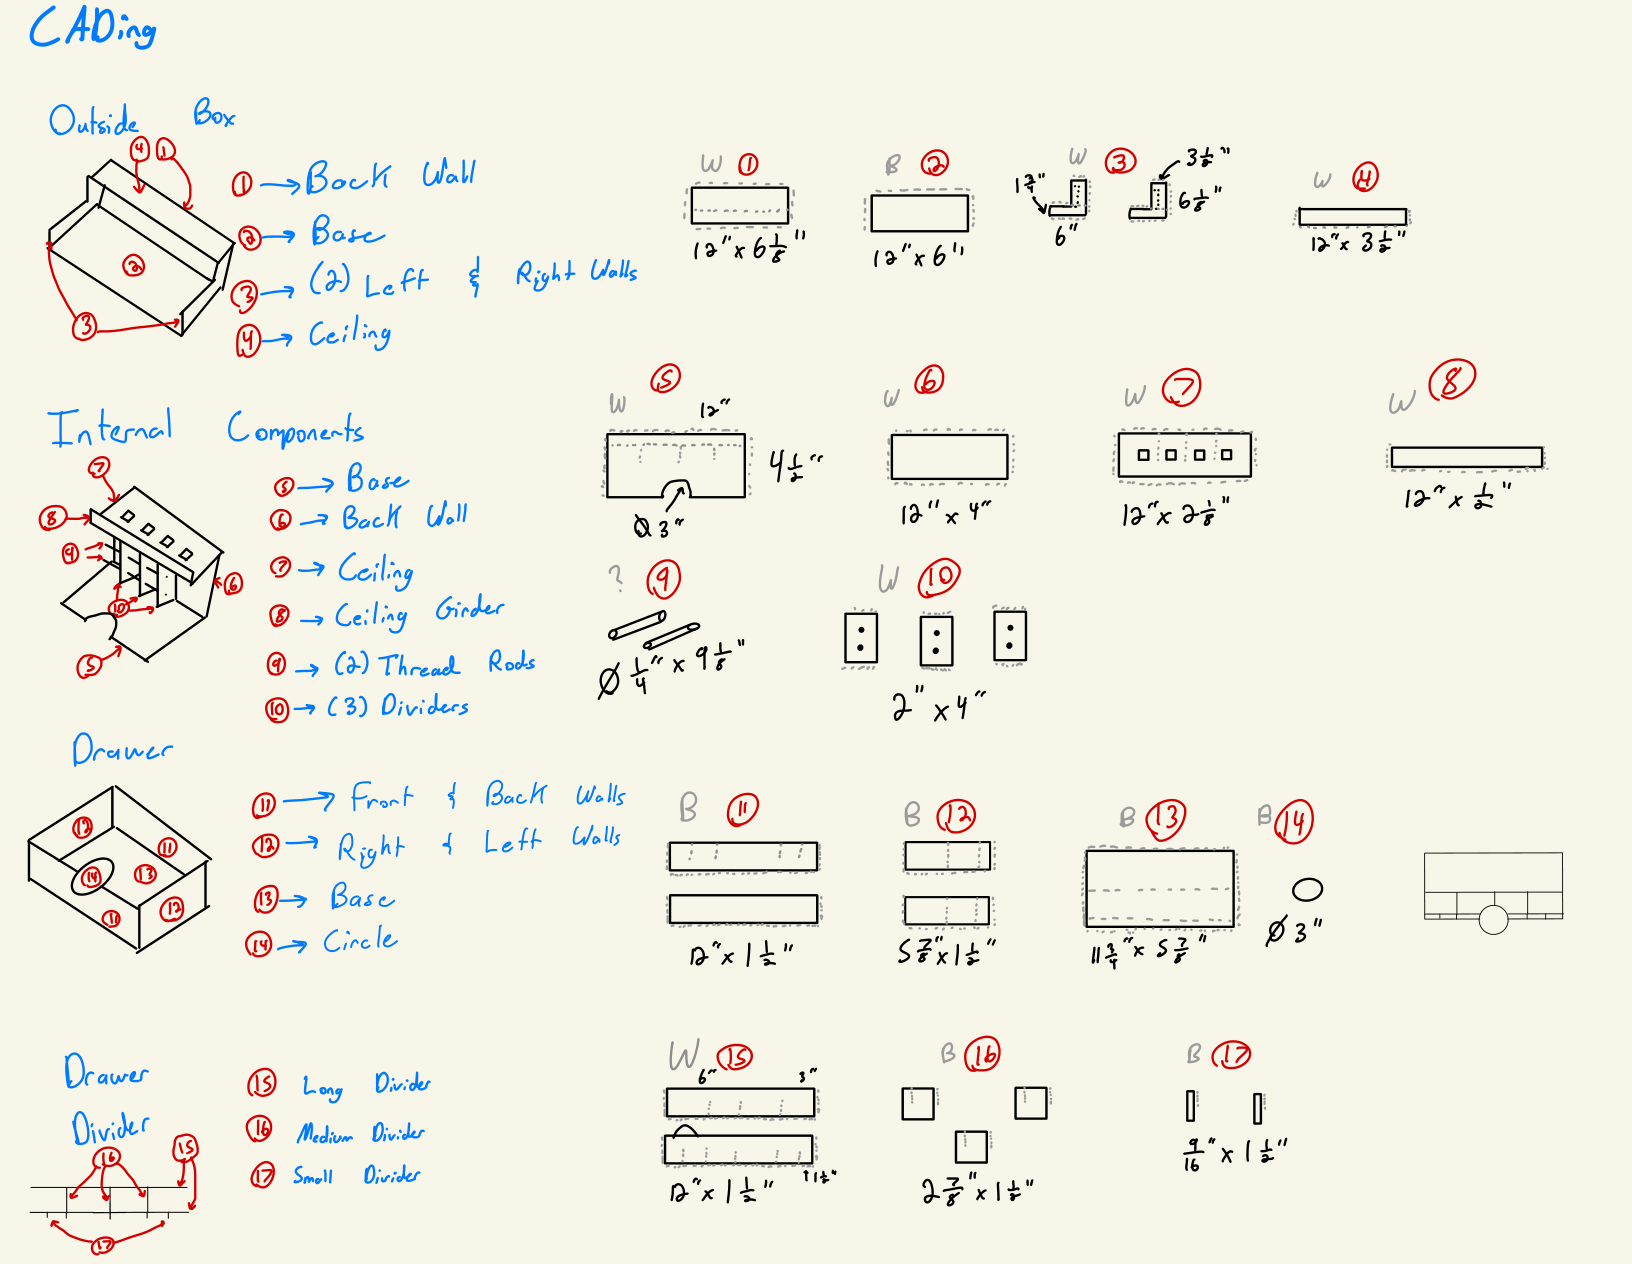
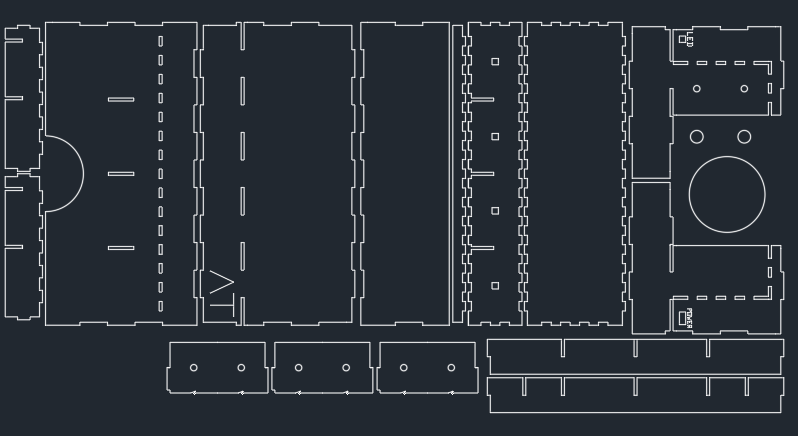
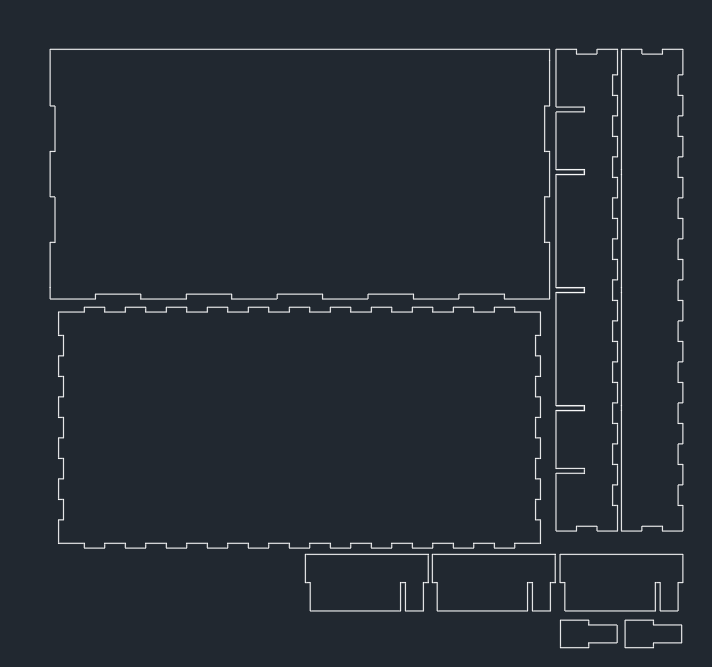
Before this, the designs were purely aesthetic and so in my second design iteration I shifted my approach from aesthetics to an assembly process made for laser cut pieces. I planned on using finger edge joints (featured below) to connect pieces together.
I also designed 2D .stl files in AutoCAD. I did this so that a laser cutter could follow a vector path and create smaller pieces from a large 32"x18" acrylic board.
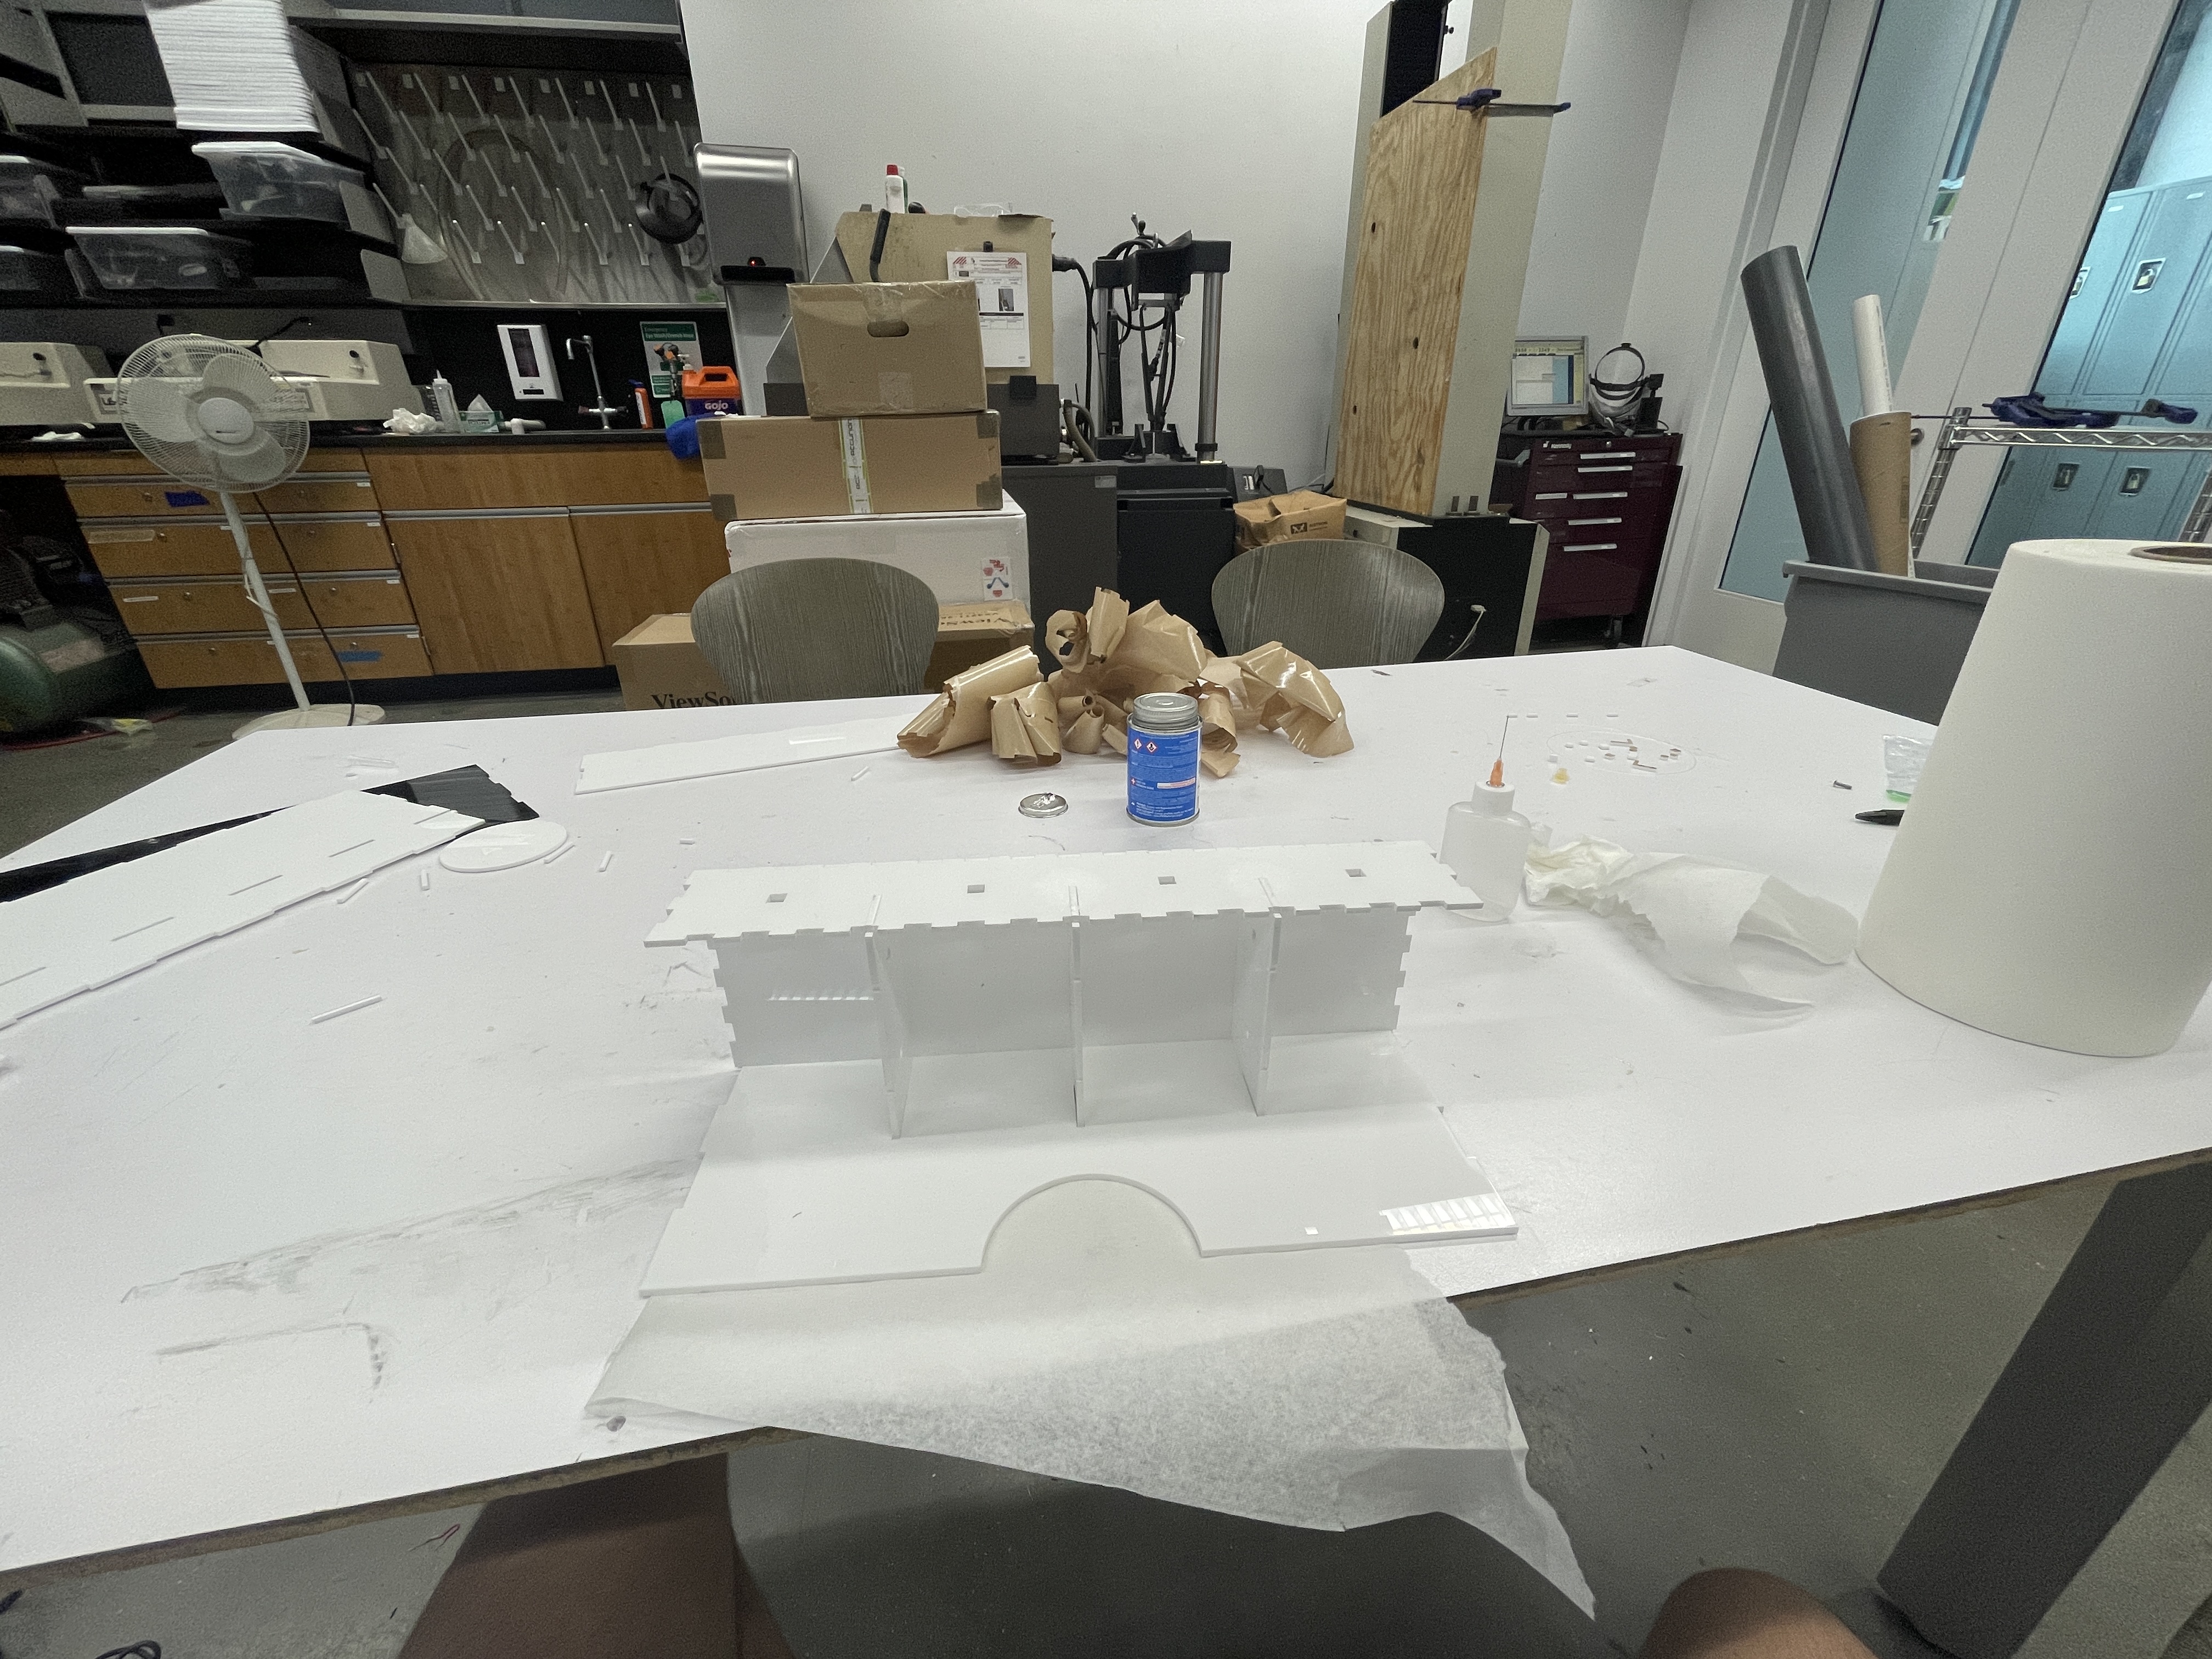
Before going onto an acrylic laser cut, I would first use cardboard to ensure that my designs translated well into the real world and to make sure I had dimensioned everything correctly.
Featured below is my test print with cardboard and below that are the respective CAD files.
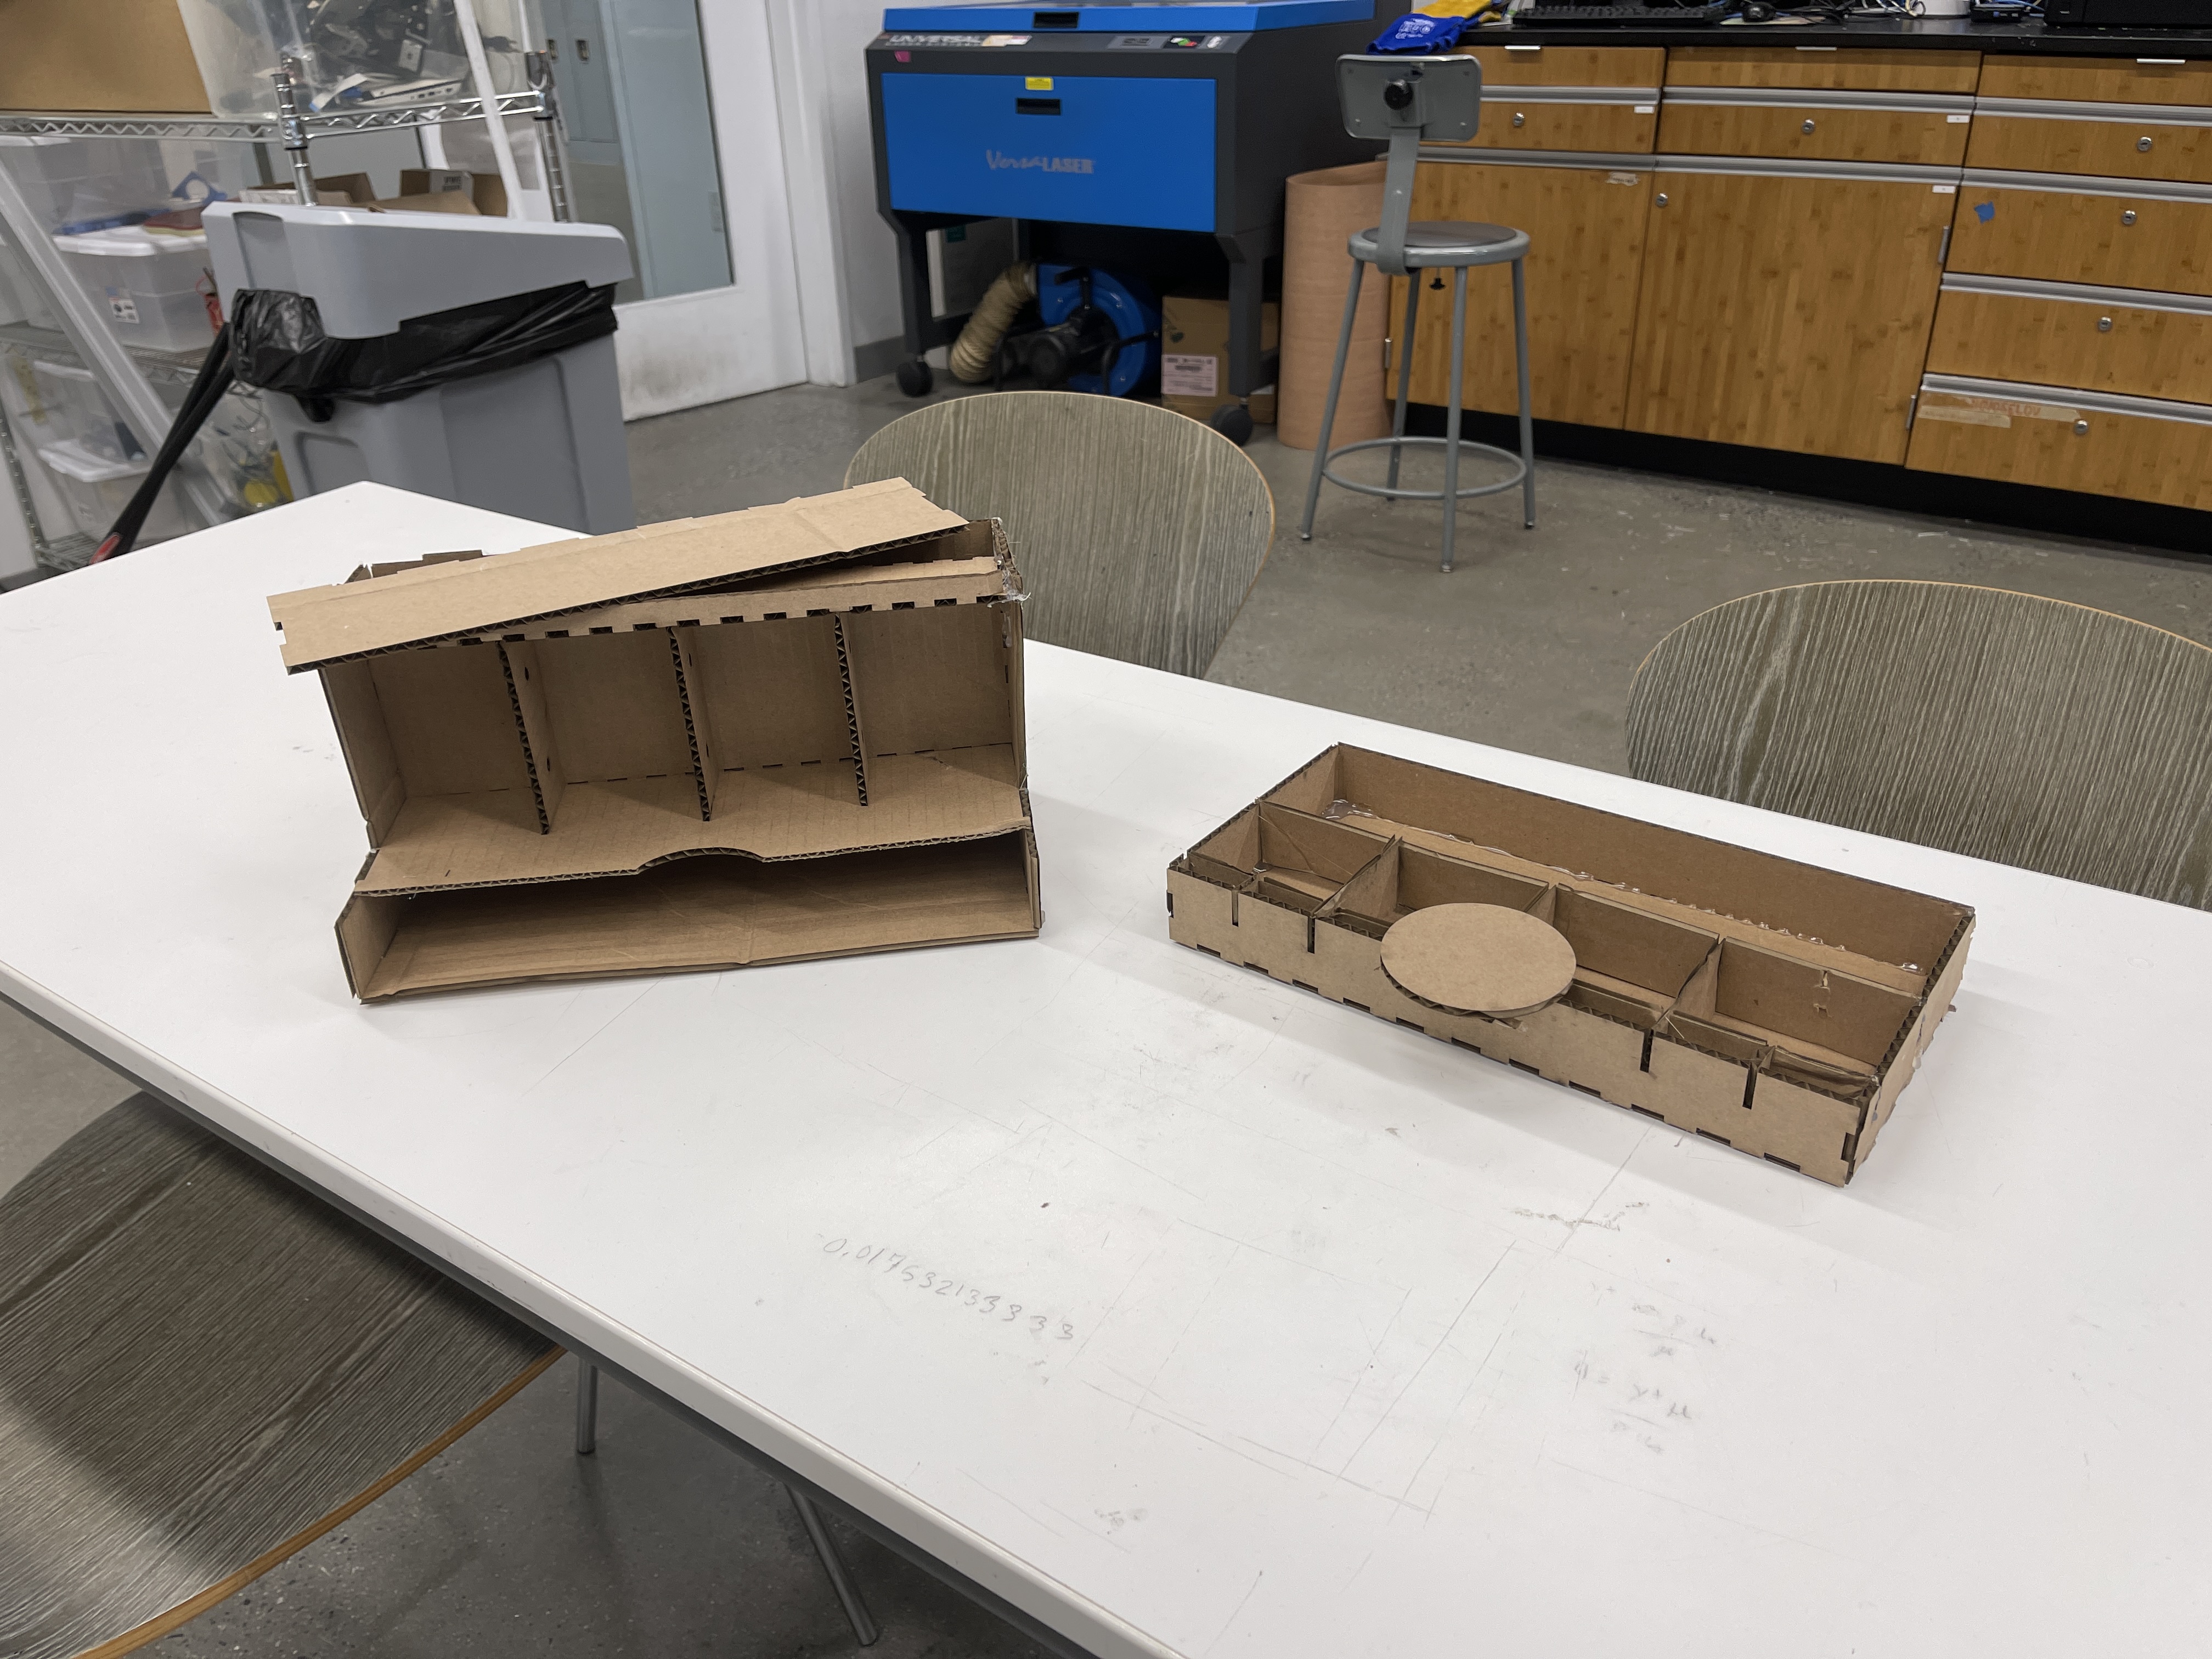
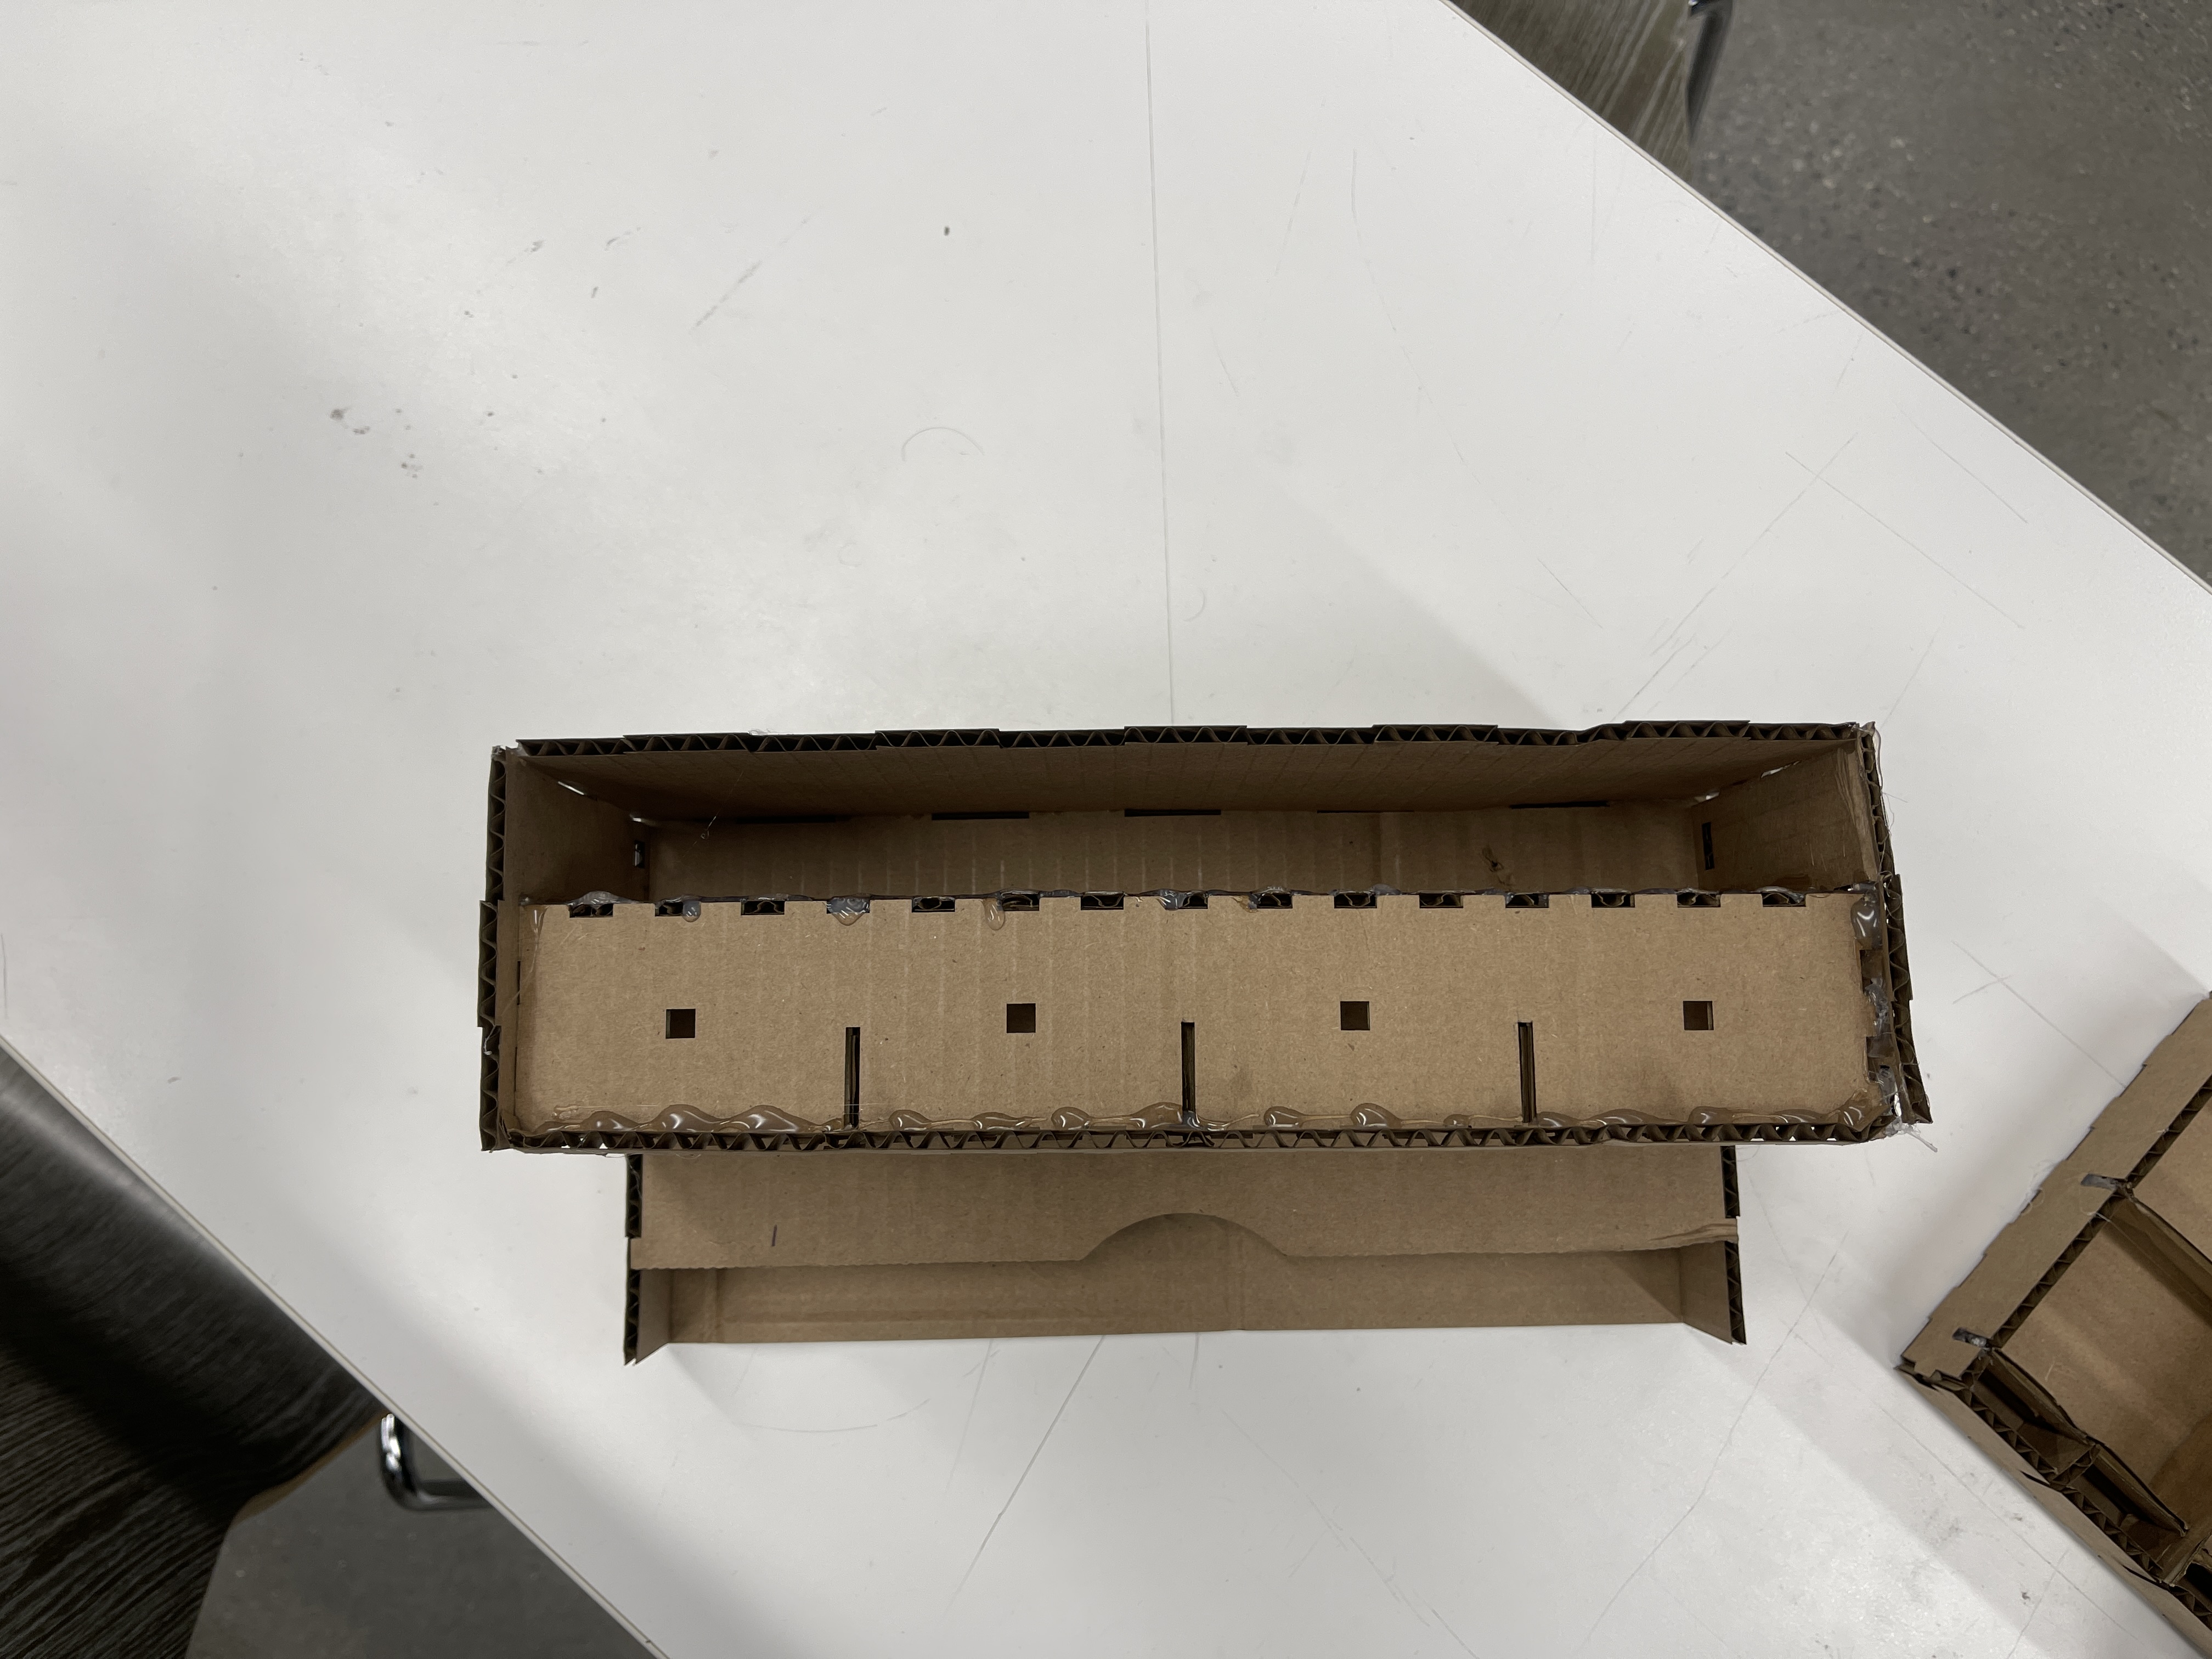
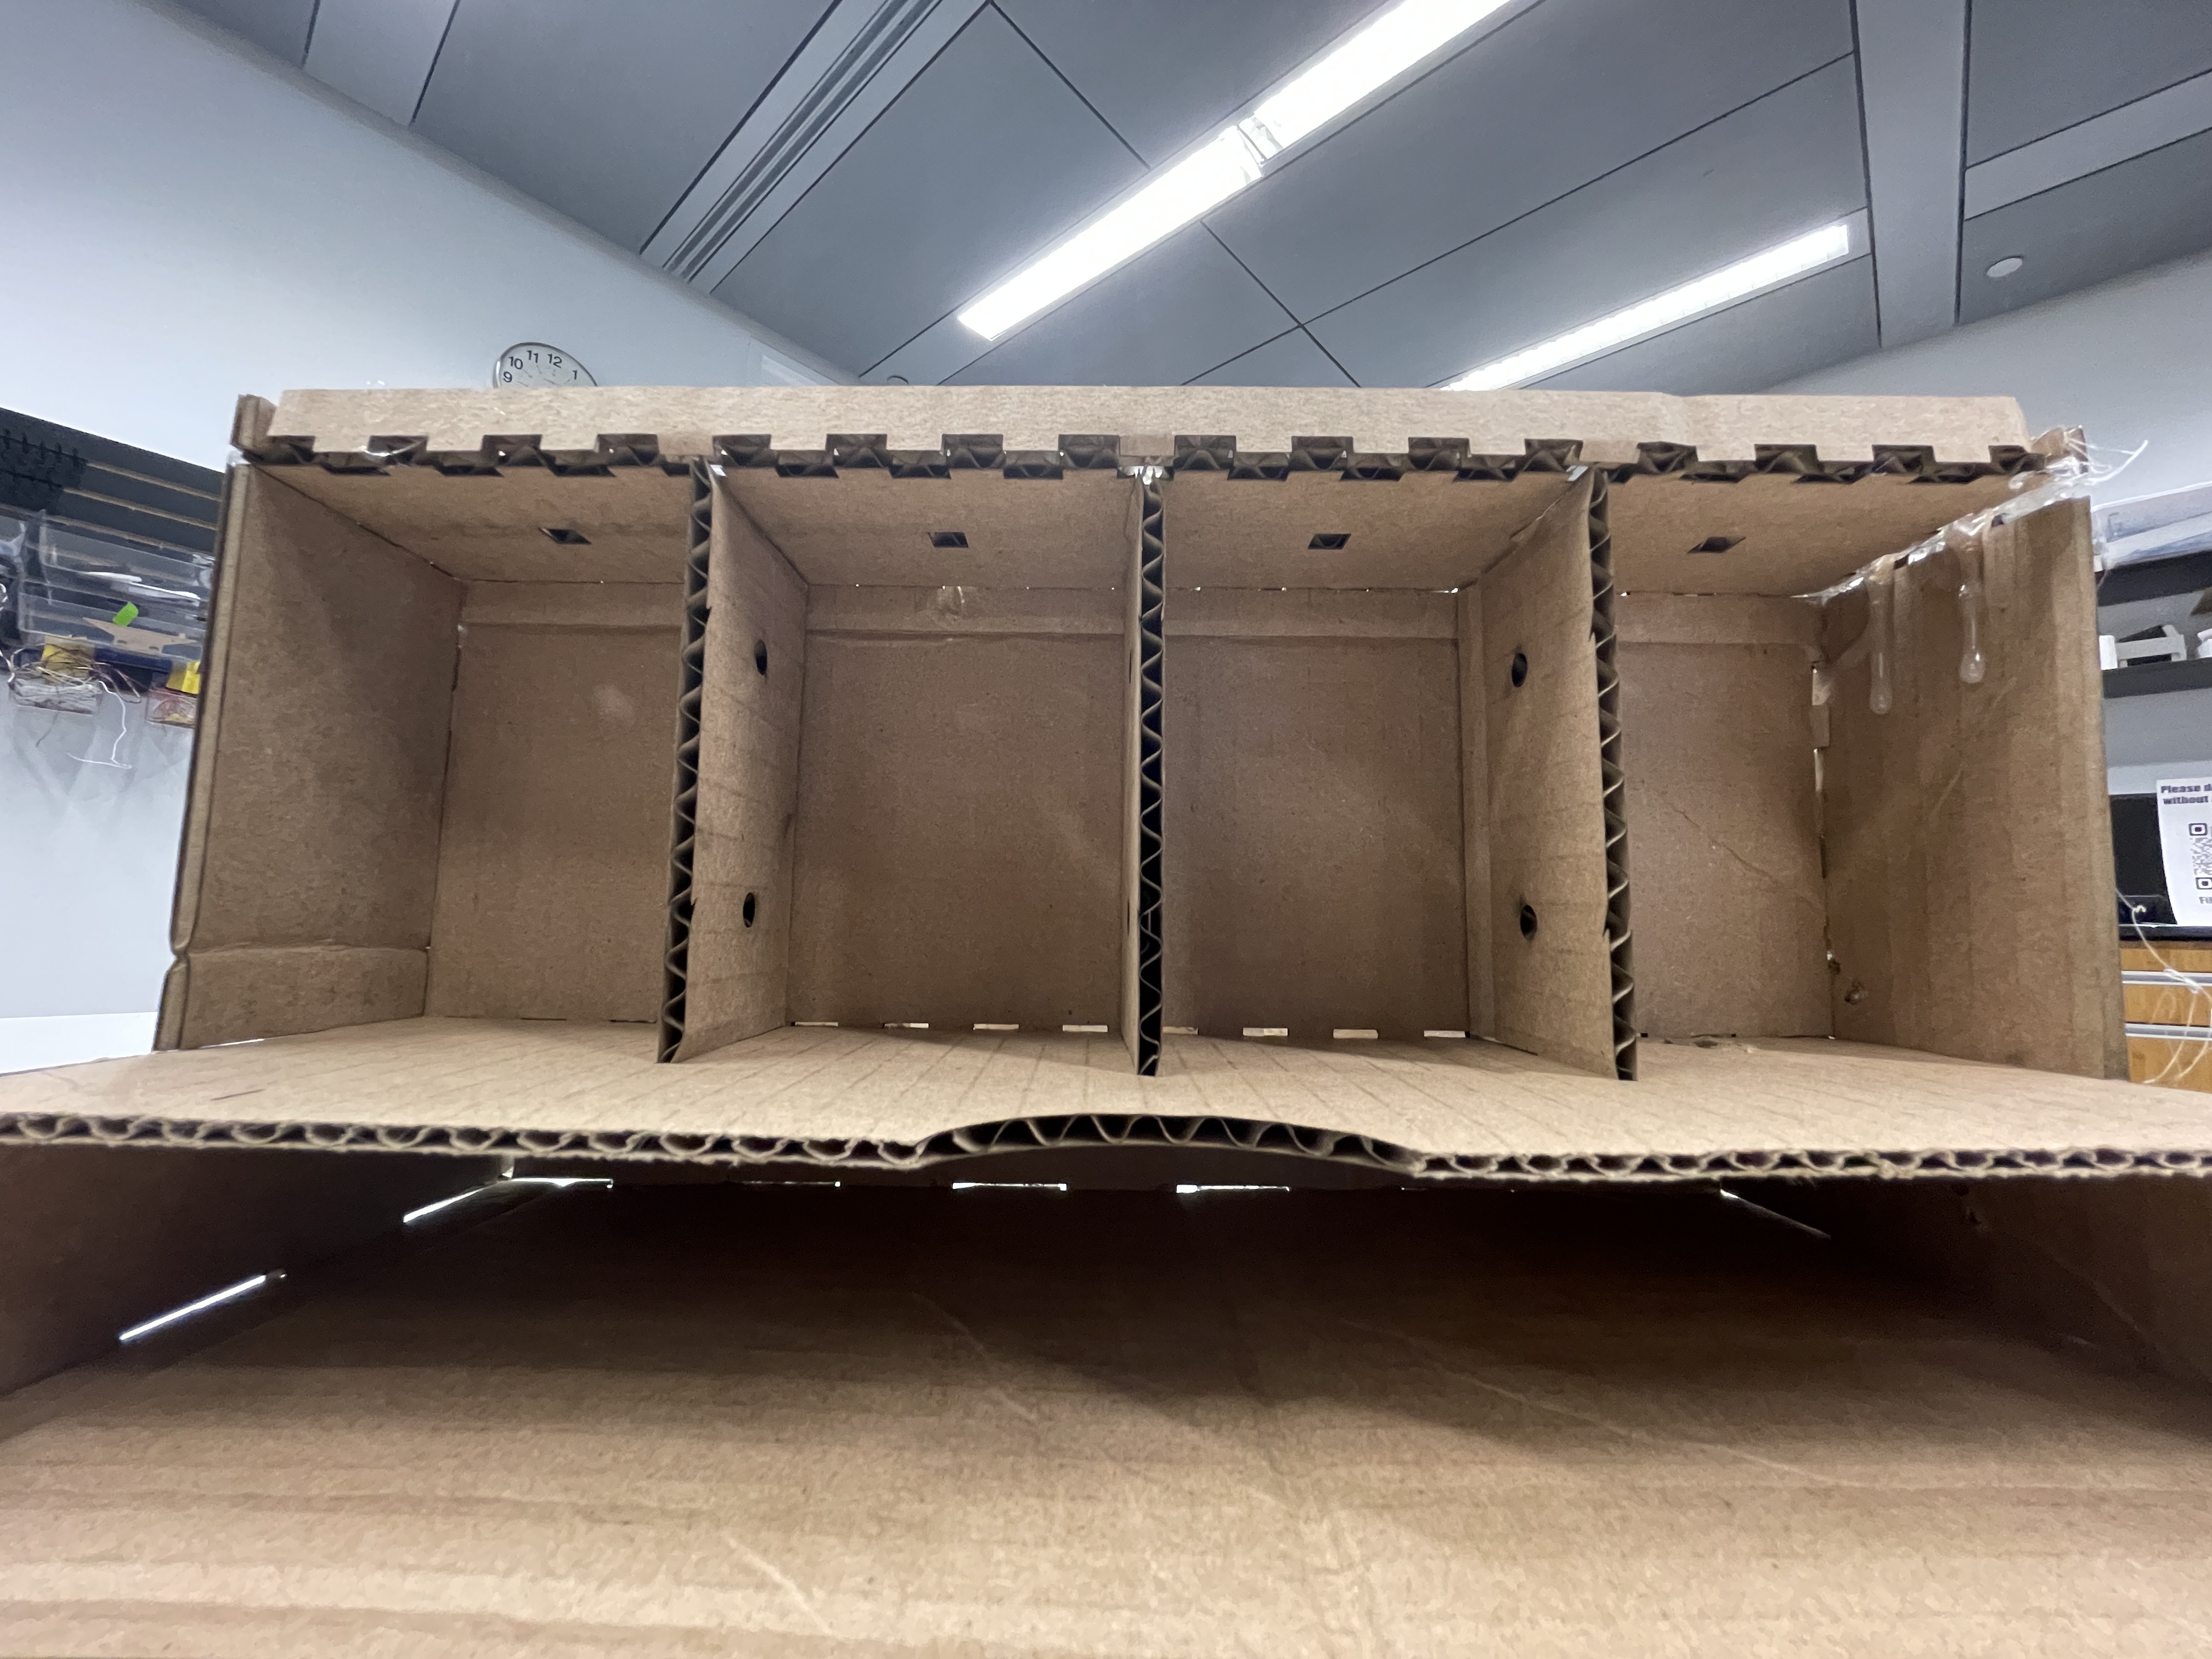
Turns out I made a couple errors with my dimensioning and general fittings for the pieces. Whoops. Looking back on it, the errors were nearly impossible to spot in the .stl files and I’m glad I made a cardboard version first otherwise I would never have spotted the mistakes.
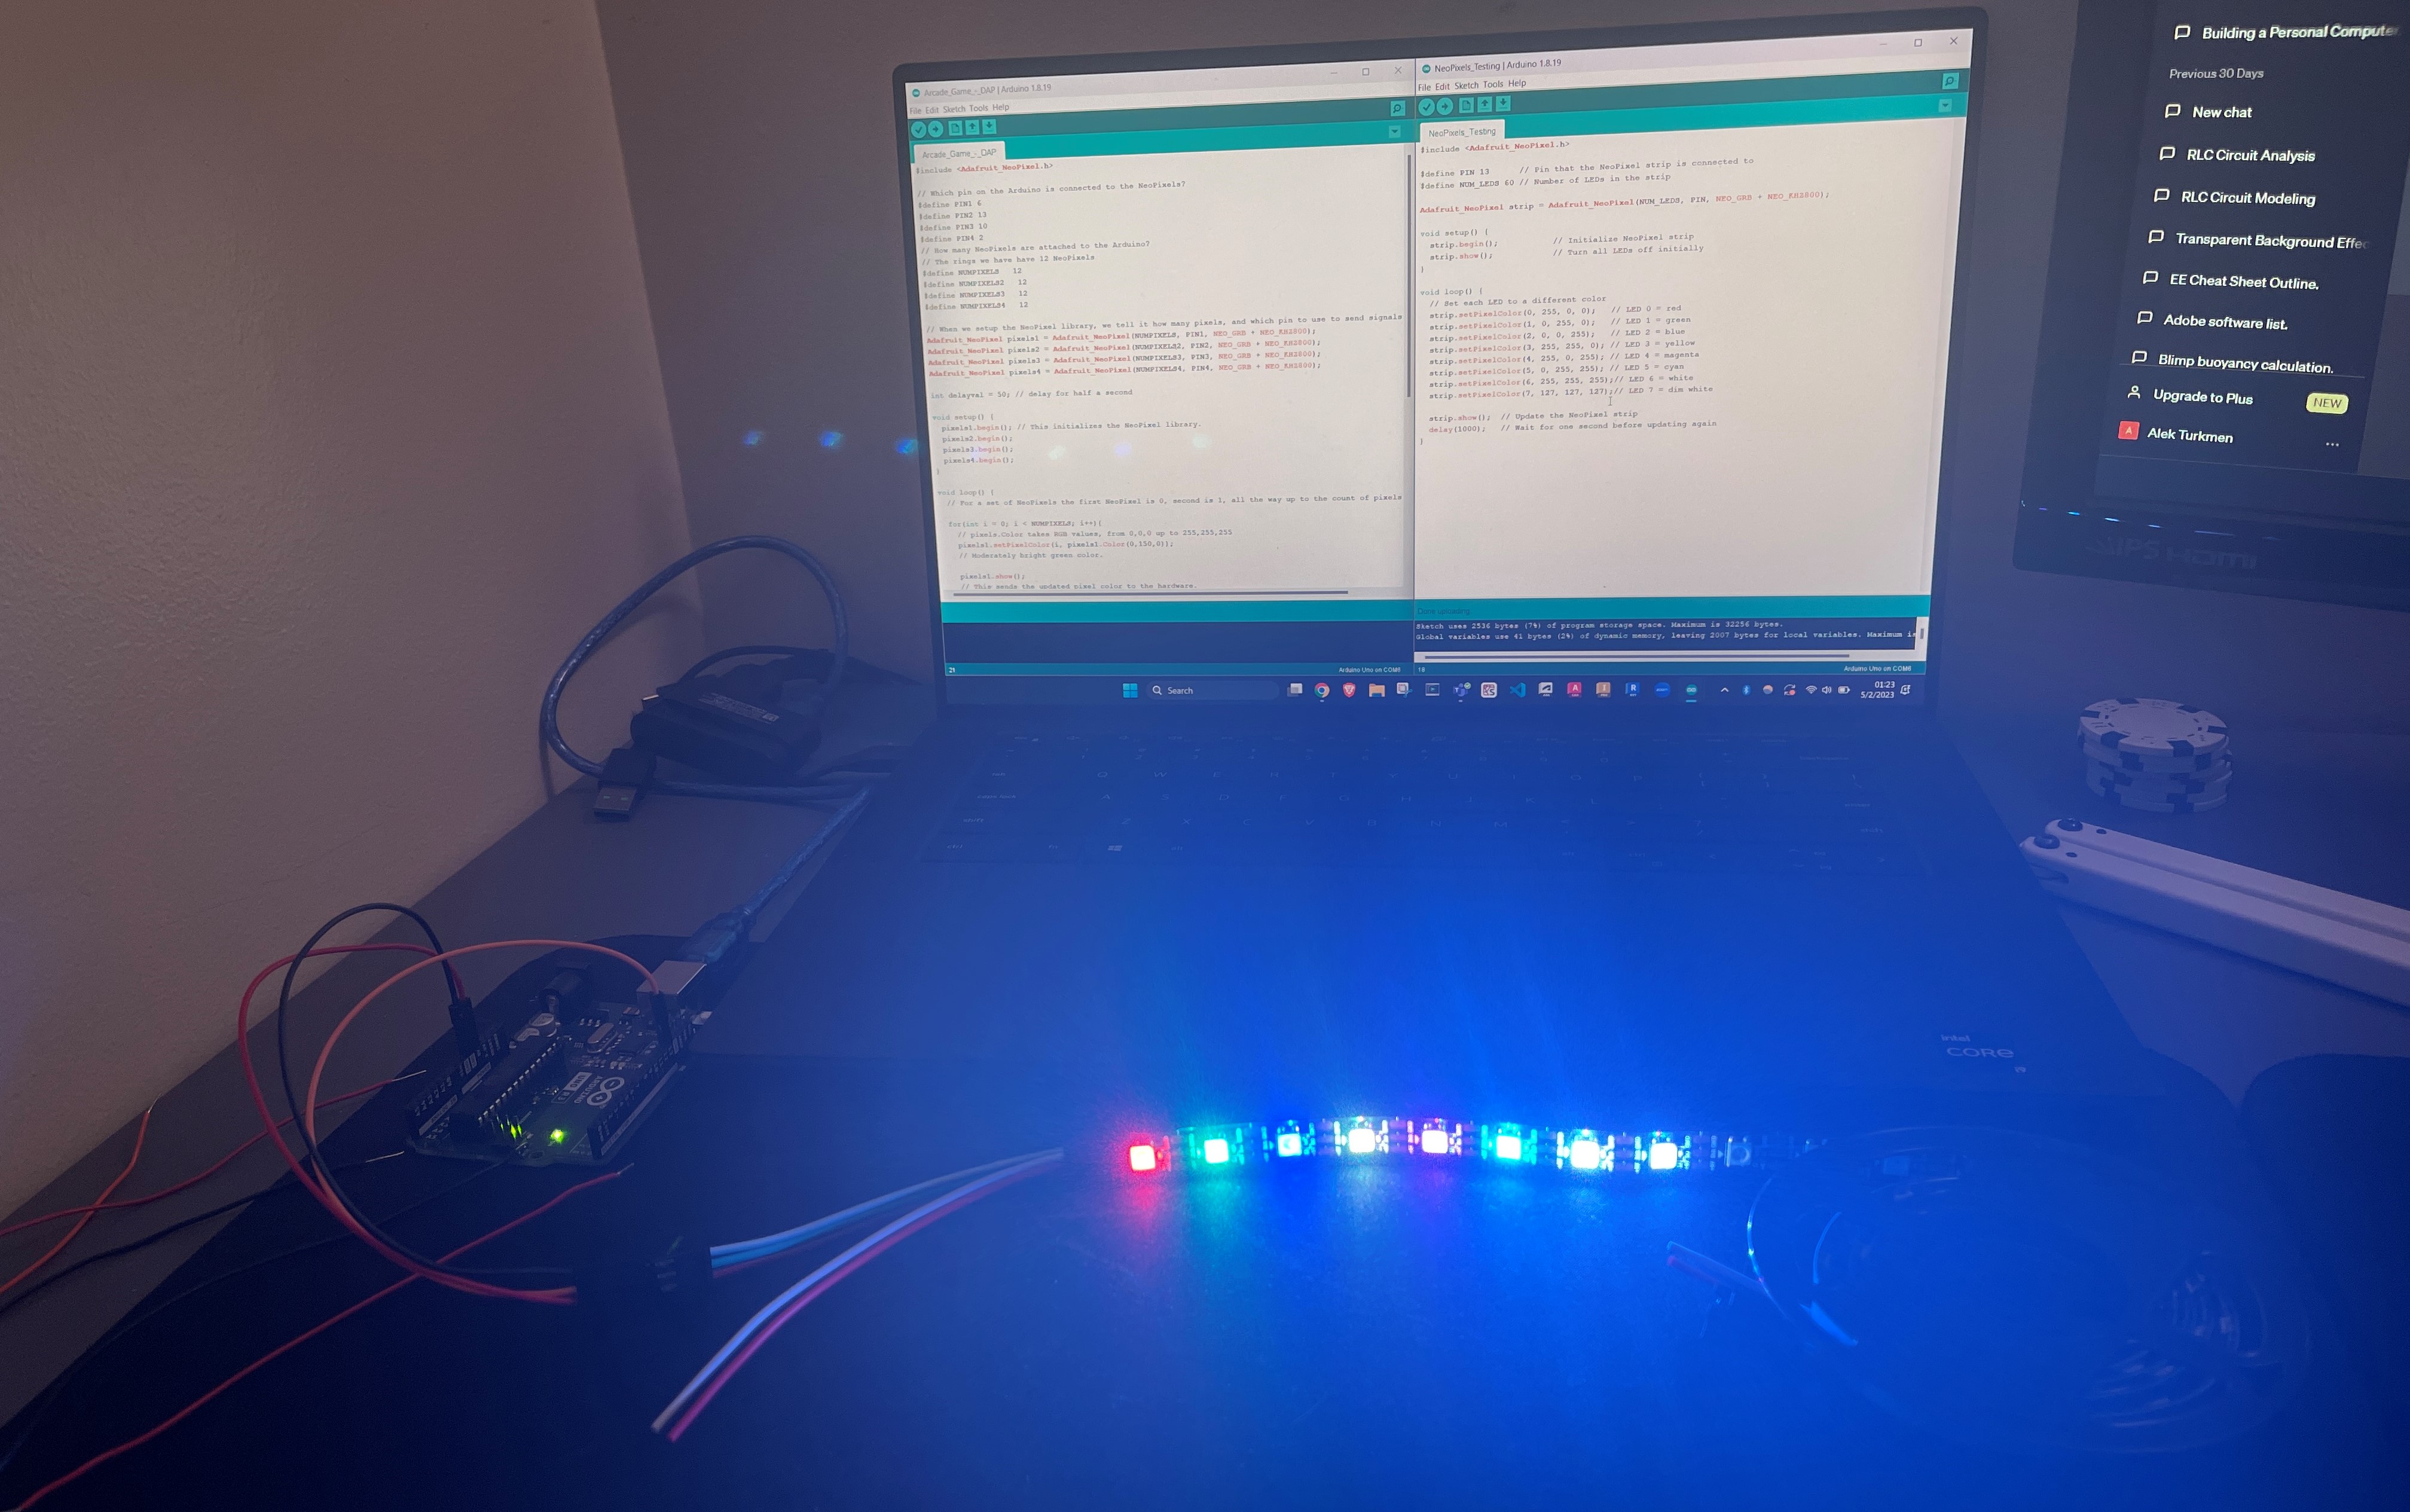
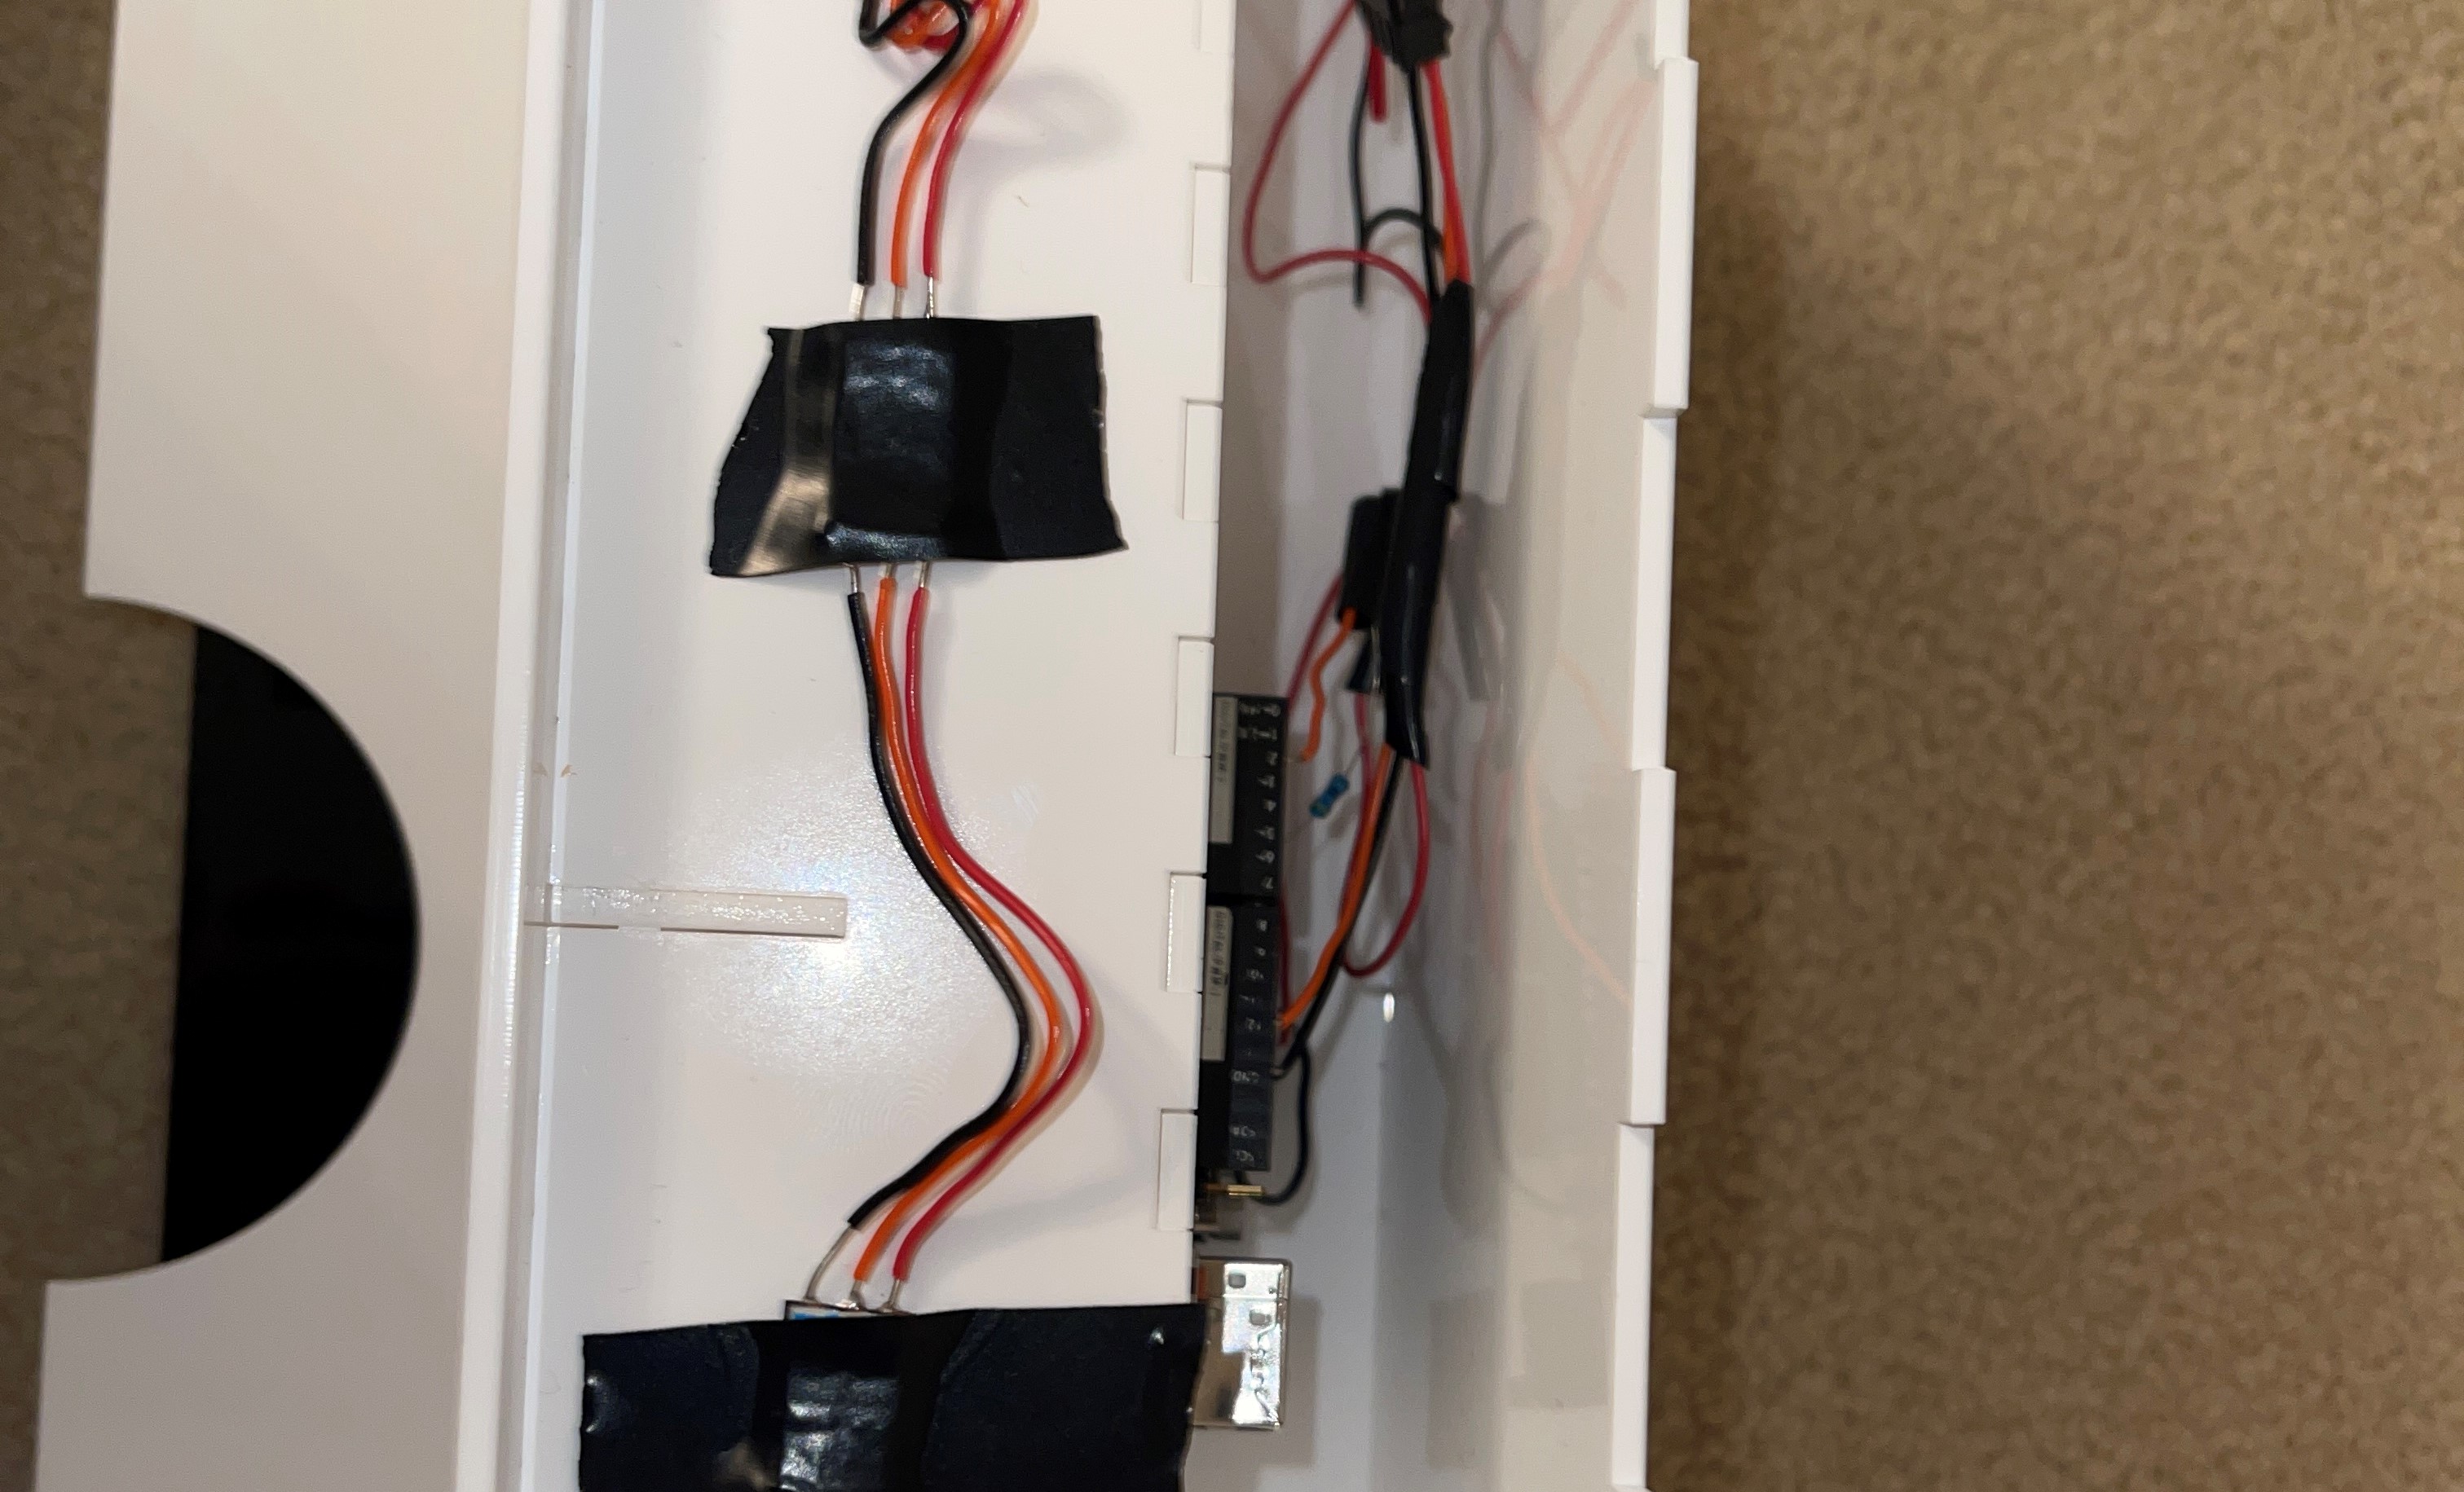
During the design process I also had to prototype and build an arduino/LED setup that cycled through a rainbow of colors after a button was pressed. My friend at Cooper introduced me to NeoPixel LED strips which allows each LED to be individually addressable by code. I also wanted the arduino to be able to be plugged in at any time so that the user did not have to use a laptop or separate battery.
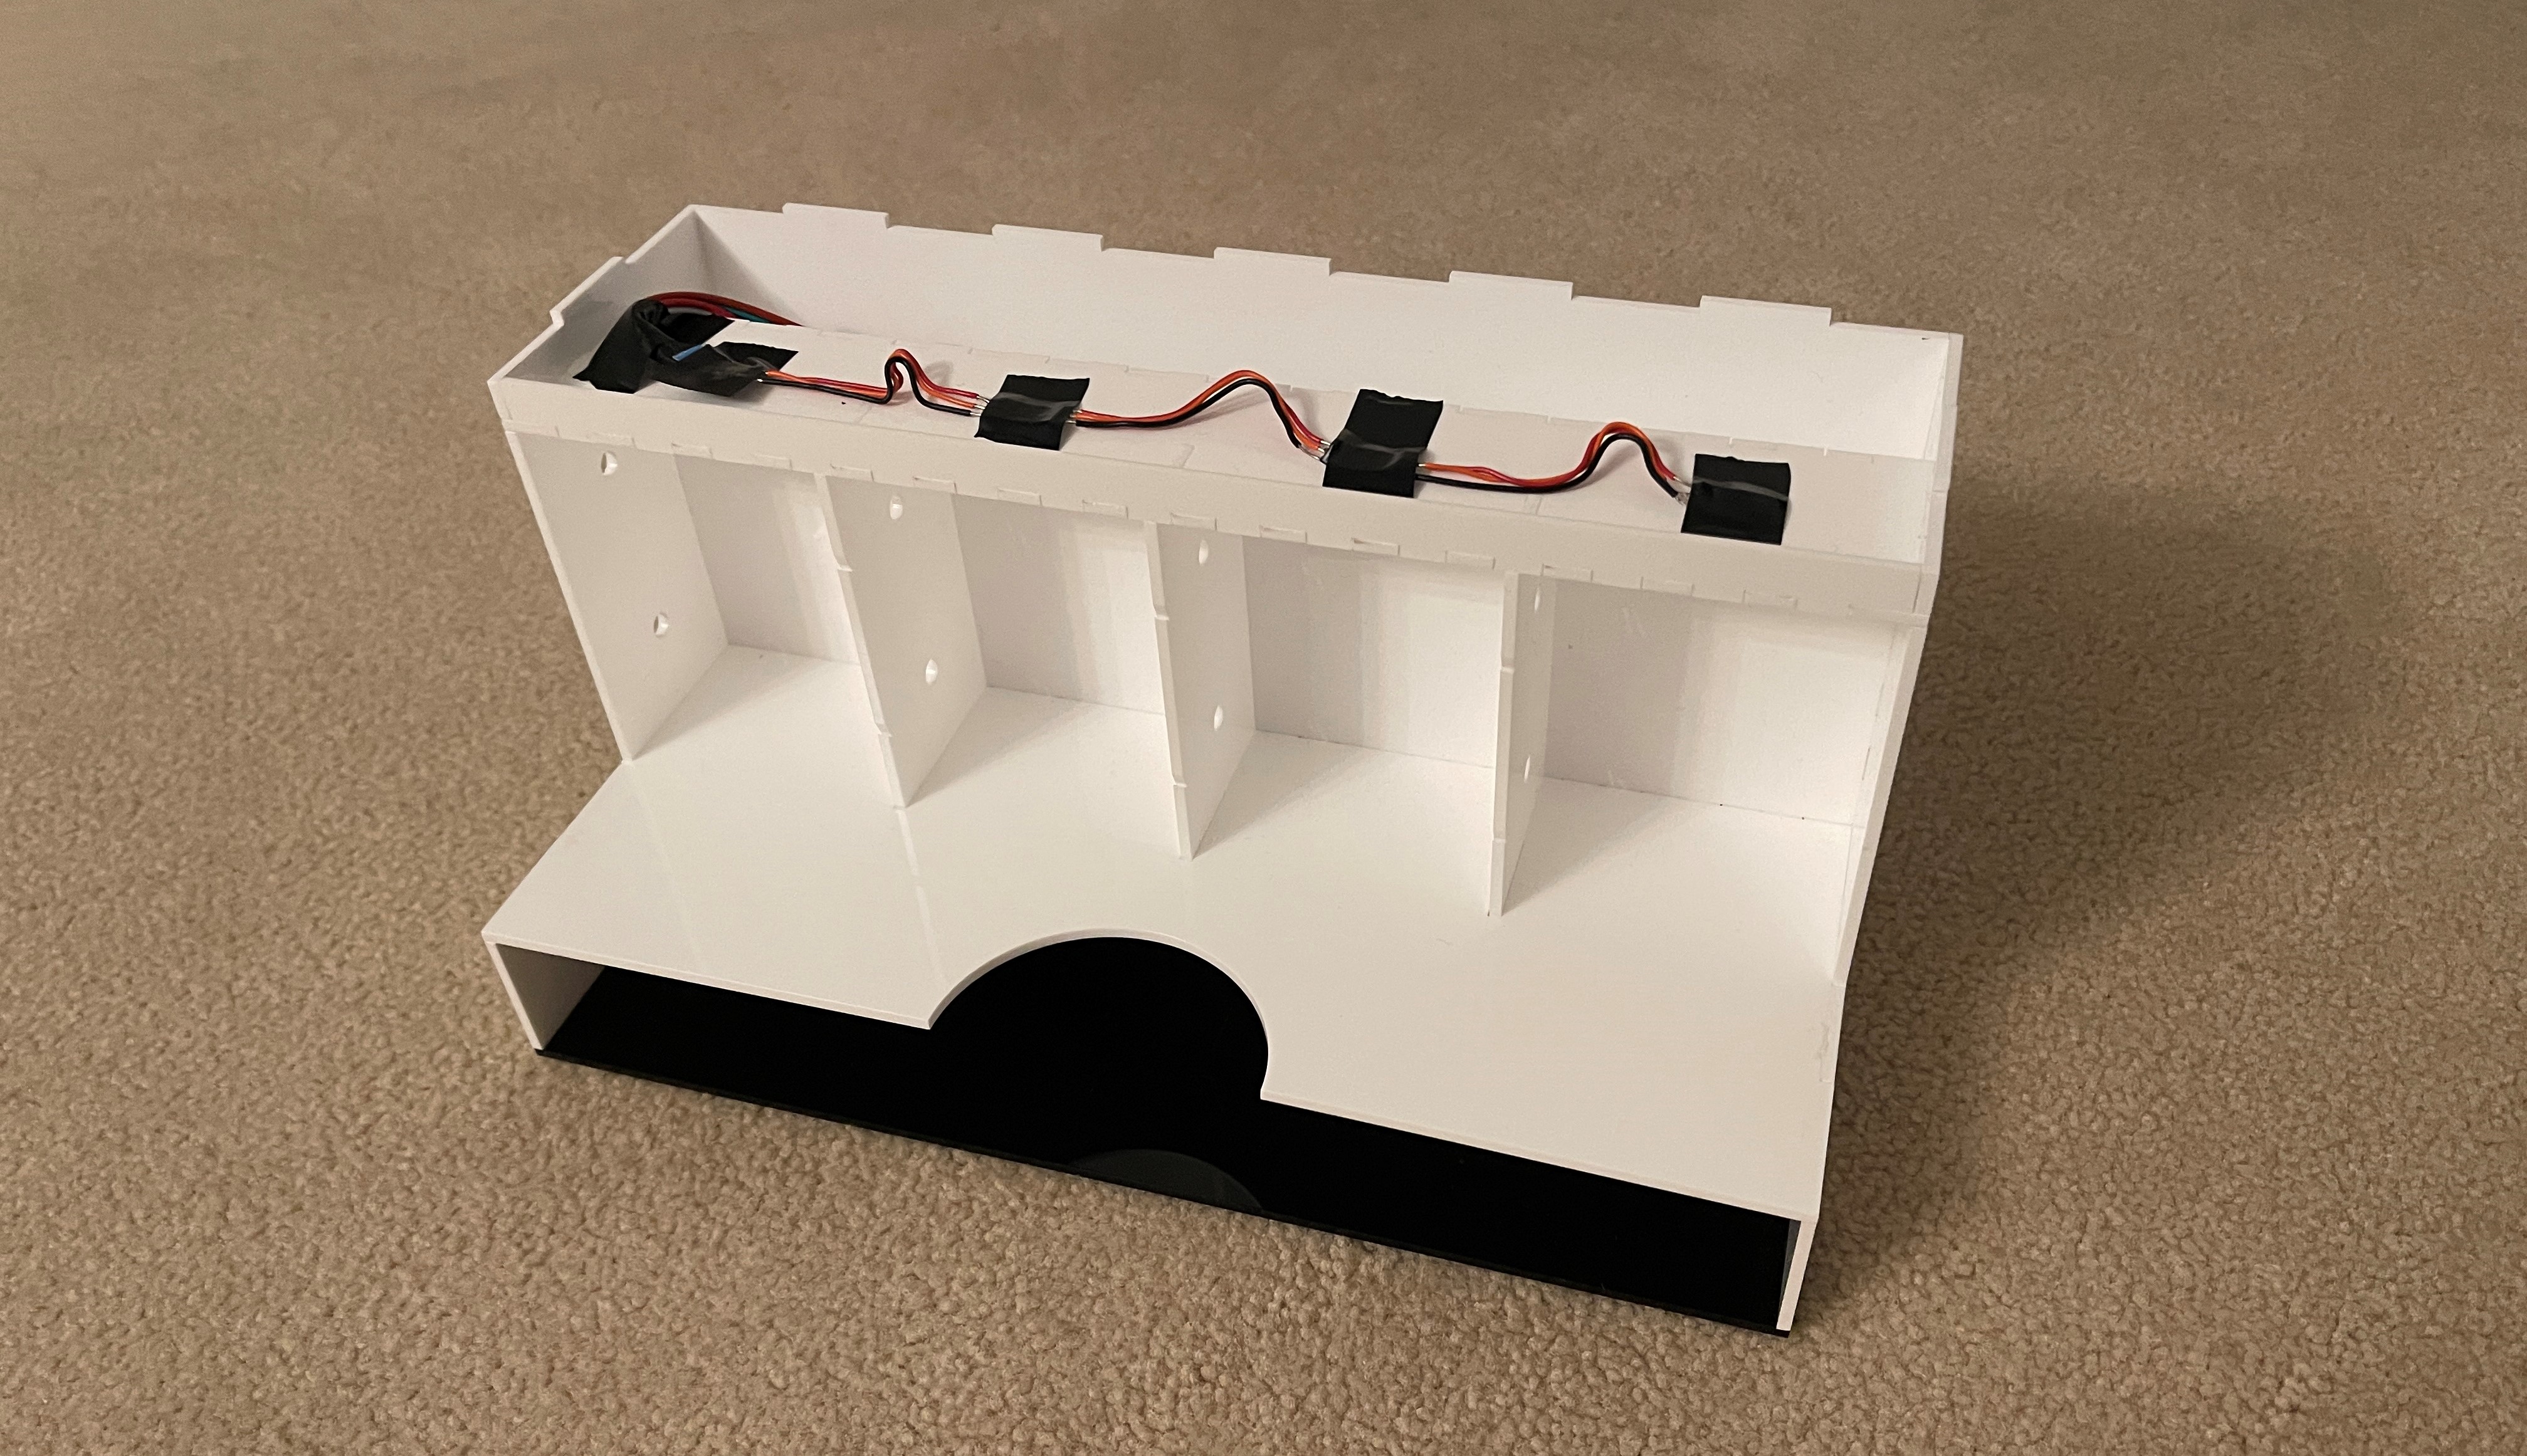
With all of this prototyping and testing I finally felt ready to laser cut into my two 18” x 32” Black/White acrylic boards. After having all of the pieces laser cut, I used a very strong acrylic adhesive to glue the pieces together. Shoutout to Prof. Lima for letting me use ALOT of his tools and laser cutter.
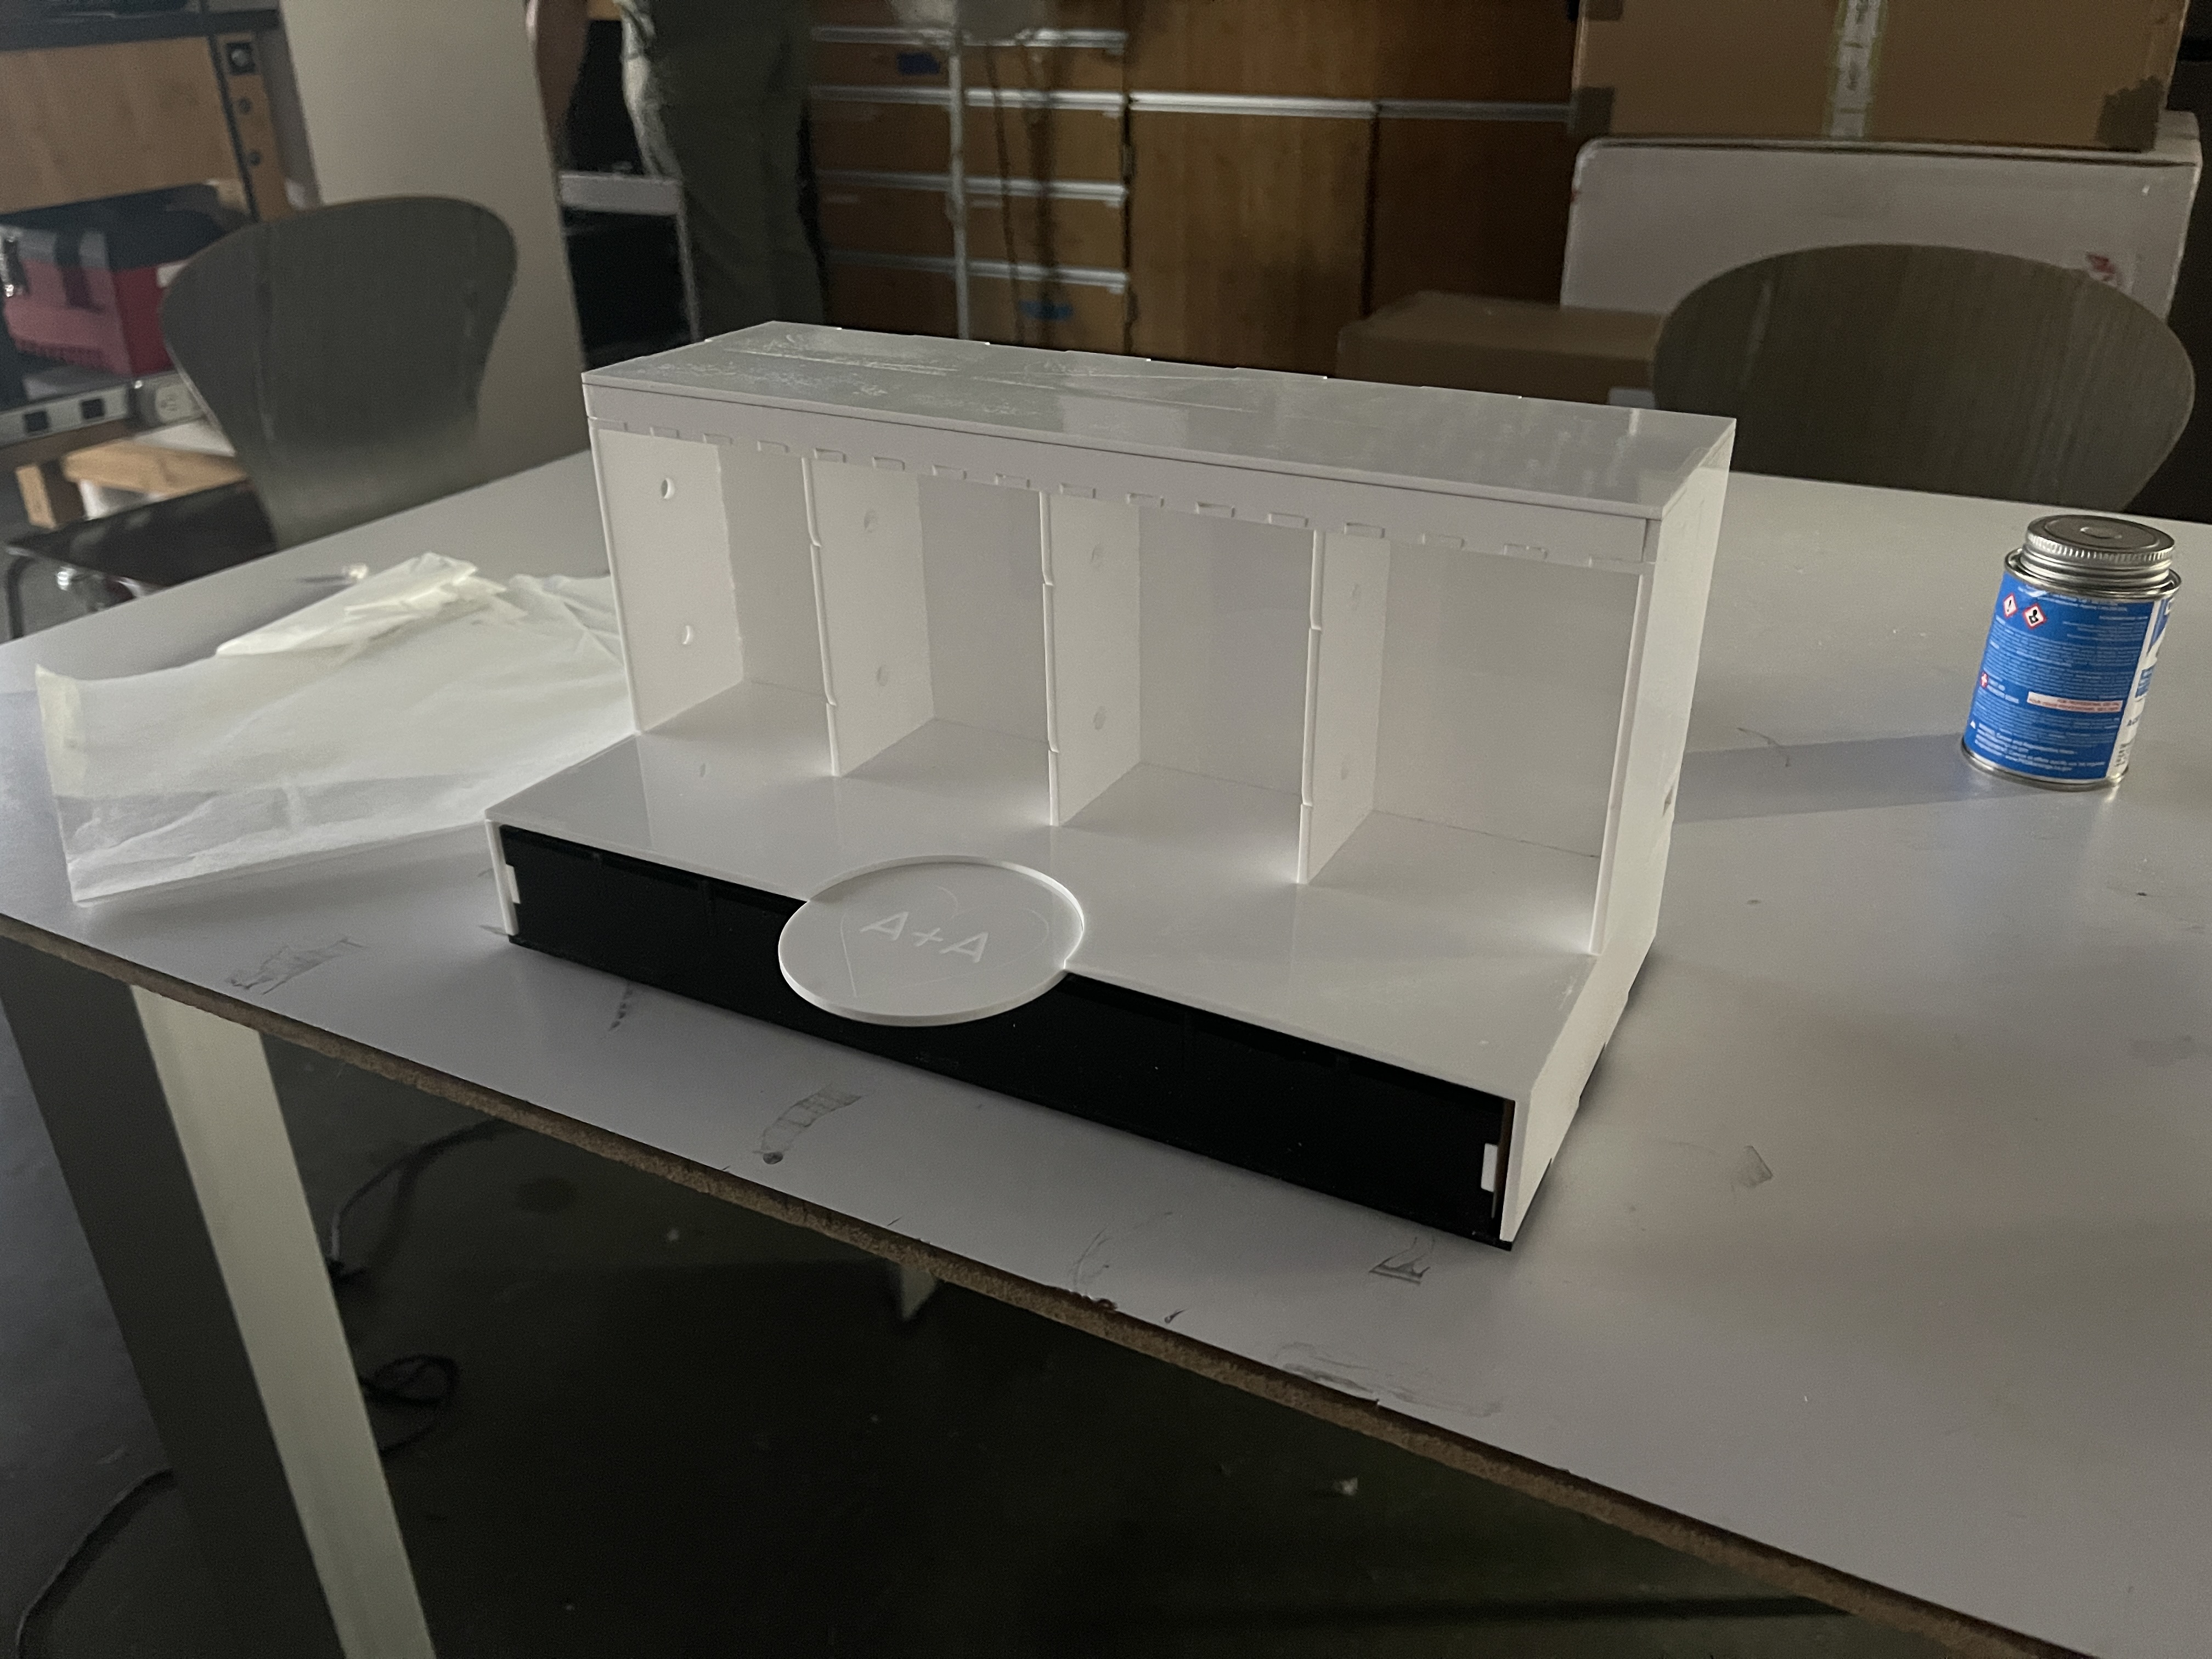
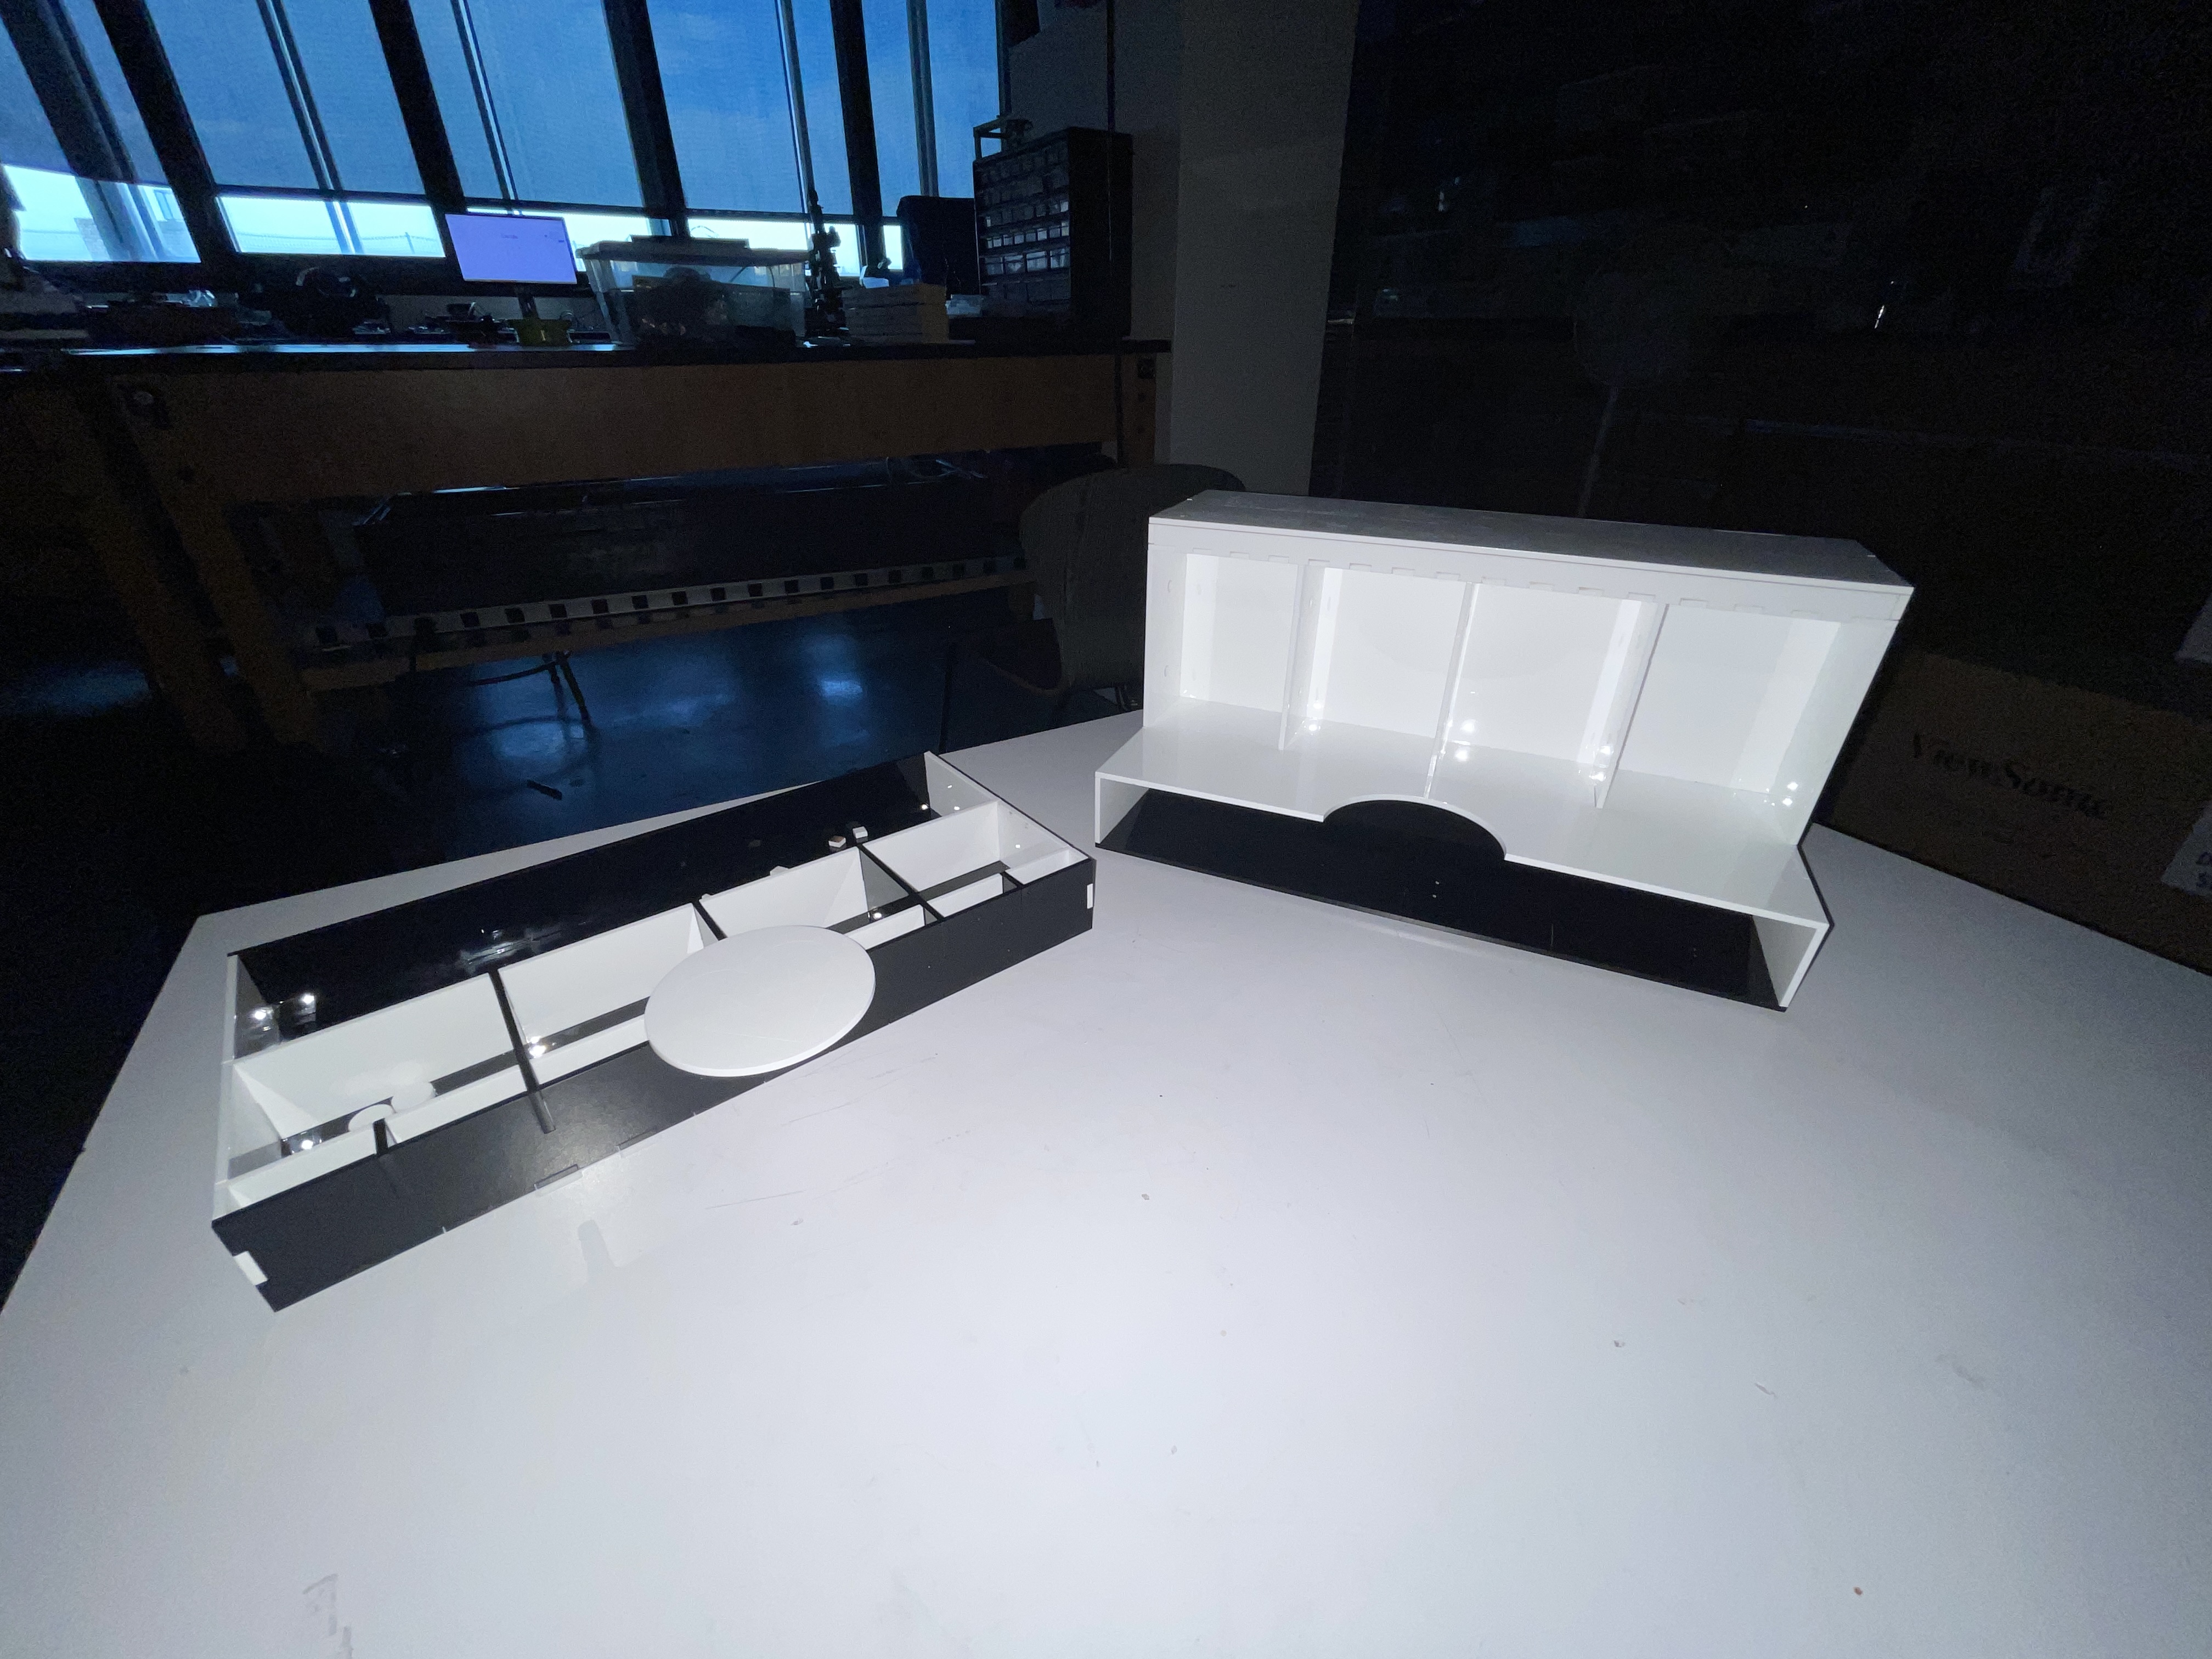
Below is the final product.
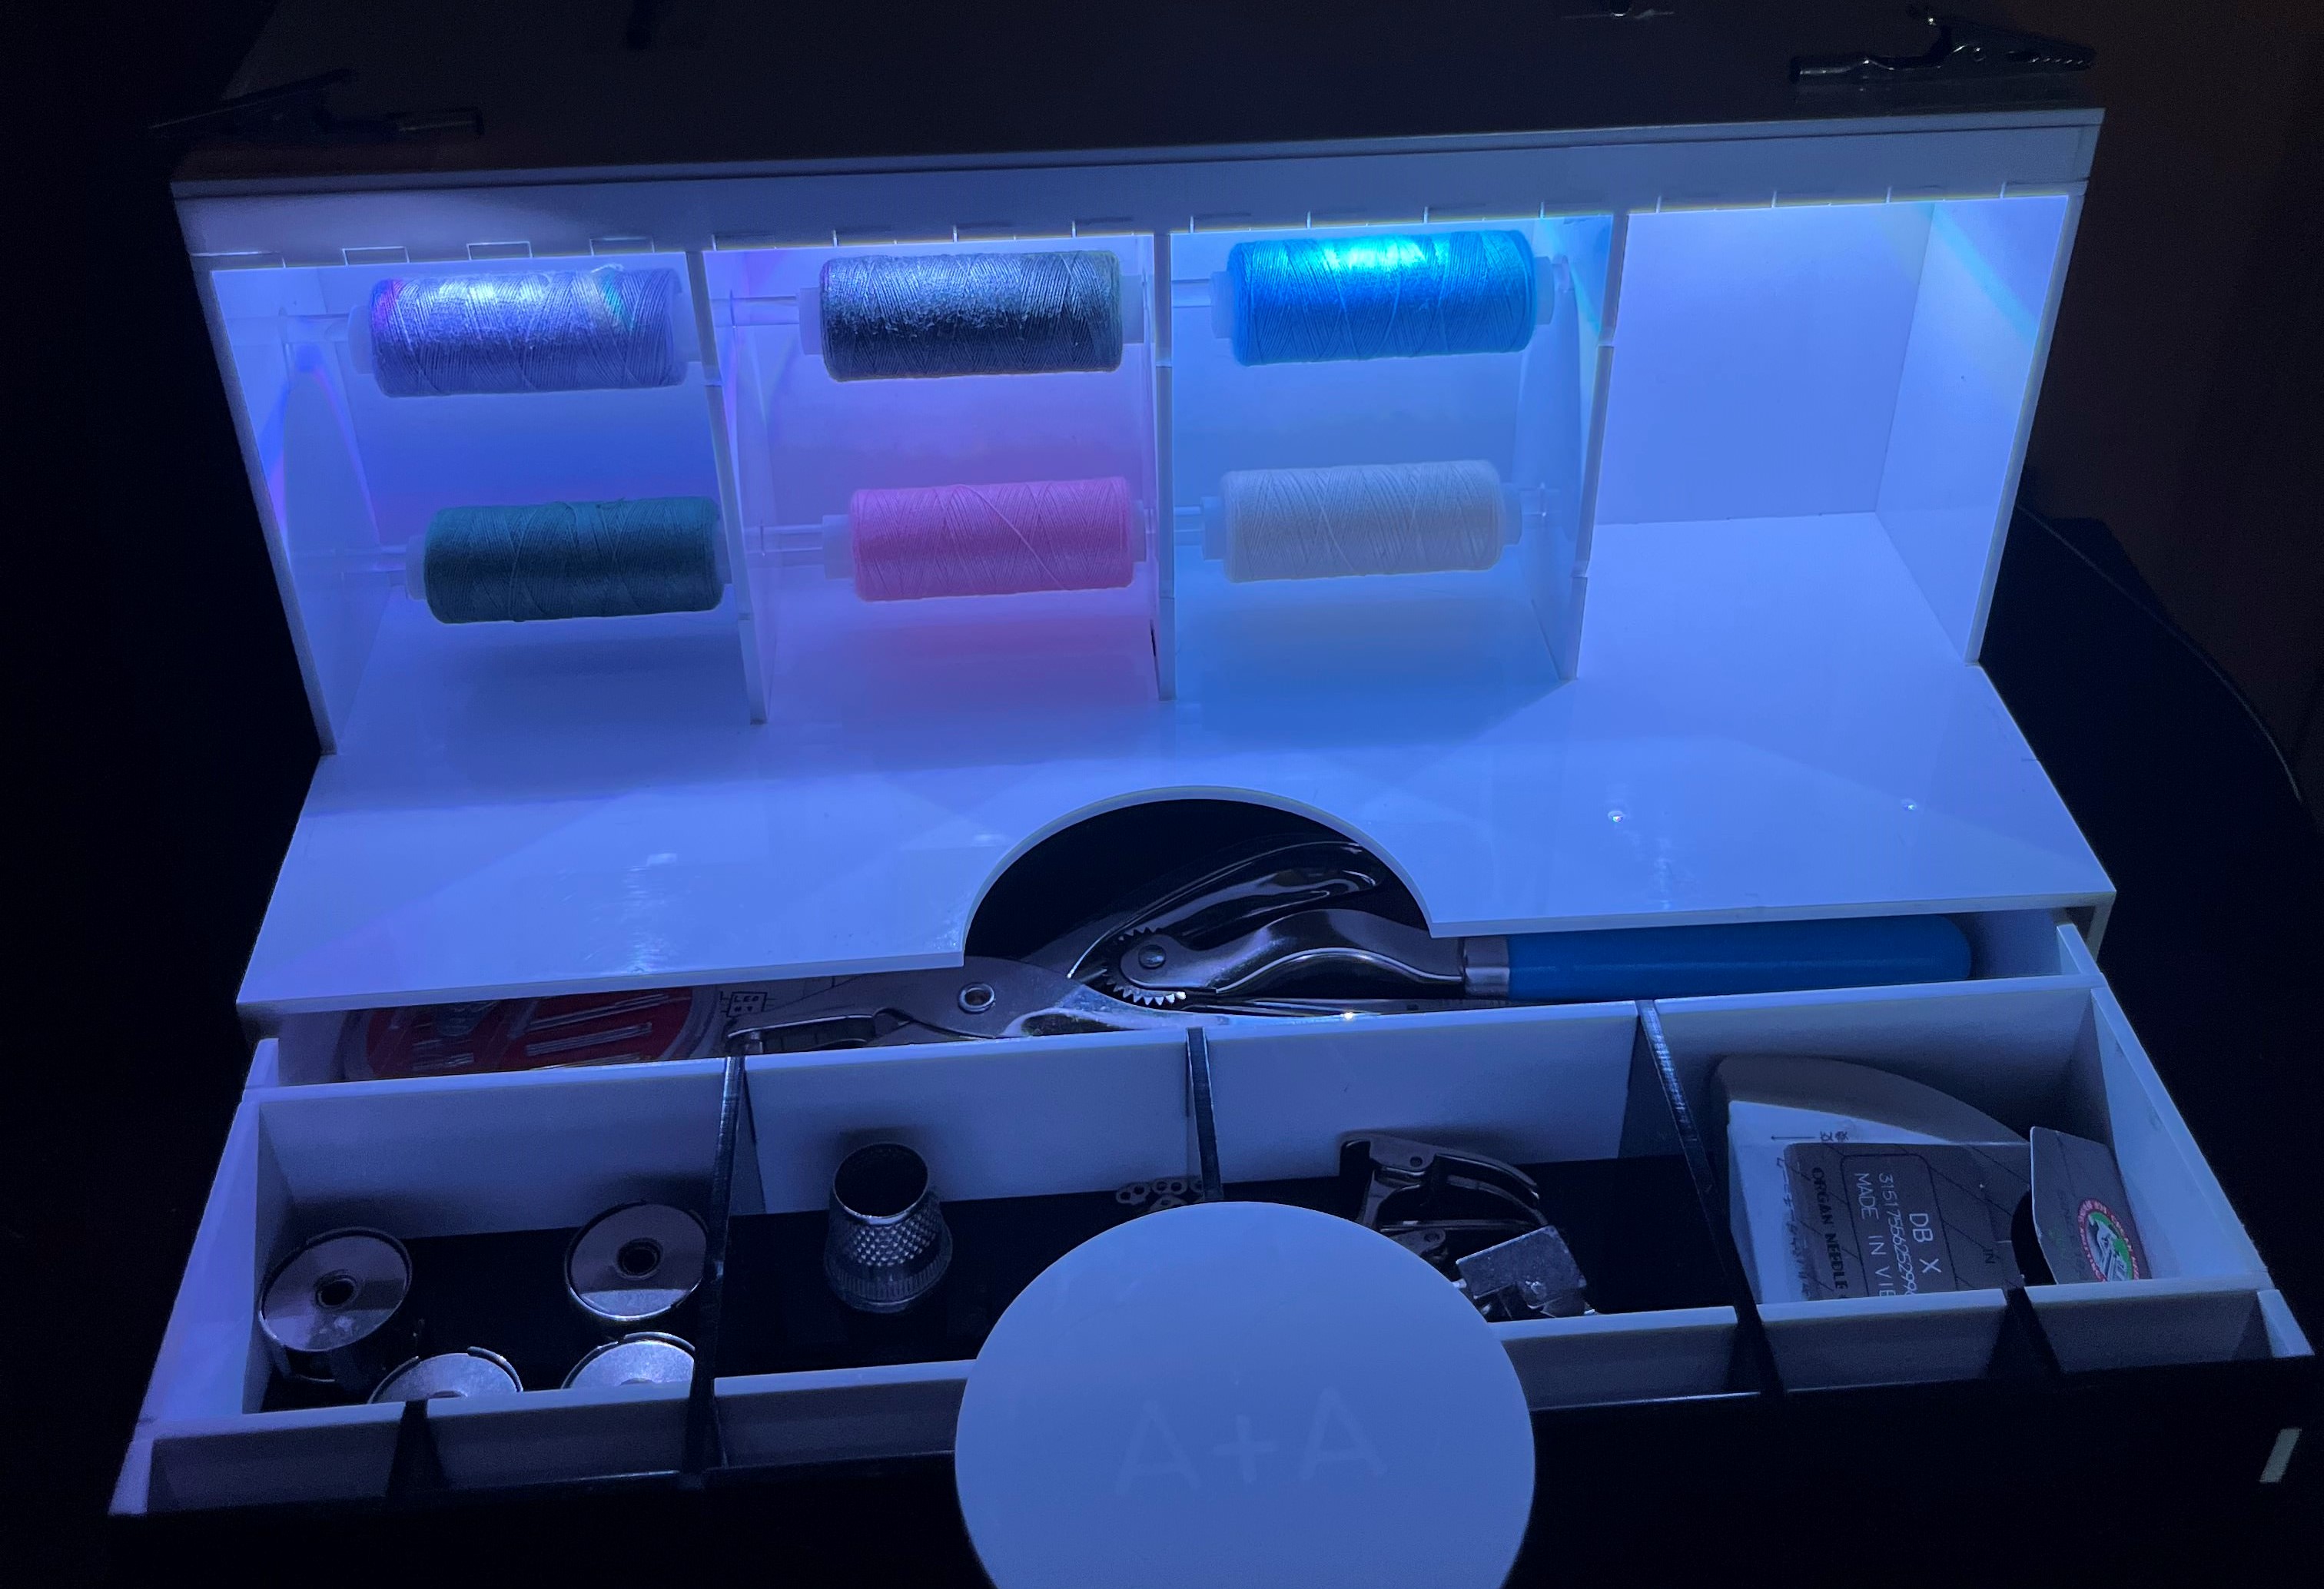
TLDR: I designed and created a customized toolbox and showcase for a fashion designer, optimizing workflow with storage, hangers, and a 3D printed dress form, using laser-cut pieces and an Arduino/LED setup, and assembling the final product with acrylic boards.