Restoring BMW 1989 E32
May 2022
Restoring BMW's flagship sedan to it's near-original.
Background of Car
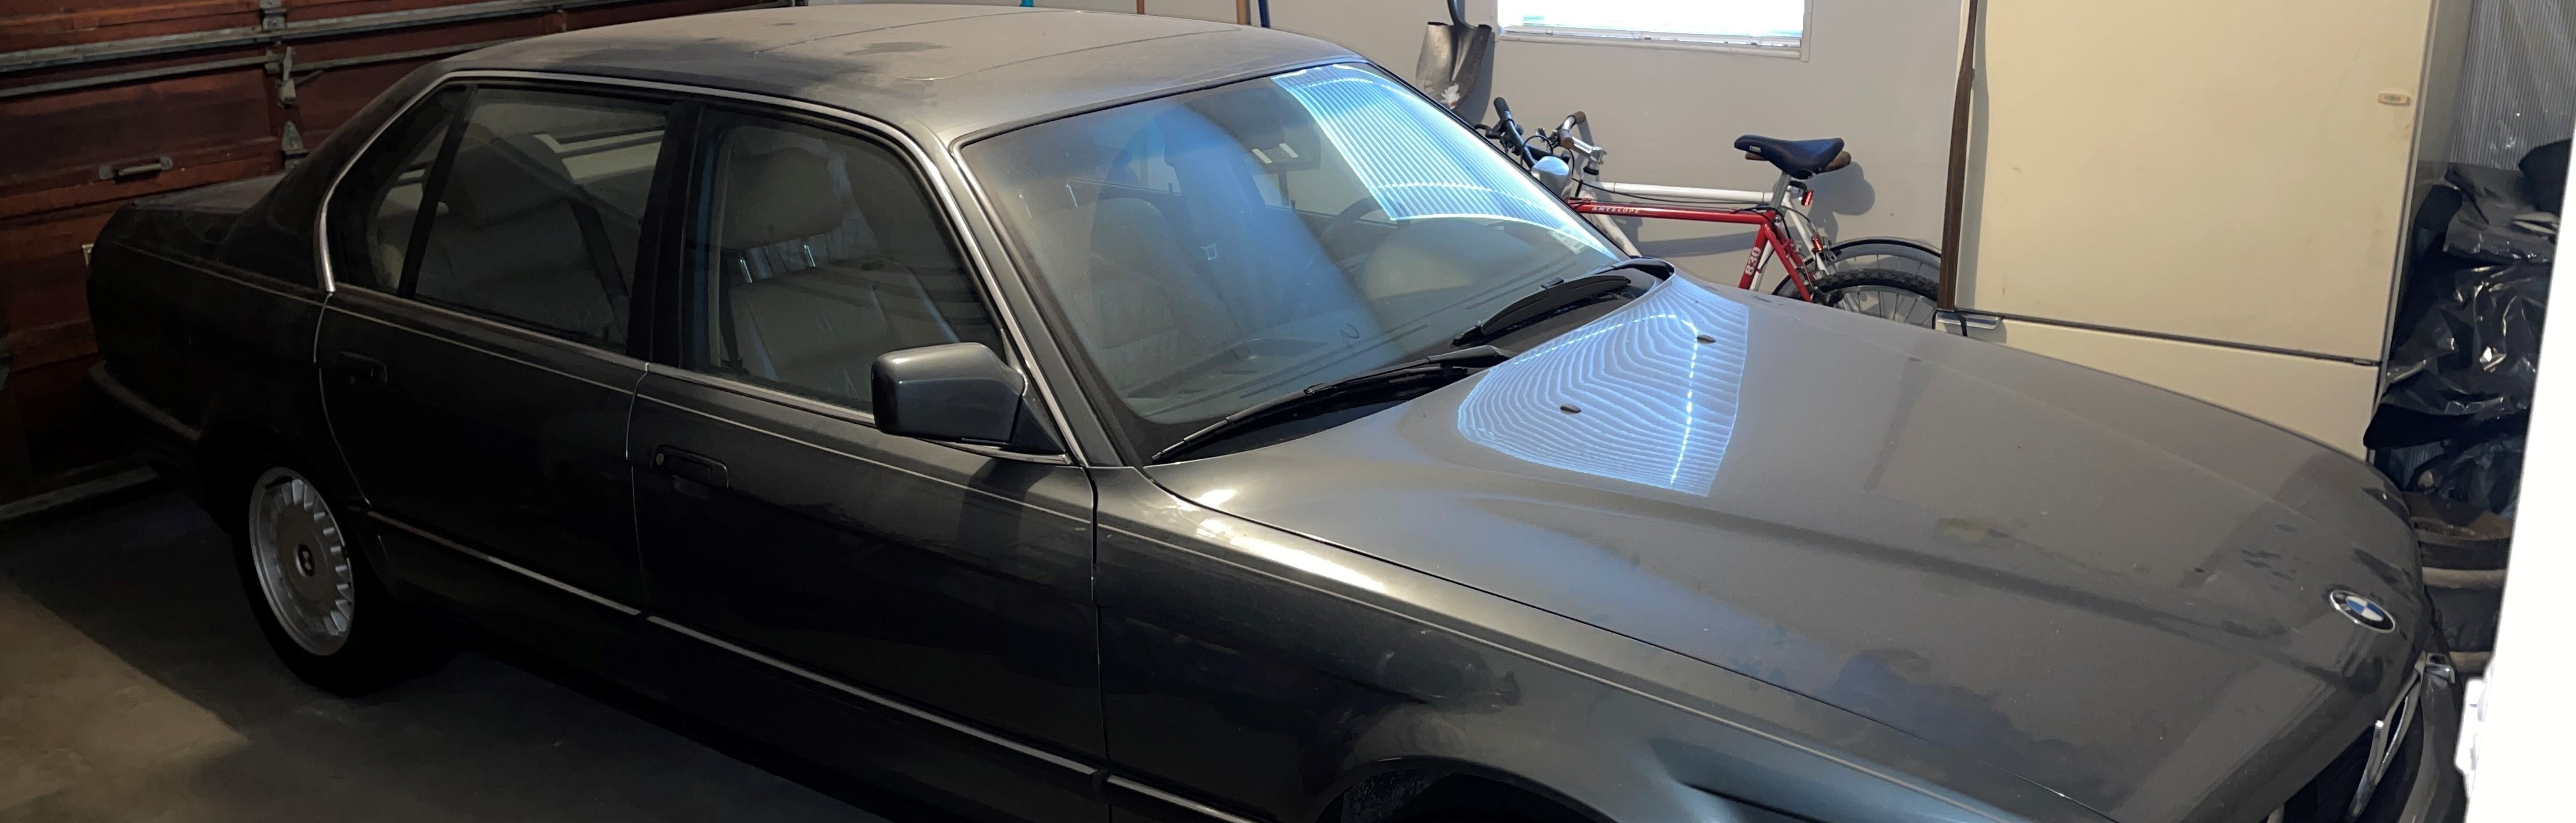
The BMW E32 is the second generation of the BMW 7 Series luxury cars and this specific model was made in 1989. This model also came with a straight-six engine, which is a piston engine with six cylinders arranged in a straight line along the car's crankshaft. Interestingly enough, the straight-six engine is much longer than a V6 and that’s what gives the BMW E32 its long look. The E32 was among the most technologically advanced series of cars in its day and introduced many new features like dual climate control and traction control. Nowadays it's quite old, but it still handles pretty well in fast and windy road conditions.
My dad has had this car for quite a while and it spends most of its time in the garage. It’s not a commuter car and it hasn’t been properly maintained over the years. Given the green light from my dad, he’s allowed me to work on the car and make any changes I deem necessary. I spent the last summer repairing and replacing many things and here’s what that looked like.
Seat Twist Fix
The BMW E32 and many cars made during this time faced an extremely common defect in the front two seats. The problem, known as seat twist, is relatively straightforward in concept but tricky to fix. It involves taking the seat out of the car, pulling out the drive cables that mechanically adjust the seat, and cutting/heating up/twisting the drive cables back into their original condition. I’ll explain more in-depth in the next paragraph, but this was by far the hardest task I faced when restoring my BMW.
So seat twist is when the electric motors in the seat are misaligned on either side causing the seat to not be square with the steering wheel. This problem isn’t going to hinder someone from driving a car but if left unrepaired it can get very annoying and uncomfortable for the driver.
The infamous seat-back twist is a common issue that can be caused by either the outer sheath of the drive cable(s) stretching or the inner cable shortening due to wind-up, resulting in disengagement either at the motor or the worm drive responsible for adjusting the seat back. Fortunately, there are several approaches to fix this problem. The repair process can be carried out with the seat either in or out of the car. In my case, as it was my first attempt, I opted to remove the seat and work on it upside down on a pad for better access and visibility.
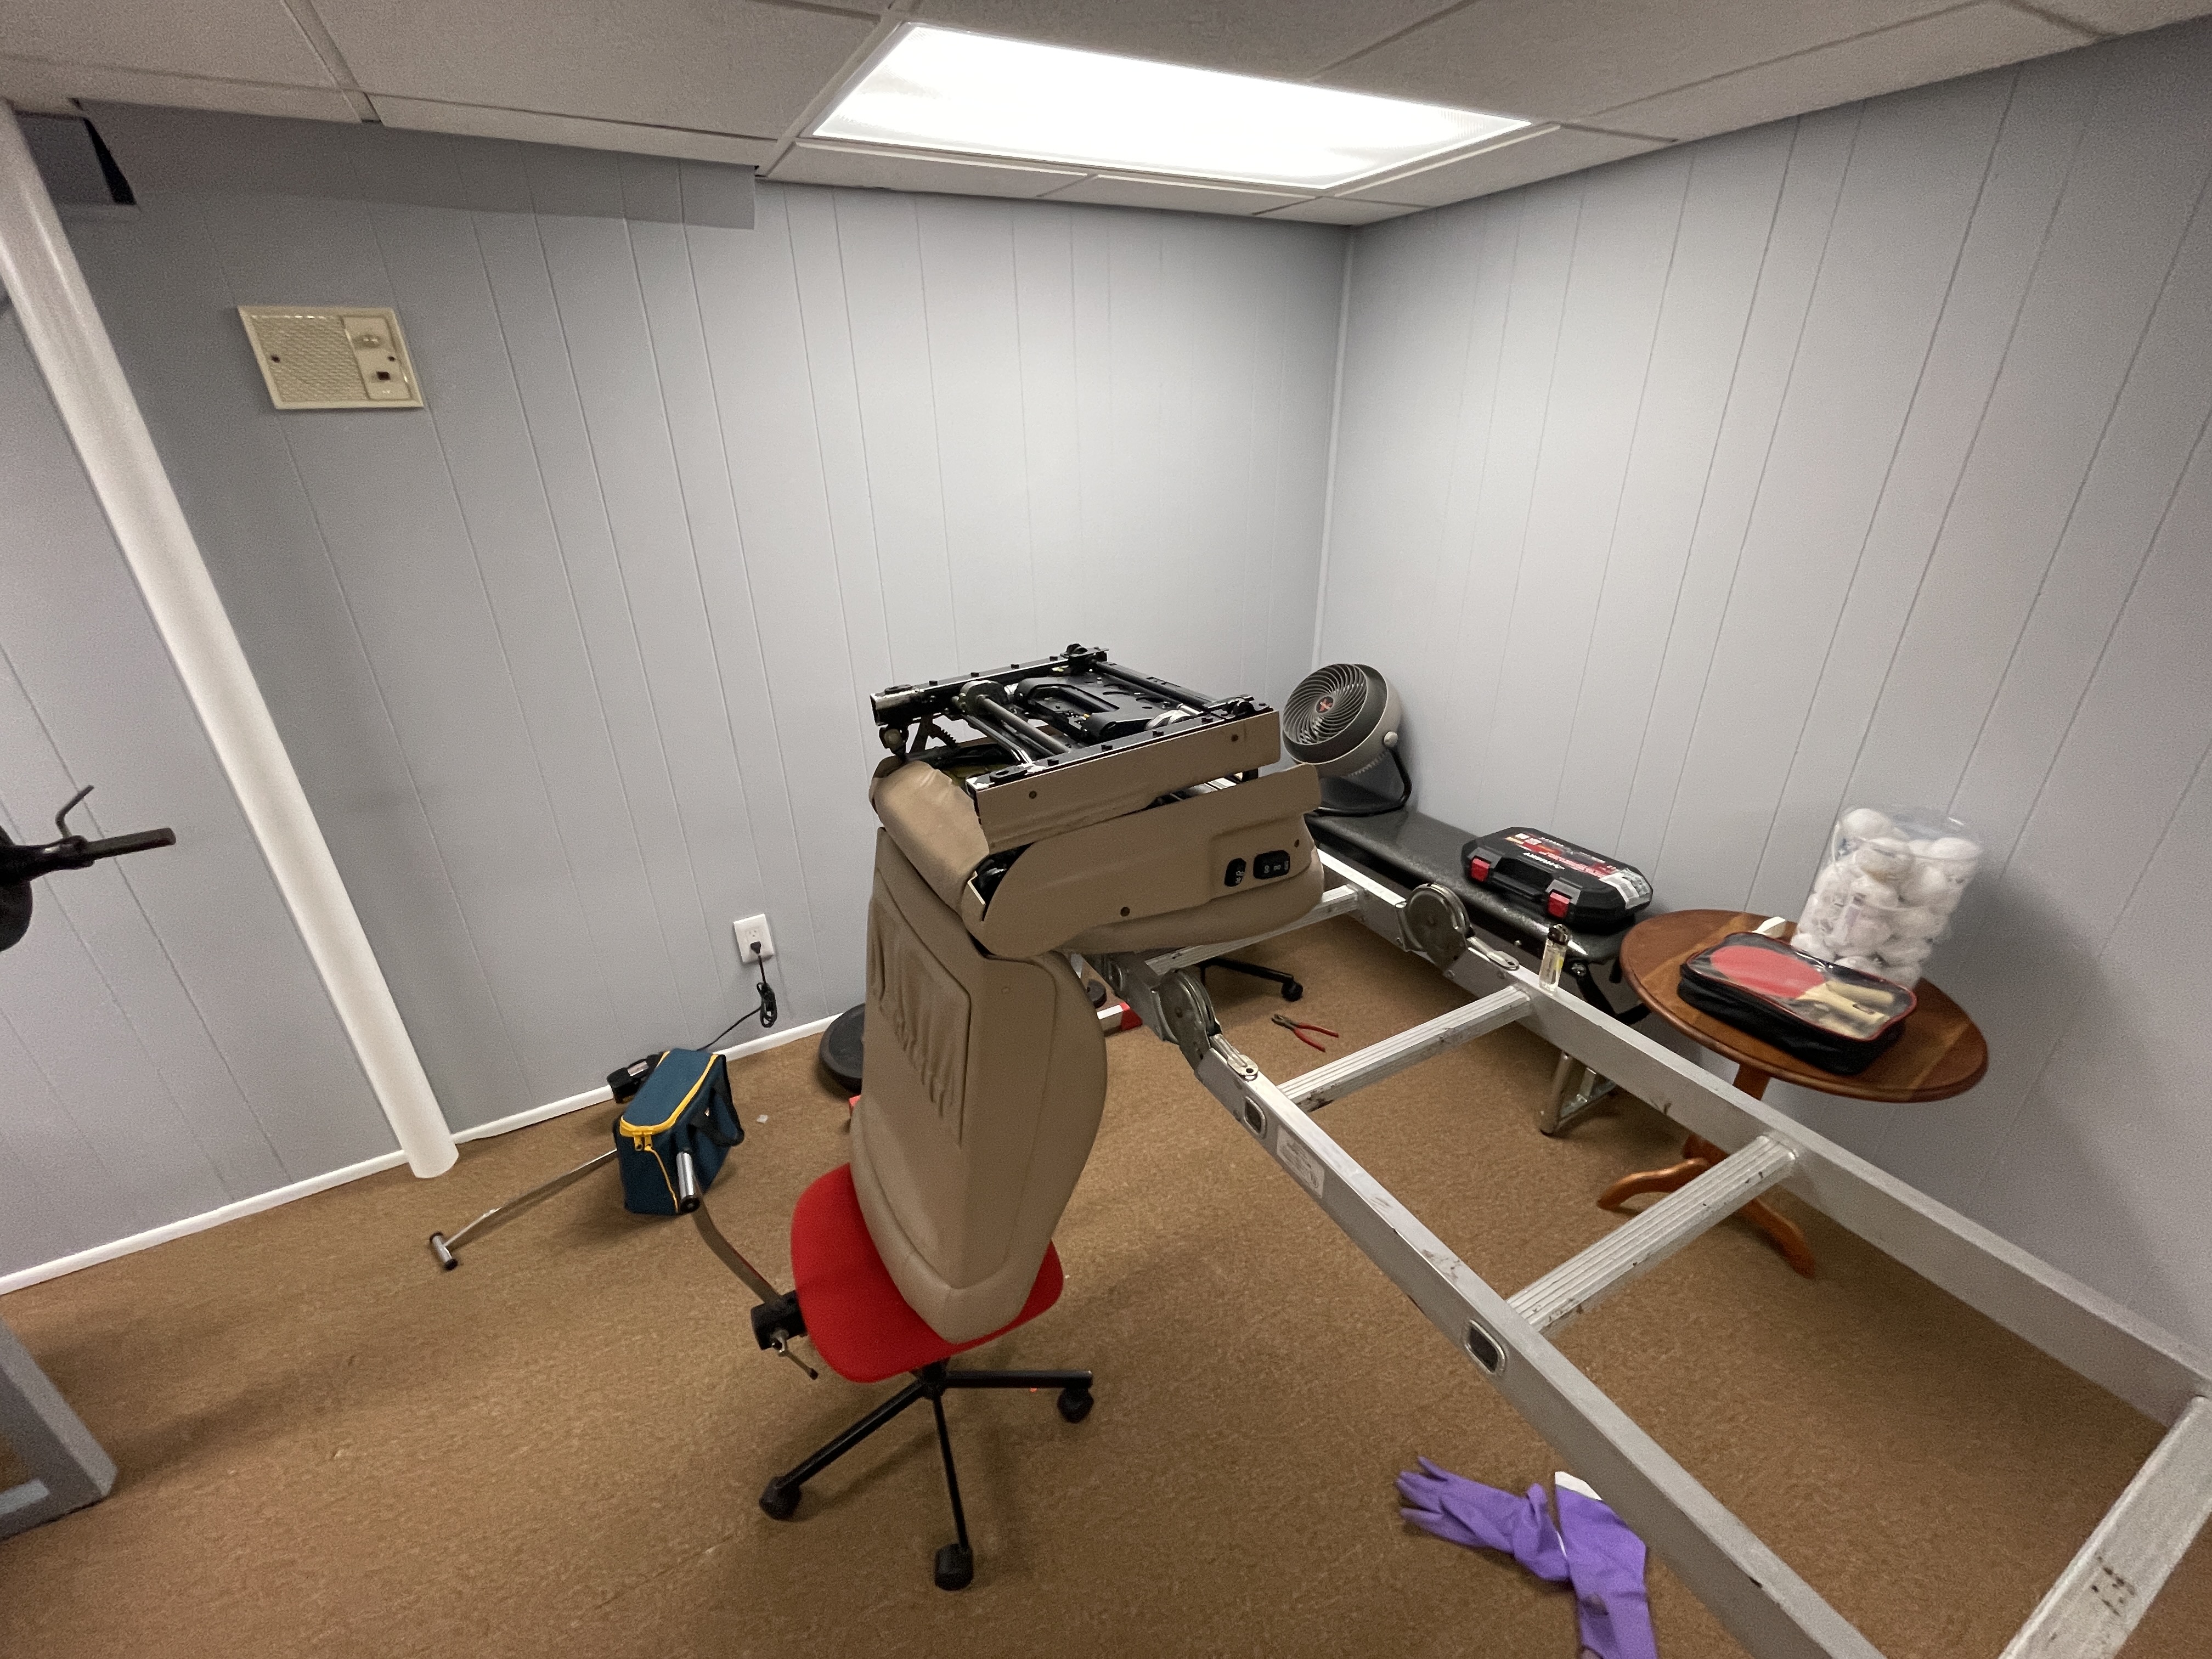
Flipped drivers seat.
I used a method involving heating up the casing of the drive cables to disengage them from the seat. By carefully heating the thimble, it became easier to remove it. Once the drive cables were disengaged I manually aligned the seat to fix the twist. The difficulty comes into play when putting the cables back into the motors, so I measured and cut a section of the tube to the appropriate length. And afterward, I used heat once again to fuse the thimble back onto the tube (motor). Luckily I got it right the first time, and putting the seat back into the car was simply following the steps I had done before in reverse order.
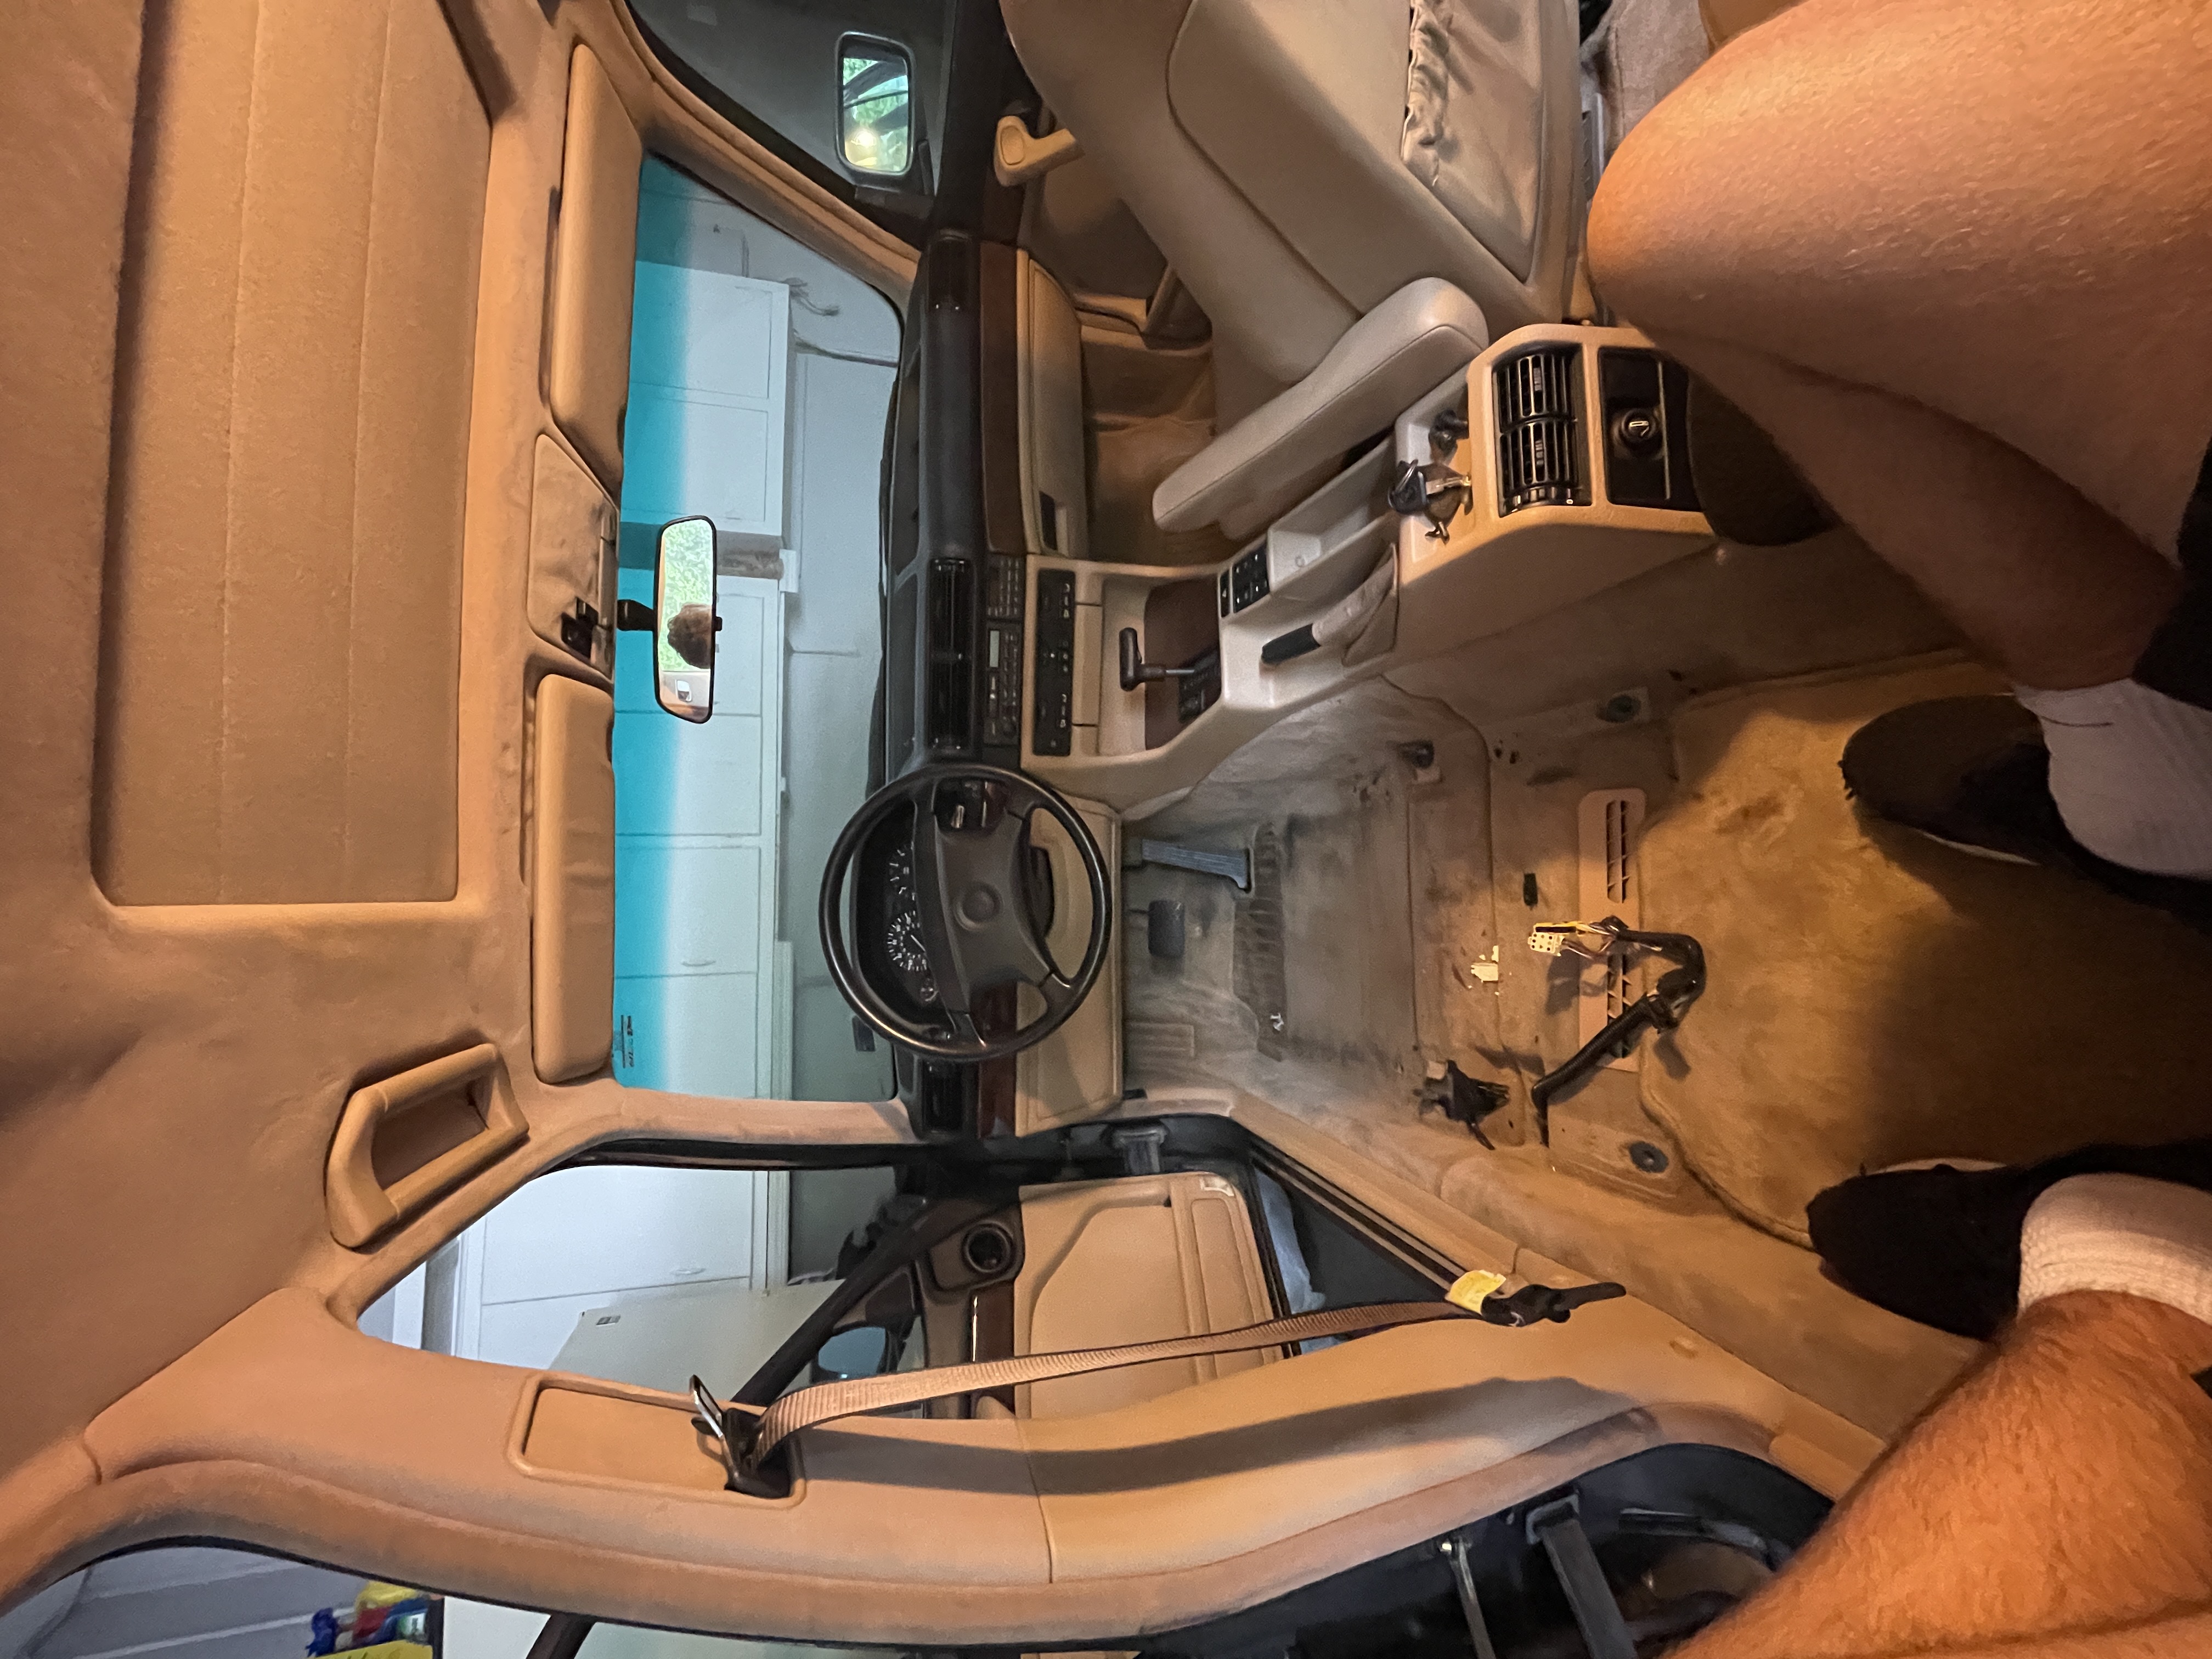
Above is what a back seat passanger would see without the driver's seat in the car.
I am pretty happy with how this came out and I’m most proud of this repair, ensuring a secure and reliable fix for the seat-back twist problem.
Battery Replacement
The BMW needed a complete battery replacement so I ordered a BMW 61212353809 Ep Battery 85Ah link from online.
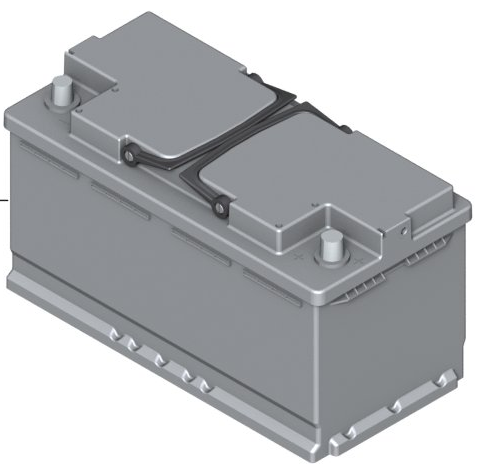
CAD of battery.
In my case, the battery for the E32 is kept under the second row passenger seat. Usually on combustion engine cars they are found within the front engine compartment.
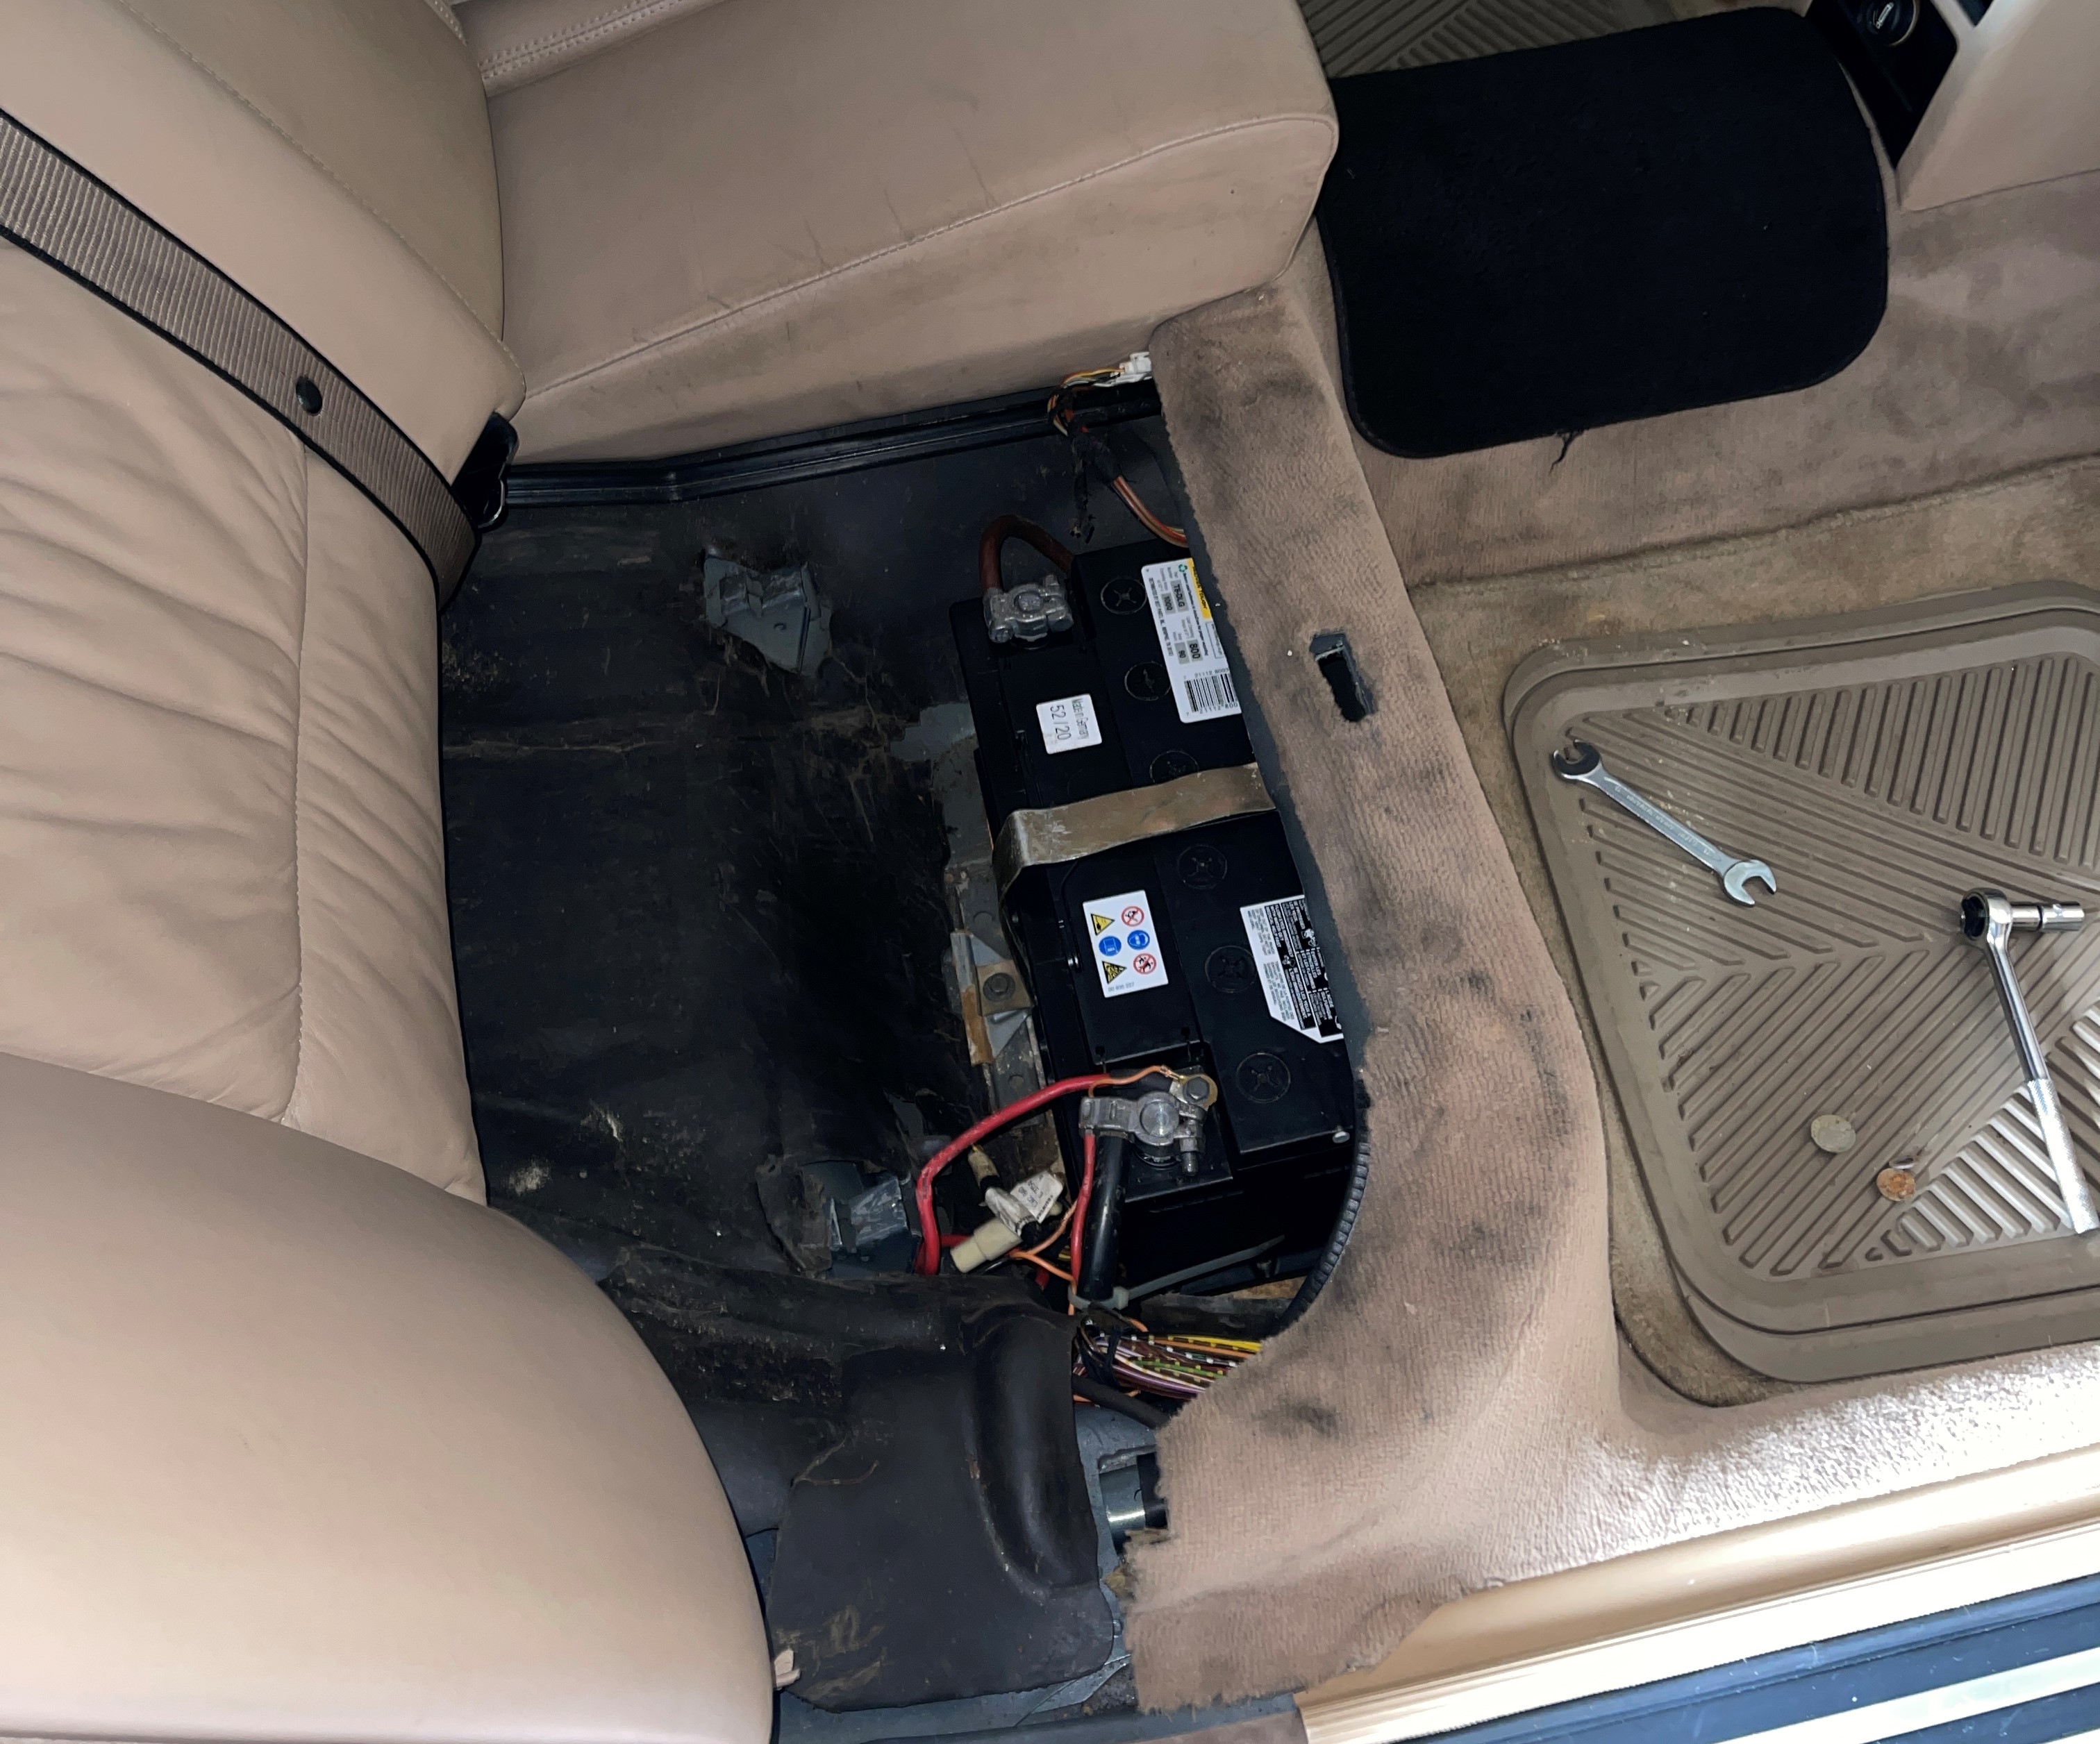
Back row with seat cushion removed revealing battery.
One thing to note when completing a direct battery replacement, always take the negative terminal connection off the old battery first, and always place the positive terminal connection on the new battery first.
Other than that, the replacement for batteries is very straightforward. In my specific case, the battery housing was slightly rusted and slight signs of acid burn due to very slow acid leakage could be seen. The damage wasn’t significant enough to be deemed replaceable.
Driving Lights Replacement
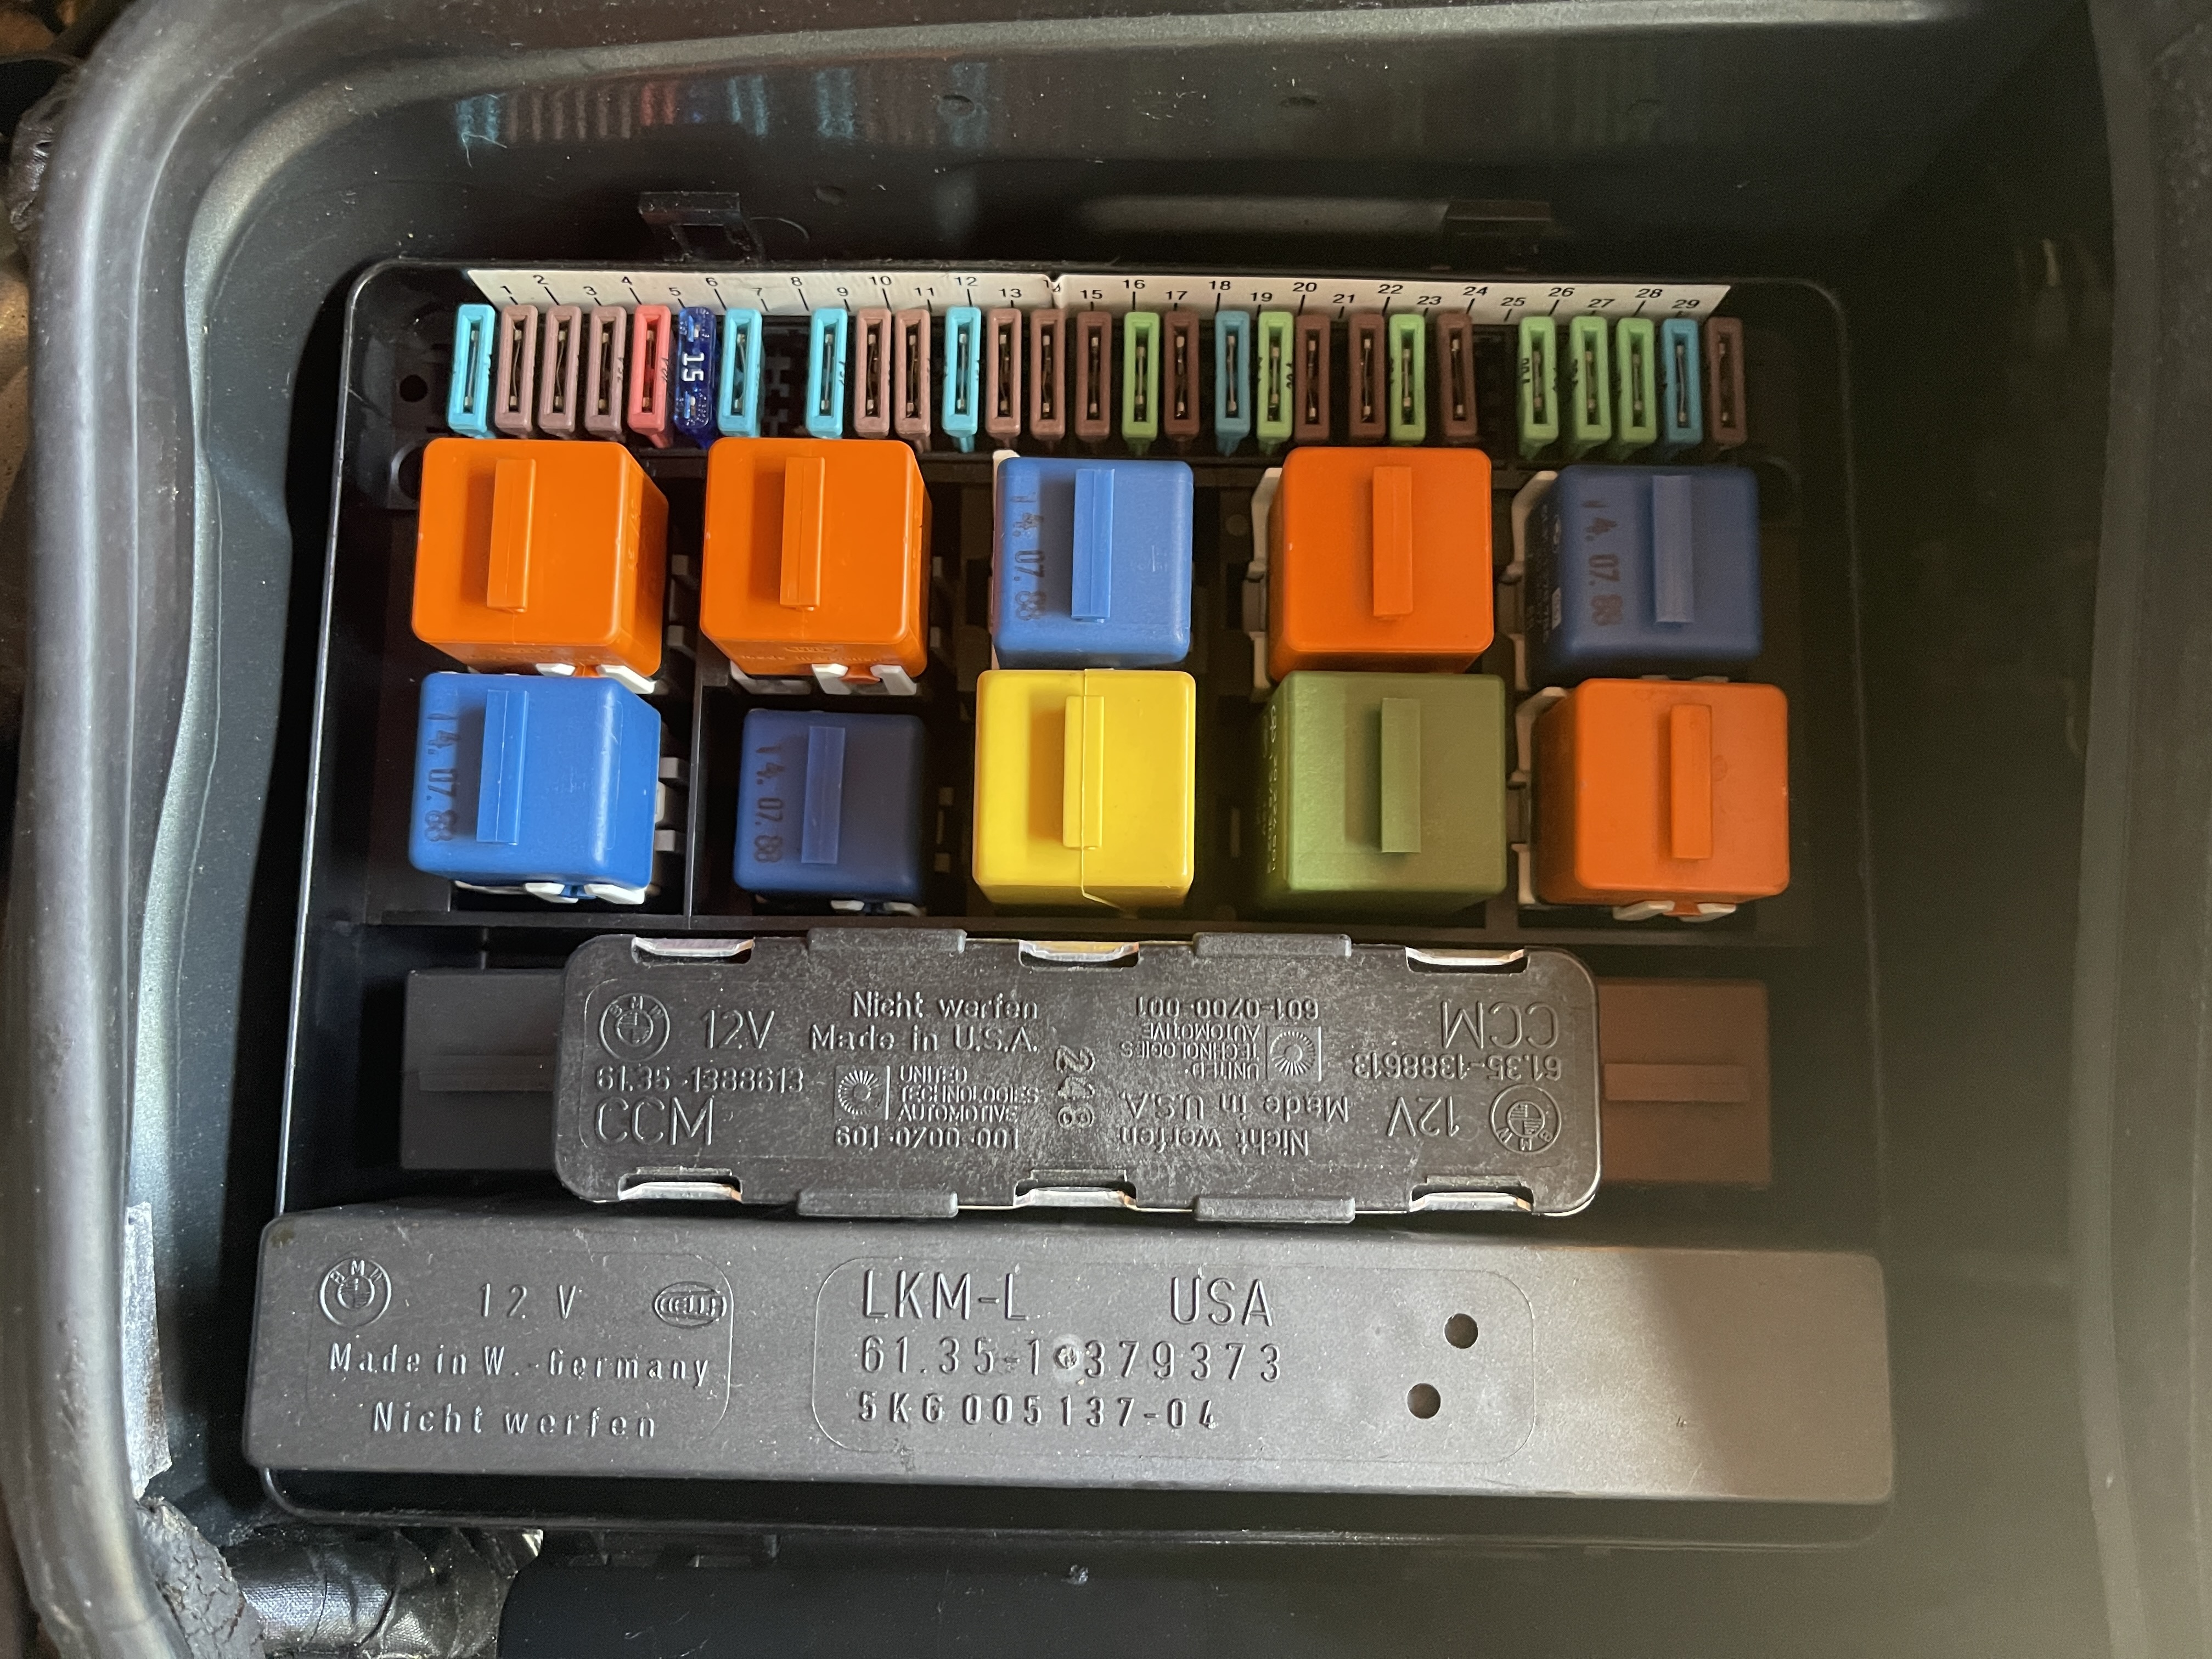
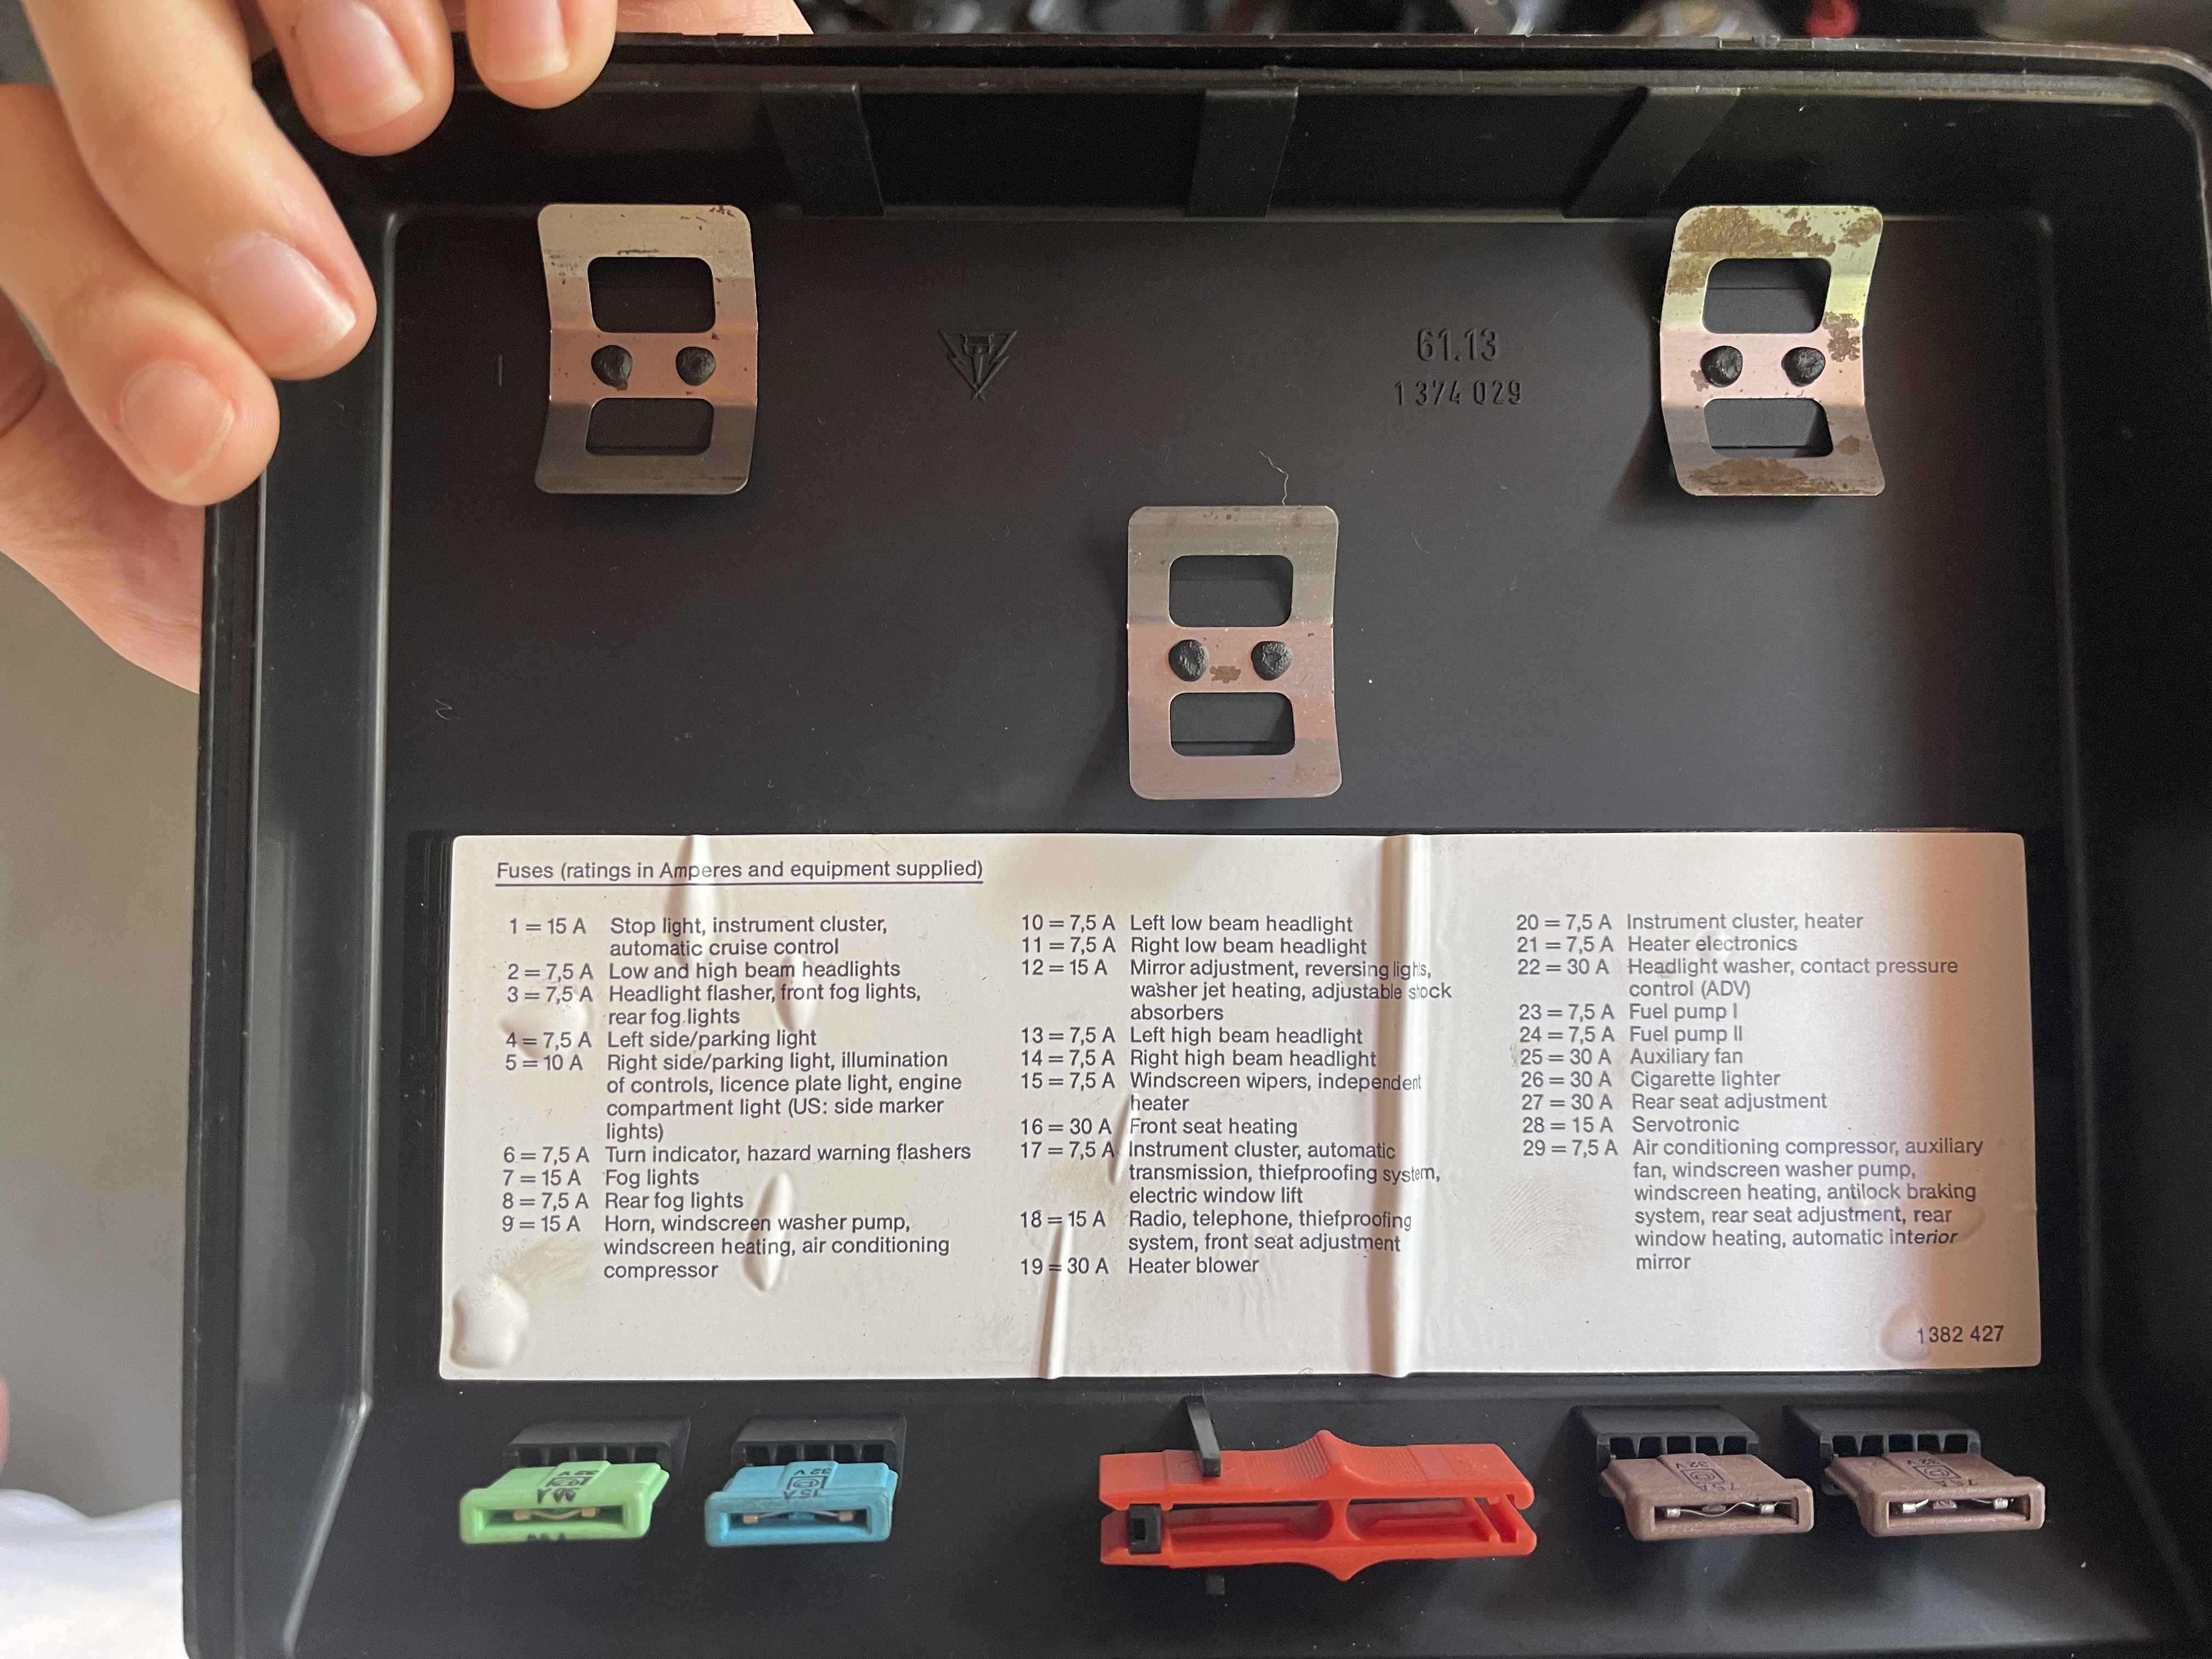
The BMW's rear brake lights were either not working at all or were not reliable enough for safe road use. Even after replacing the bulbs, the issue persisted. Eventually, I identified the problem: a damaged fuse in the fuse box located in the front engine compartment. The car still had its original spare fuses and they worked perfectly, although I would recommend buying brand new ones.
What intrigued me was the variety of electrical components in the car for a vehicle made in the 80s. Each electrical component requires different currents, ranging from 7.5A to 30A. And I also found it fascinating that the fuse box was not located near the onboard battery, but instead under the front hood.